Today, we’re making some big claims with our super-simple but crazy-high-impact DIY bookcase makeover!
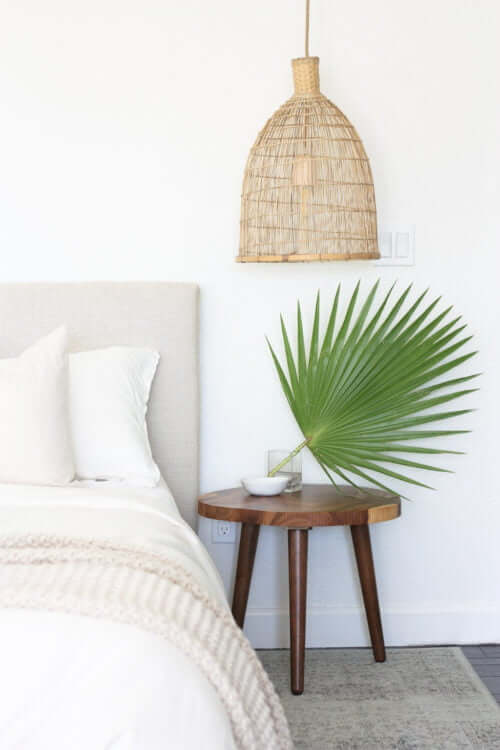
Those of you who have taken the private tour of our upstairs may remember some unsightly looking built-ins. (And no, it wasn’t these linen cabinets! Although they’re close.)
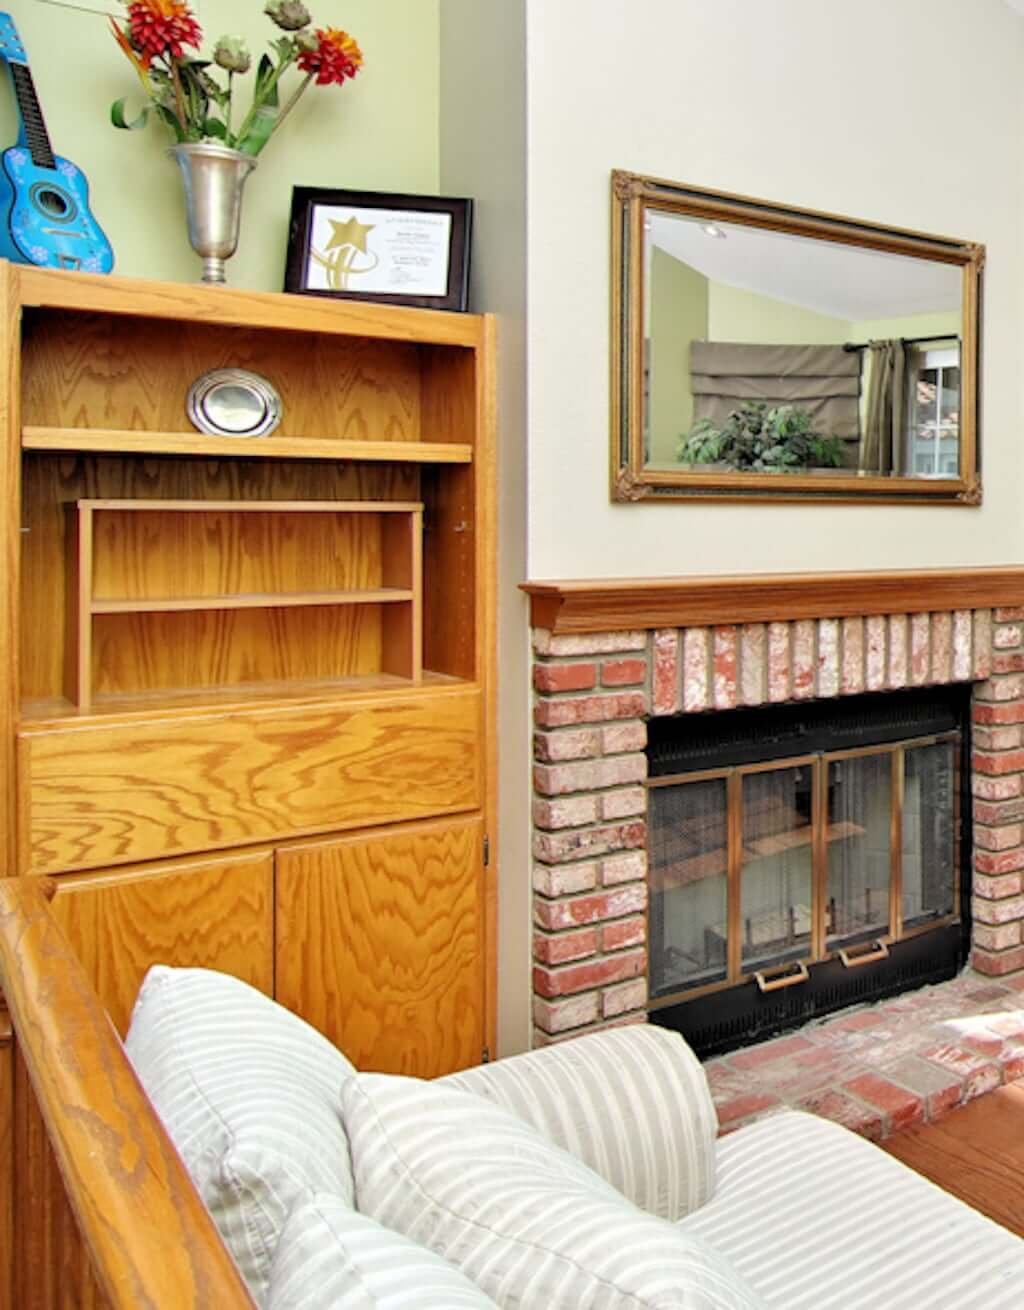
We’re talking about these bad boys. To the left of our fireplace in the master bedroom.
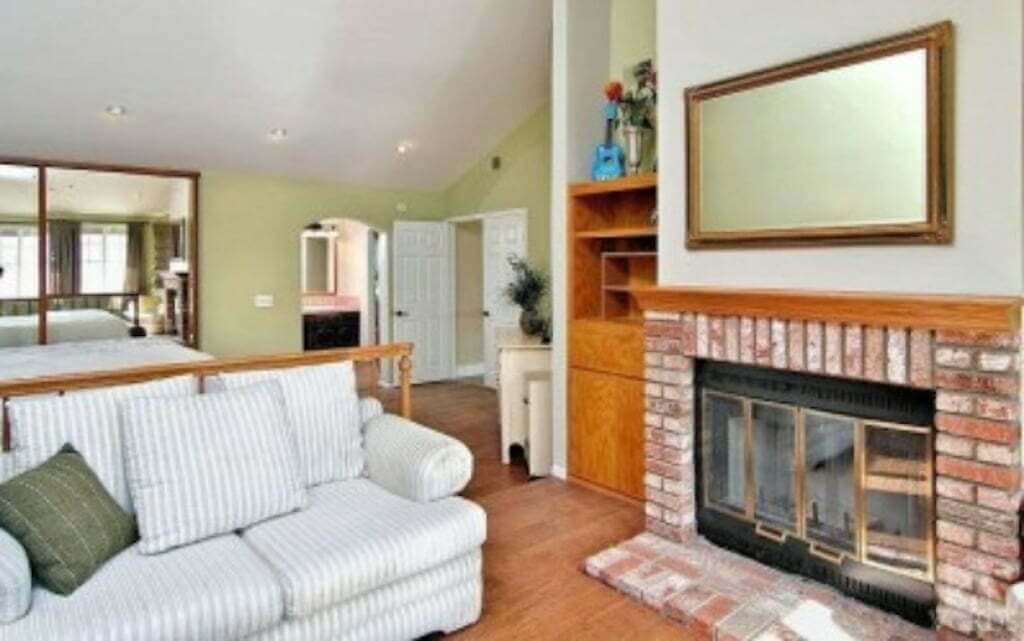
Can you spot them?

There they are again.
Do you think I wanted those to be anywhere within my vision as one of the last things I saw before going to bed at night, as well as one of the first things I’d see waking up?
We won’t even answer that.
You know.
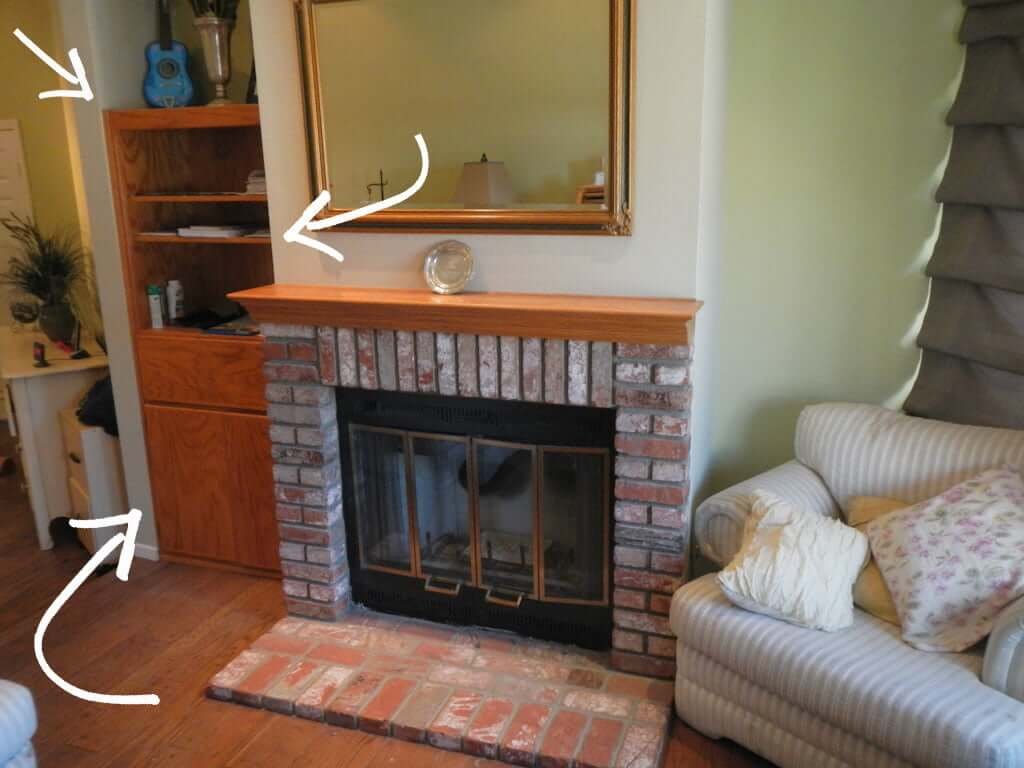
Boom. There they are again.
The thing was, they’re in perfectly good condition! Why would we rip out built-in bookshelves (and a drawer) that are solid hardwood and working just fine?
Because they’re old and ugly?
No. That’s not enough. Especially when they could be revamped somehow. I always find a way.
But first, the really important discussion…
DIY BOOKCASE MAKEOVER:
The #1 Problem I Have with Bookcases
Here’s the deal: I both like and dislike bookcases. Below are 3 reasons for both.
1. I like bookcases because they can
- Add a feeling of warmth and coziness to a room.
- Hold your books in an organized way.
- …….(crickets chirp)…….
Yep, that’s about all I can come up with.
2. I dislike bookcases because they
- Get messy from dust. (i.e. add extra work for the cleaning lady, WHO IS ME.)
- Look messy. (Unless you’re a weirdo who only buys books for display so they can match perfectly, but I assume you are not, dear reader. I assume you are a normal person who has a variety of books WHICH DO NOT MATCH AT ALL. Because that is normal.)
- Look messy even when they’re not even real book-holding bookcases, but merely an area for styling. (You know the bookcases: they’re gorgeous and styled beautifully, but it doesn’t look like anyone is allowed to touch the books because that would ruin the whole artistic effect and rule-of-threes used in the bookcases. Do I sound like a crochety old woman about this? GOOD! Because that is exactly how I feel. Staunchly crochety about this subject. Welcome to my brain!?)
- Make my brain hurt. Because they look messy. (See the trend?) THERE IS NO WAY TO MAKE THEM LOOK GOOD, PEOPLE!
Nah…I’ll admit about 1% of the bookshelf styling I’ve seen actually looks beautiful, so that sentence isn’t 100% true.
Really, my argument is in
the amount of visual objects that try to grab my attention during daily life
(no matter how beautiful the styled objects are).
So perhaps this is a better statement to explain my feelings:
Shelves hijack your brain!
Well, my brain anyway. And even if I’m in the minority, I’m totally cool with that. (Although I suspect these shelves are hijacking a lot more brains than suspected!)
Now, this may make more sense if you’ve read about how I’ve learned to design as an HSP.
Basically, one of the choices I’ve made in my life—what works best for me—is to eliminate all unnecessary objects from my line of vision so that I can zero in that vision to what REALLY matters to me.
It’s like this definition of minimalism that I just adore: “Minimalism is the intentional promotion of the things we most value and the removal of anything that distracts us from it.”
(I don’t even have to check that; I have it memorized. It’s been written at the top of my phone’s To Do list for years.)
The average American household has 300,000 items (Los Angeles Times). I don’t need extra bookshelves so I have to buy more stuff to fill more bookshelves and make them beautiful. Thank you, but no thank you.
DIY BOOKCASE MAKEOVER:
The Bookcase Solution
What’s a girl to do?
So, in our case, we didn’t want to get rid of the bookcases because
a) they’re in good shape
b) they do actually hold our books well for us. (We don’t have too many, as we’ve donated or given away at least 75% of the books we used to have, and it’s been amazing)
Solution? COVER THEM UP!
Yep, I told Matt I wanted to tackle the project of creating cabinet doors to close over the bookshelves. This way, they’d still look clean and uncluttered from the outside, yet still perform their duties.
(I do have a soft spot for old furniture and areas of our home that have worked hard since 1986 and are still in good shape and I don’t want to completely rip them out. I want to revitalize them and give them a lovely new makeover! Like our stone fireplace…and our brick fireplace…and these linen cabinets…and our pool wall…just to name a few I thought deserved to be preserved!)
DIY BOOKCASE MAKEOVER:
The Plan
Here was the plan that seemed both
1. easiest, and
2. most likely to solve all my bookcase woes.
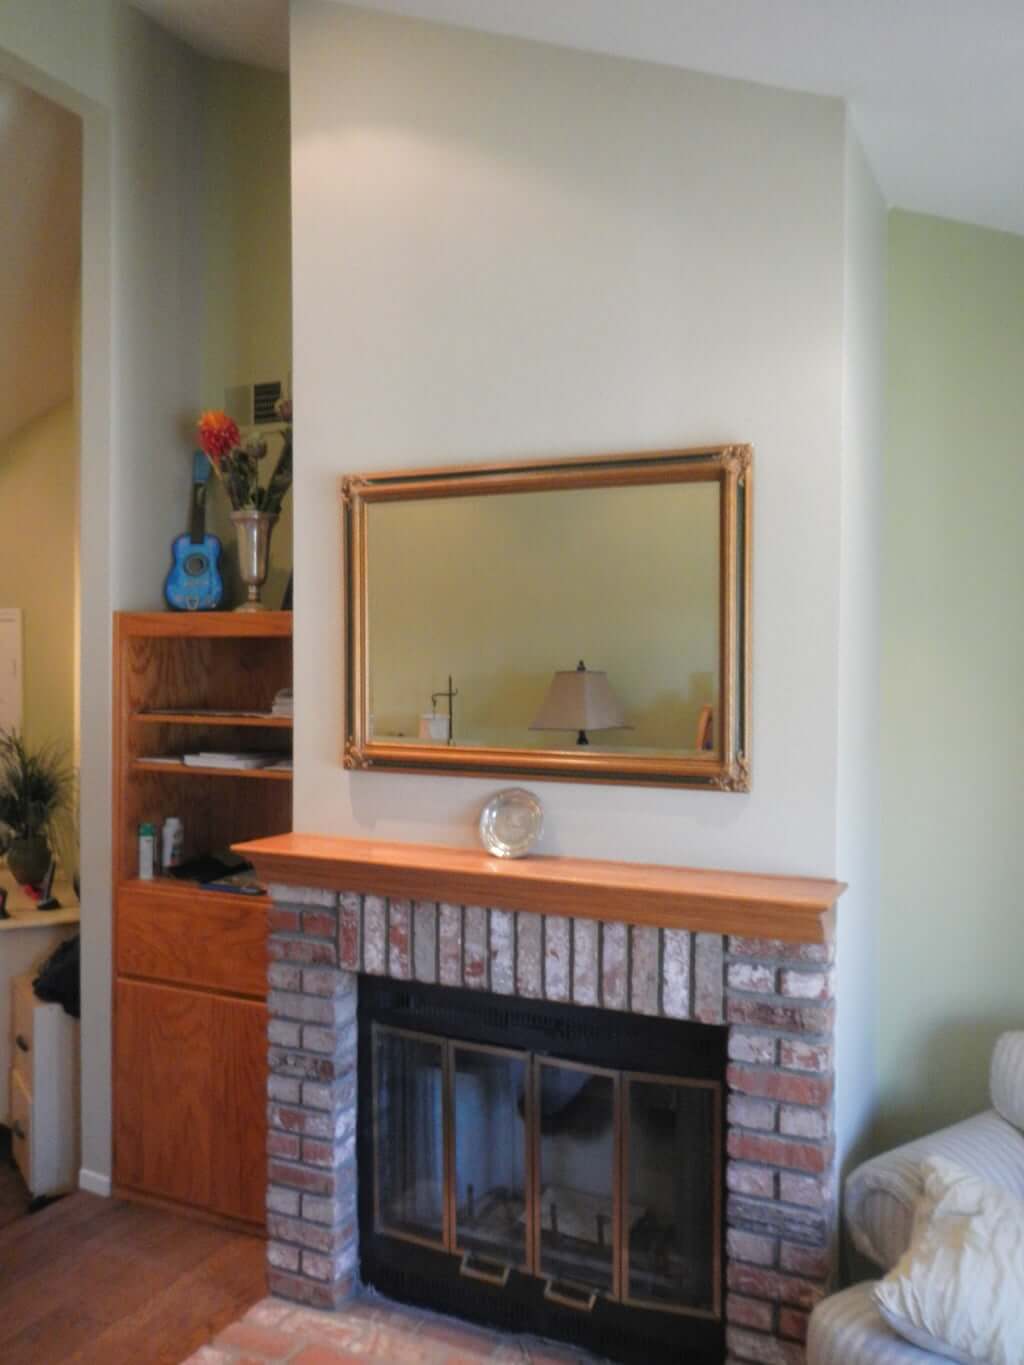
The Before:
I proposed to Matt that we
1. Paint the built-in bookshelves and drawer. (Everything.)
2. Install 5 new wood facings for the built ins. (1 drawer front + 4 cabinet fronts on hinges, 2 for the upper and 2 for the lower.)
3. Drink to our success.
DIY BOOKCASE MAKEOVER:
Building vs Ordering the Faces
We’re all about saving money and doing it ourselves where we can. I think that’s clear. (See examples here, here, and here.)
However, we’re also not gluttons for punishment.
If we can avoid unnecessary work by paying someone to do something for us at cost that is less than the value we place on our time on the given week/month the project comes up, we aren’t die-hard DIYers. We’re not trying to create endless blog content to impress everyone with how we DIYed every step and chopped down our own tree to get the wood to make the thing.
Sometimes, we pay other people to chop down the tree and get the wood. We pay for that step. (Hello, Home Depot.)
Sometimes, we pay other people to cut the wood and give it to us in the exact measurements we want. We’re not above paying for that step too.
And that’s what we did here.
We did paint aforementioned wood ourselves, install the soft-close hardware, install the cabinets and drawer face ourselves, and attach the exterior hardware ourselves. Those steps we deemed a good use of our time and funds at the time of the project.
our “Secret Source” + How To Guide | pulls | planter | tray | hinges
So while the internet will give you plenty of DIY articles on “How to DIY Your Own Cabinet Doors,” we are not going to be writing that article for you here today.
Today it’s “How to ORDER Your Own Cabinet Doors and Do Something Else More Valuable with Your Time While They’re Shipped to You.” (Full details HERE!)
We all make choices. This was ours. And after living through its delicious, zero-hassle seamlessness, we highly recommend it. (We’ll share cost differences below.)
DIY BOOKCASE MAKEOVER:
Matt Takes Over
Jess is now peace-ing out, and Matt takes over the narrative.
The great thing about refacing is that there are online companies to purchase replacement doors and drawer fronts as solid wood, unpainted, primed or final color matched. (We share our source HERE!)
For our outdated cabinet, we wanted to not only replace the existing drawer and door fronts, but add doors to cover the shelving above.
Depending on your DIY skill level, you will want to choose the best option for yourself. As we wanted to ensure the color matched properly, we purchased unpainted shaker-style door fronts.

our source + How To Guide | pulls | hinges
The old hardware was also in need of being replaced, and we wanted to have hidden hinges that were soft closing. (We purchased these on Amazon for cost savings.) When you purchase the fronts from the company we did, you can have the hinge locations pre-drilled if you do not have the correct drill bits.
After inputting the dimensions and style on the online store, the fronts are made to order and take from 1-2 weeks to build and ship.
DIY BOOKCASE MAKEOVER:
5 Steps to Visual Euphoria
(You know Matt didn’t write that headline. I snuck back in. HI! OK, back to his professional engineer instructions. Say goodbye to Crazy Anti-Shelf Lady.)
Step #1:
First, I measured the existing drawer and door fronts to get exact replacements. For the upper shelving, I used the same door width from the below section and only had to measure the opening height plus 1” for overlap of ½” on top and bottom.
Step #2:
The most important step happens once you receive your cabinet and drawer fronts. As soon as we received those, I confirmed the sizes were correct with the existing cabinet.
Step #3:
I then drilled the hinge holes and sprayed a coat of primer front and back. Once dry, I sprayed 2 coats of final color finish and the fronts were ready to install.
Step #4:
After removing the existing door and drawer front, I installed the hinges to each new door front. Next, I placed each door and marked hole locations for screws to the cabinet, pre-drilled the holes, and mounted each door.
Step #5:
After a little adjustment to the hinges (to have the doors hang properly with even spacing), the doors were ready for handles. I mounted the drawer front last as I wanted to ensure even spacing between the upper and lower cabinet doors. This required just a few screws from the inside to hold the front on and then mount the handles.
our sources + How To Guide | pulls | planter | hinges
DIY BOOKCASE MAKEOVER:
The Costs.
To buy the materials and actually build the door and drawer fronts ourselves from scratch would have cost about $100. We paid $200 to have them made for us. Was $100 worth 8 hours of work for us over two weekends (including the time going to the store for all materials, setting up, building, and cleanup) with all the other house projects we had going on? (That’s $12.50 per hour for you non-mathematicians.)
Psssssht. No question.
Absolutely it was.
Especially when you see how they look now…
DIY BOOKCASE MAKEOVER:
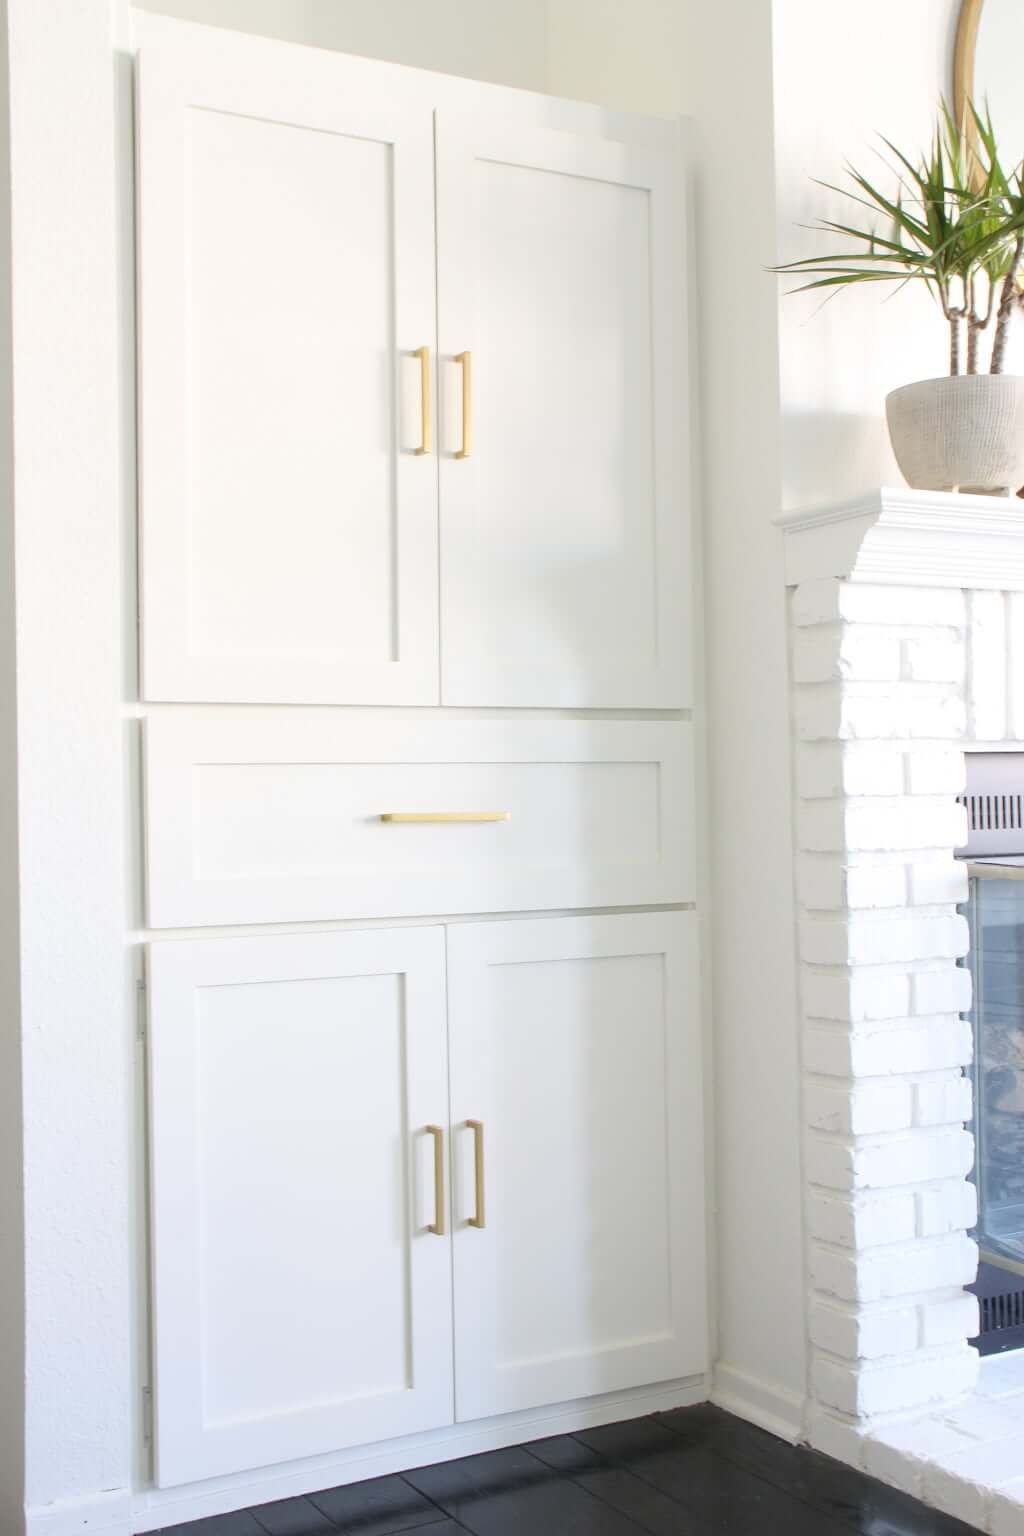
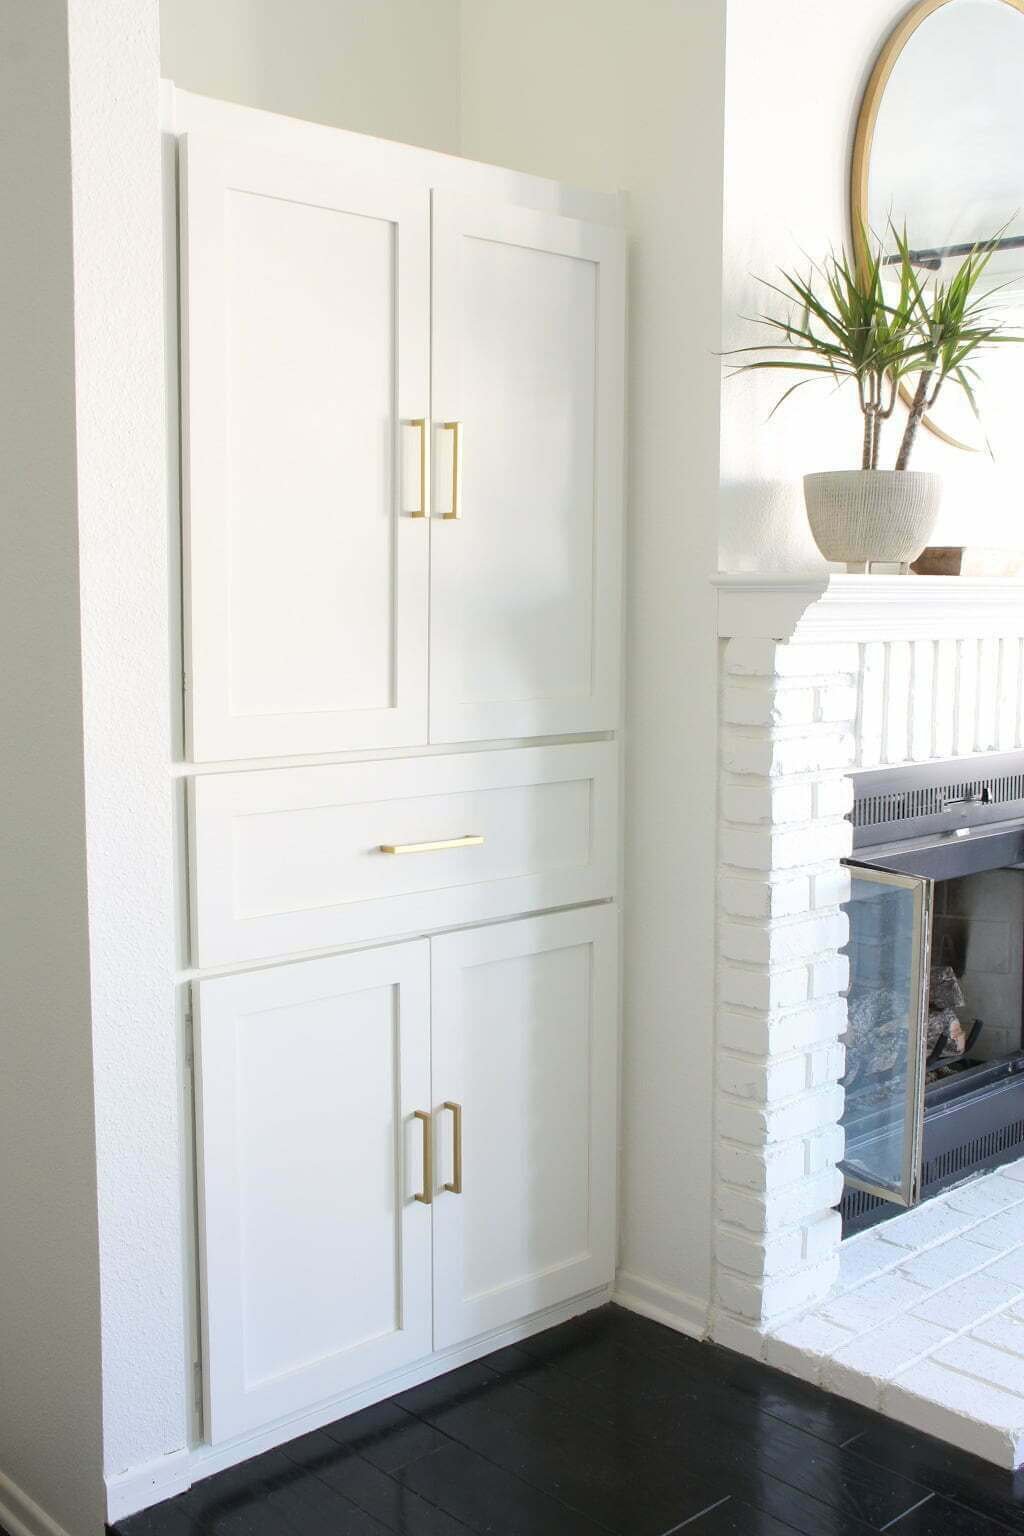
The Completed Project.
our How To Guide + sources | pulls | planter | similar mirror | hinges
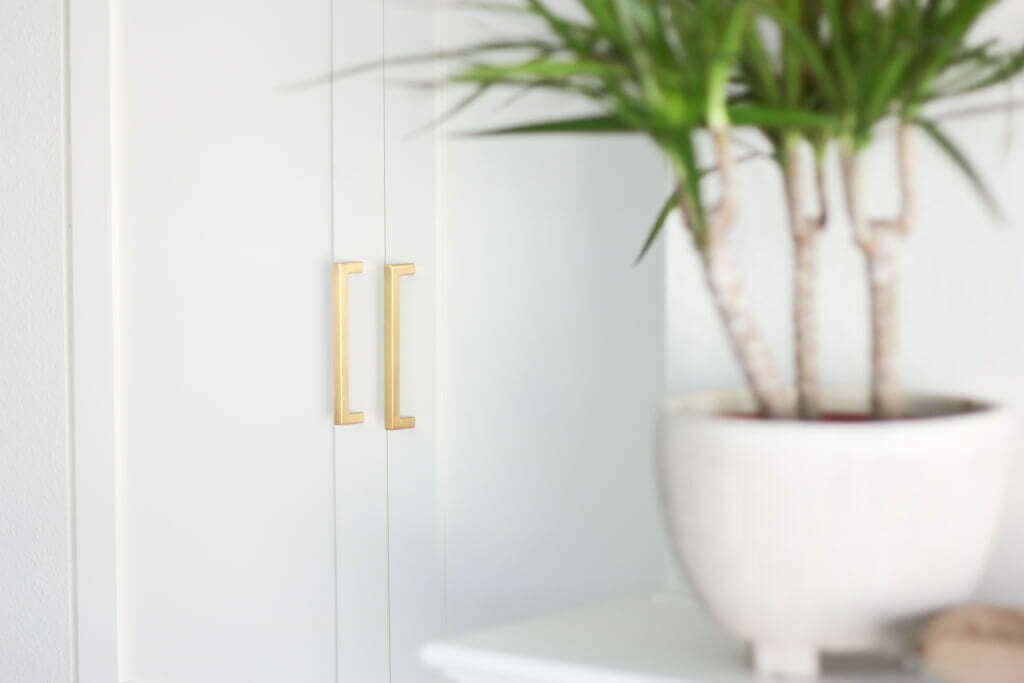
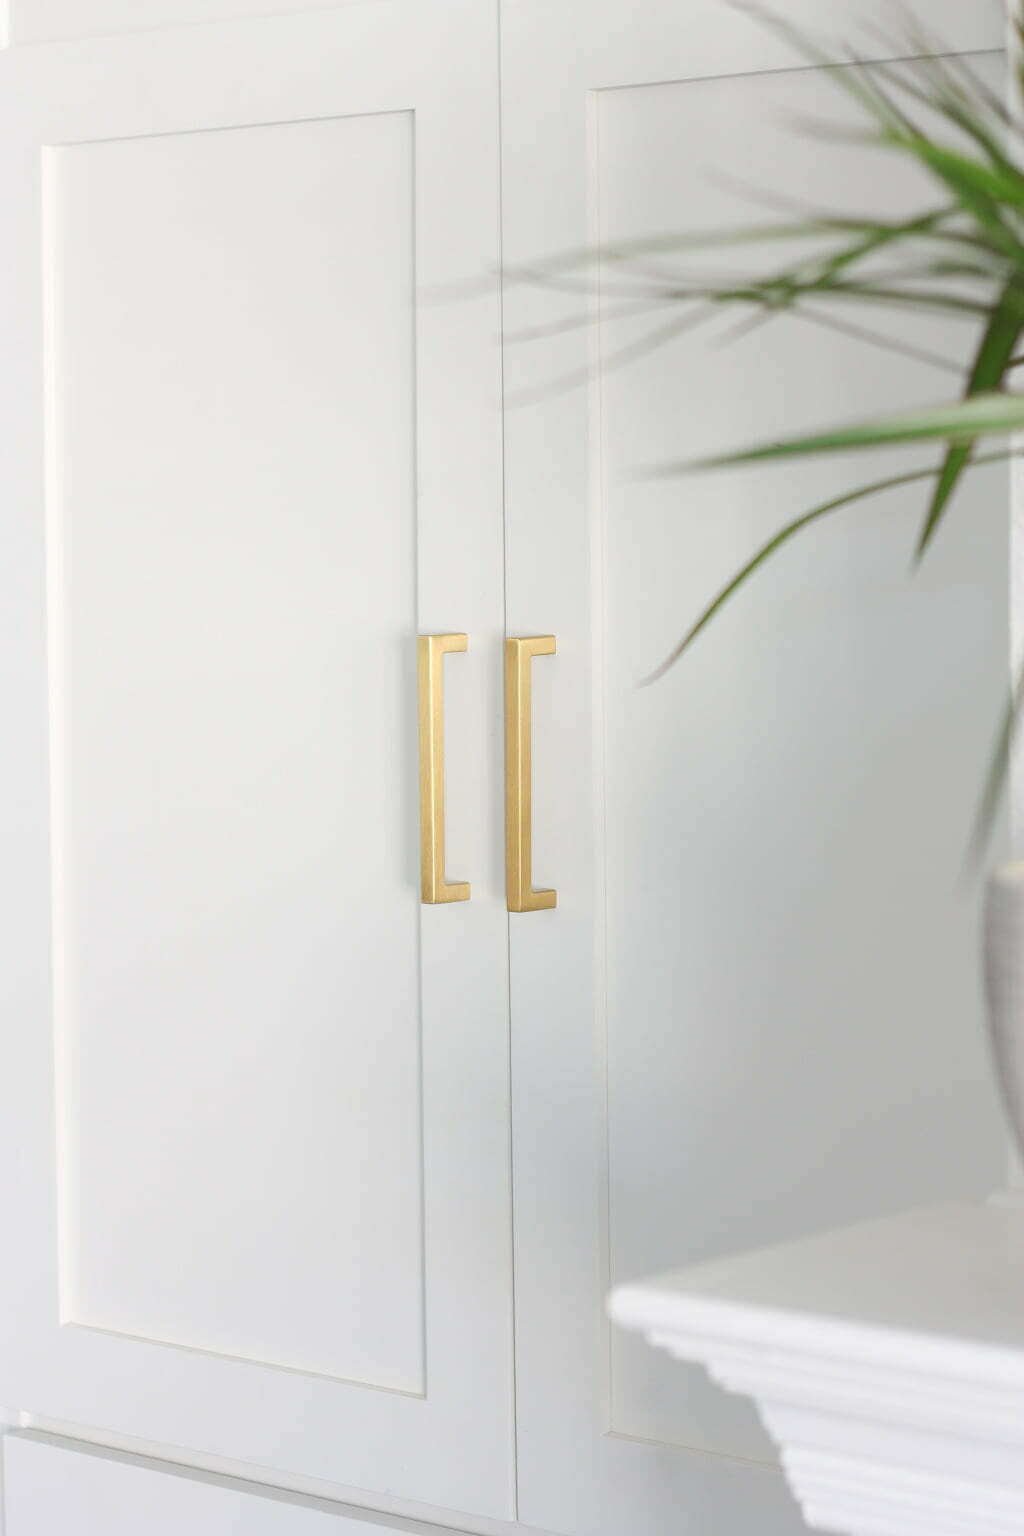
Because our fireplace area has brass accents both on the sliding glass doors and the round mirror above the mantel, I knew I (Jess) wanted to go with brass hardware for these built-ins.
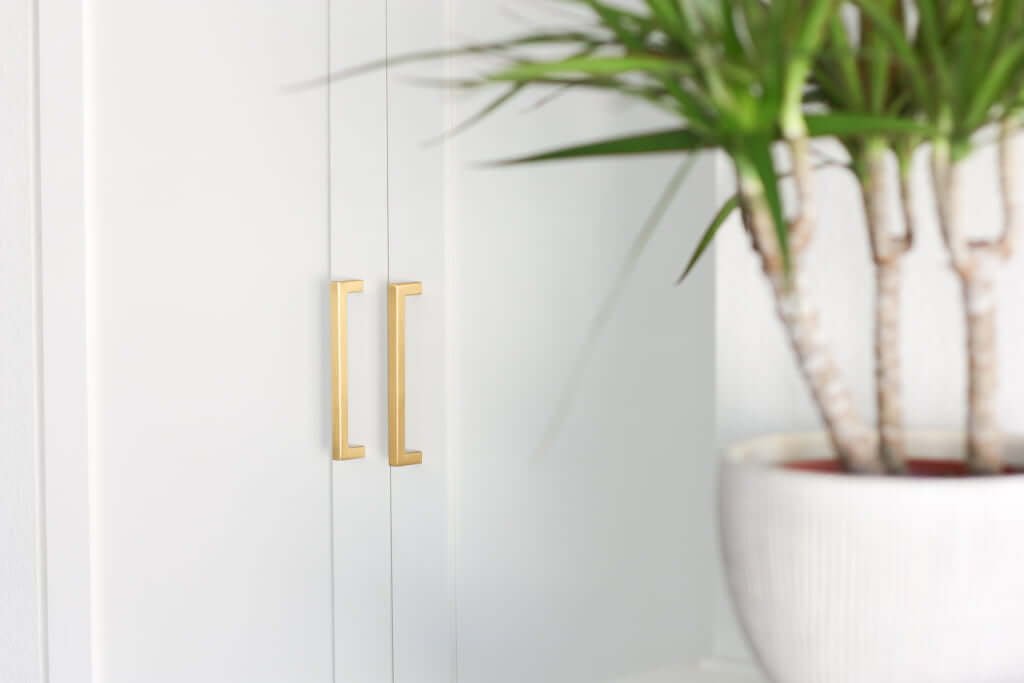
So much of this 1980s home is traditional that we have to be careful about where I go with traditional or more modern finishes.
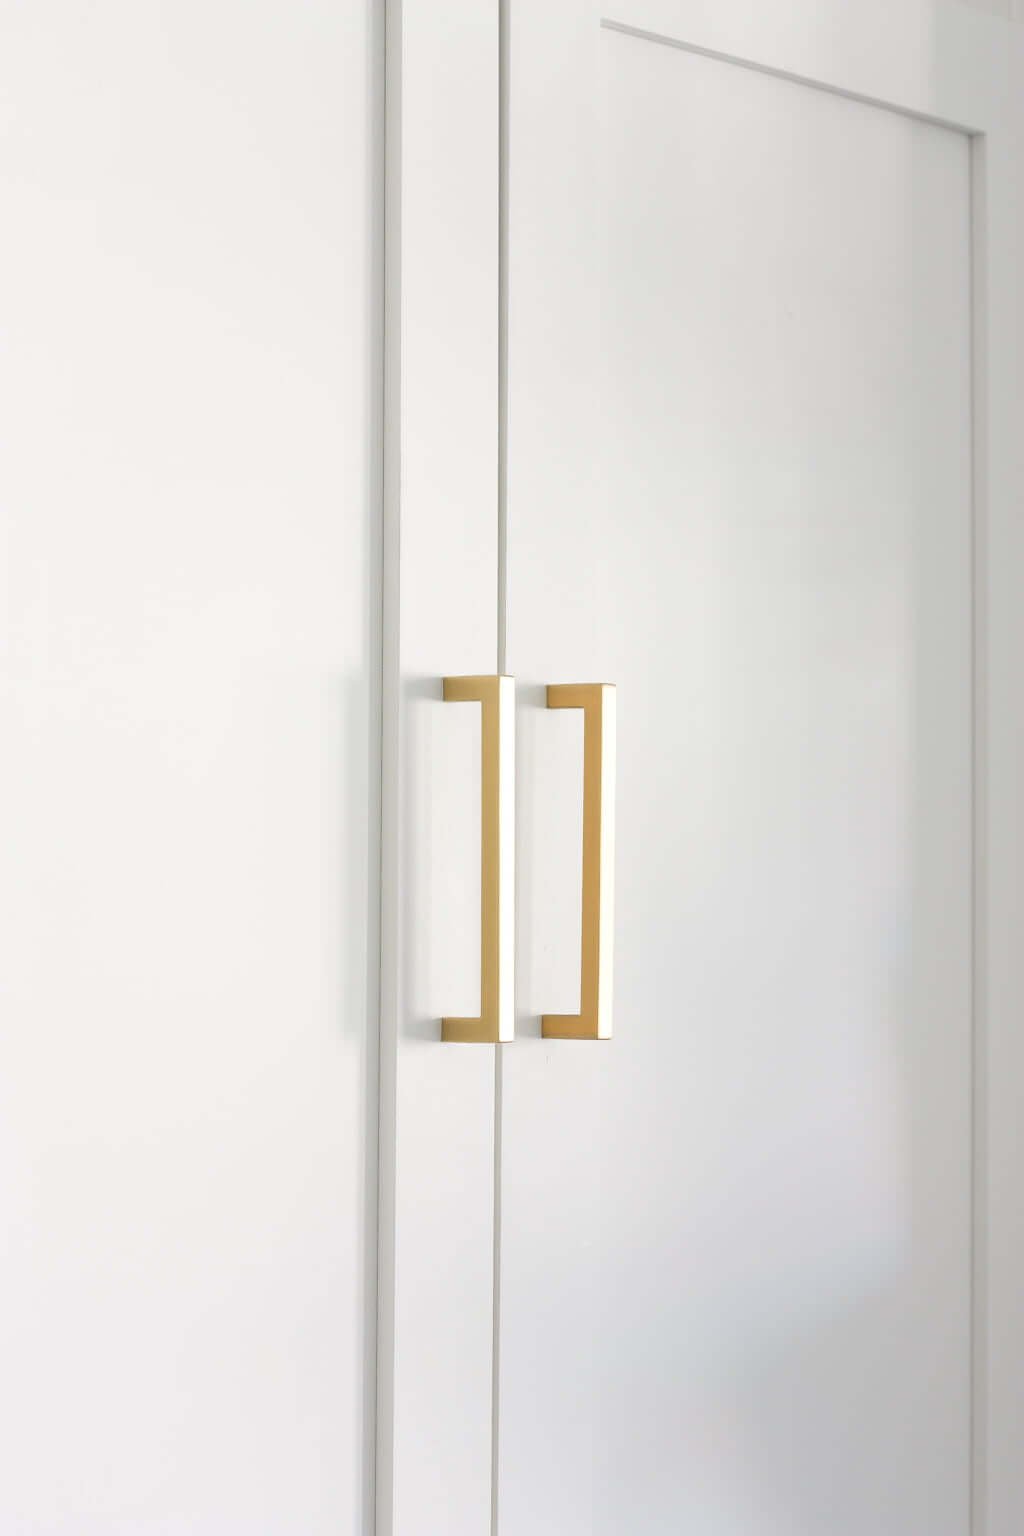
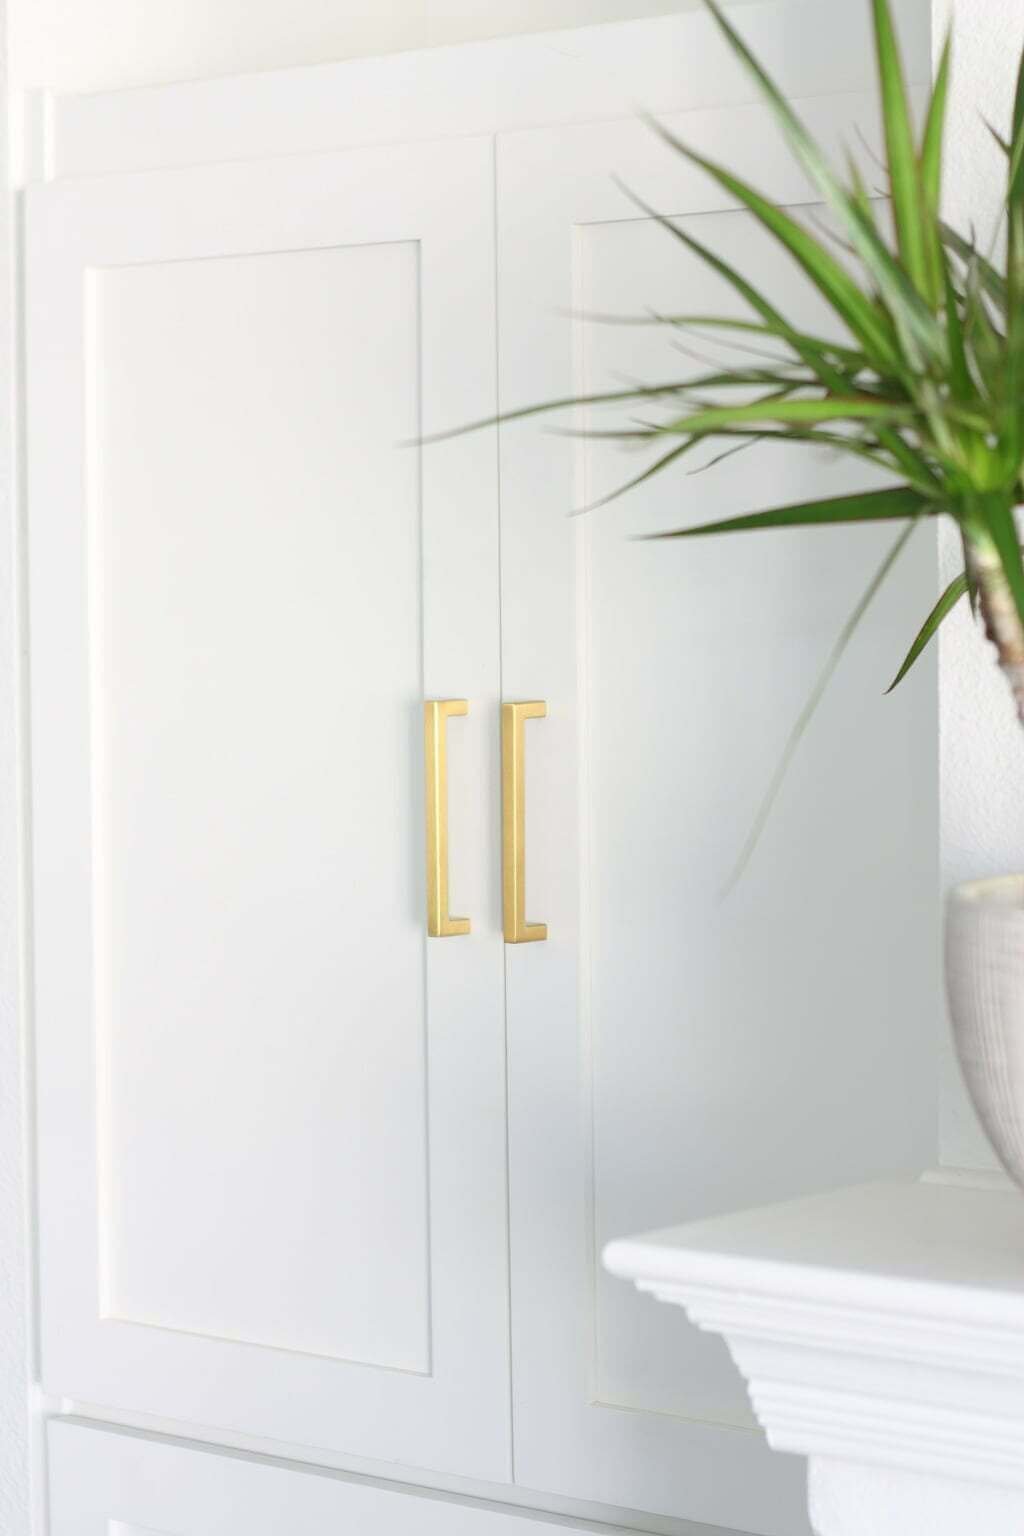
Here, we went with clean, modern lines for our cabinet and drawer pulls.
I also chose to keep both the cabinet pulls and drawer pull the same style (instead of going with knobs for the cabinets). This helps it not look too cluttered or distracting from the main focal point of this wall, which is—of course—the fireplace!
Before:
After:
our “Secret Source” + How To Guide | pulls | planter | tray | similar mirror | hinges
Before:
After:

How We Changed Our Fireplace! | pulls | planter | tray | similar mirror | similar jar | gas log set | hinges
Now the entire space feels more cohesive, with just some small changes.
Next…
If you’re curious to see our full sitting room, click here. Or, you can check out the rest of our master bedroom!
For more super-easy DIY projects, see what we did with
- DIYing our own floor tile!
- Our DIY ottoman (made out of a material that’ll surprise you!)
- Our DIY no-sew cozy bed frame!
- Our DIY stone fireplace.
- An easy DIY zipline platform for your backyard!
For more storage solutions, you’ll love
- My 7 wildest laundry room fantasies come to life!
- The 3 cabinet storage solutions every kitchen needs.
- 5 kitchen organization ideas that make life easier!
- 12+ Modern & Timeless Floor-To-Ceiling Bookshelves (from Built-in To DIY)!
For more in-depth information, check out our Plans & Design Guides, including but not limited to:
- The Essential Home Design and Strategy Course!
- The Expert Room Design and Layout Guide!
- The Ultimate Organized Kitchen Bundle!
PS: You can see our entire home room-by-room HERE!
*This post contains affiliate links, which are no extra cost to you but help us keep this site alive.