Today we’re sharing exactly how we built our own DIY upholstered platform bed—with detailed photos and an exact cost breakdown—in seven steps!
If you’ve read our post on how we took the first steps to consider our bed must-haves, you’ll already know all the ins and outs of why we designed our bed the way we did!
If you haven’t read that post yet, you’ll want to check it out as you’ll then understand why we made it with the measurements and materials we did!
So without any ado, let’s get right into showing you exactly how we made this bed! It was simple, straightforward, and has given us the bed of our dreams! (None of Jess’s puns are ever intentional. Matt’s, yes.)
HOW TO MAKE A DIY UPHOLSTERED PLATFORM BED…
…in 7 Steps.
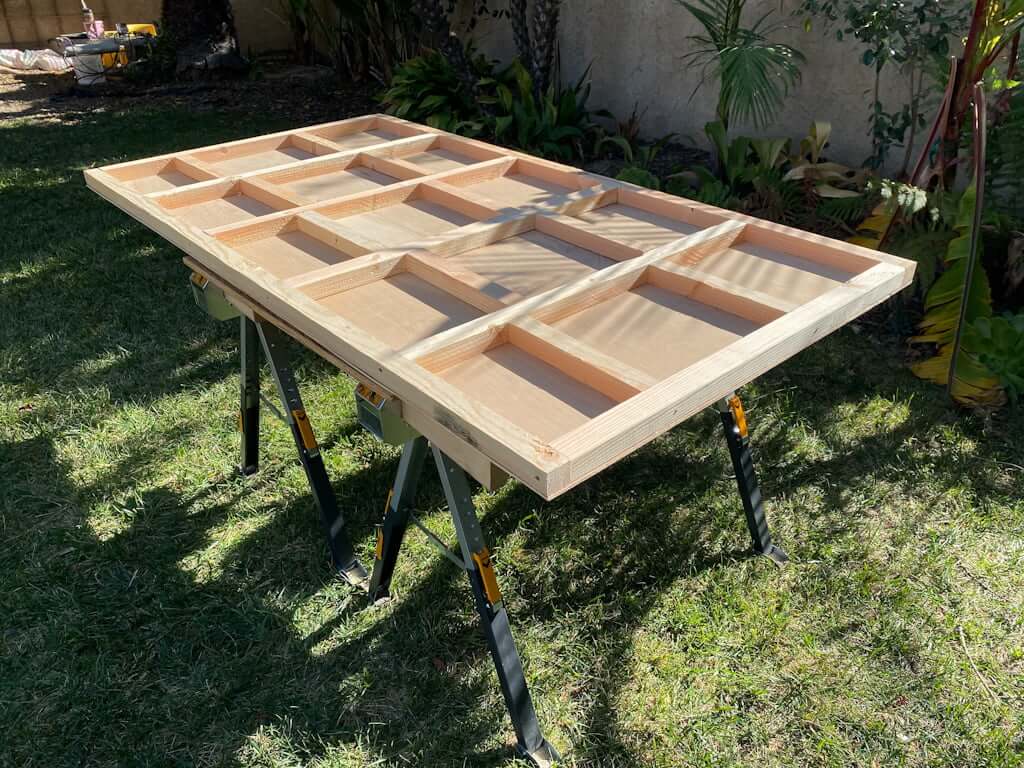
Step #1: Building the headboard.

We built our headboard using 1/8″ plywood and 2″x4″ studs for support. In order to reduce weight, Matt split the 2x4s in half to create 1.5″ x 1.75″ pieces.
After building a rectangular frame with four vertical beams for support, he added horizontal support pieces in between to solidify the frame.

He then cut the 1/8″ plywood down to the size we wanted (we designed our headboard to be 76″wx40″h to fit well for our California King mattress) and screwed the plywood to the front side of the frame.
DIY UPHOLSTERED PLATFORM BED:
Step #2: Building the footboard.
The footboard uses the same 1.5″ x 1.75″ pieces as the headboard. Matt built a rectangular frame with vertical support pieces in between to solidify the frame. He then cut the 1/8″ plywood to our desired size (our footboard is 76″x11.5″) and then screwed the plywood to both sides of the footboard frame.
DIY UPHOLSTERED PLATFORM BED:
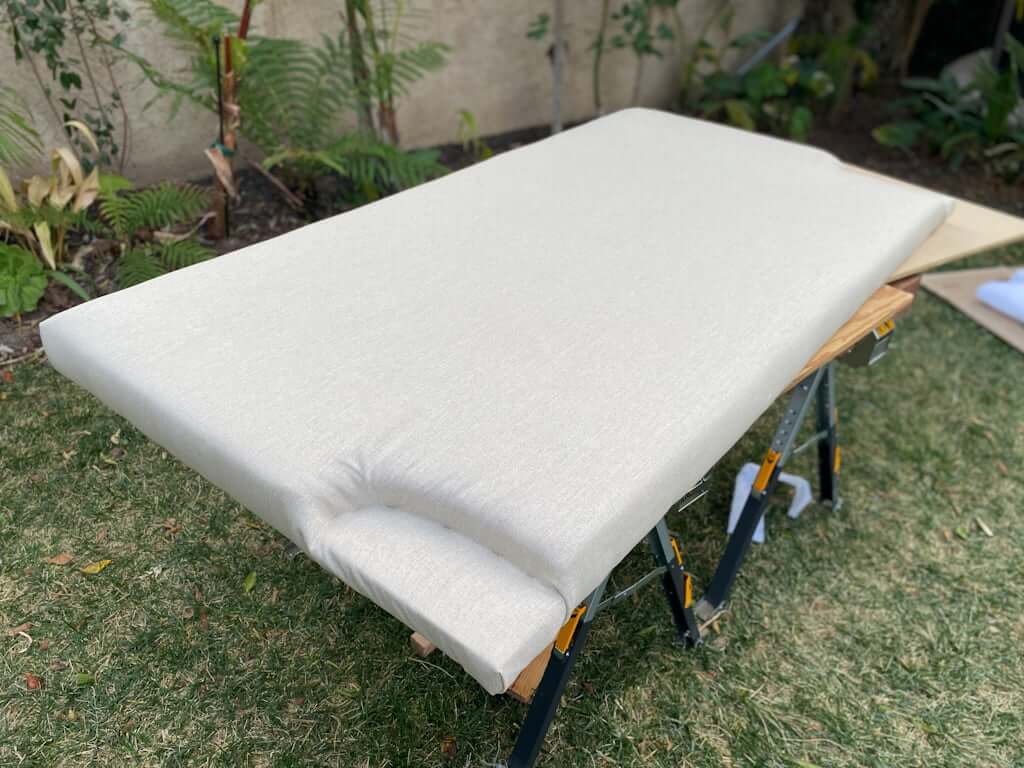
Step #3: Cutting the foam.
First, we lined up the foam on top of our headboard and marked the line of exactly where to cut it.

We then flipped it over so we could see the line. Using a sharp knife, Matt cut the 2″ thick foam along the line so it would be the exact size of the headboard. We didn’t adhere the foam to the plywood headboard because we knew our next steps of wrapping it with batting and our final fabric would hold this headboard foam in place just fine.

DIY UPHOLSTERED PLATFORM BED:
Step #4: Wrapping the headboard.
Next, we wrapped the headboard with batting and secured it with staples on the back.

You may notice (see photo below) that we cut two rounded sections out of the foam in the lower corners for our sideboards to attach directly to the wood of the headboard.

(Alternatively, you could have your foam only come down the headboard as far as you want and build the lower portion of your headboard with a thicker wood so that the sideboards can attach directly to those. Just depends on the look you want!)
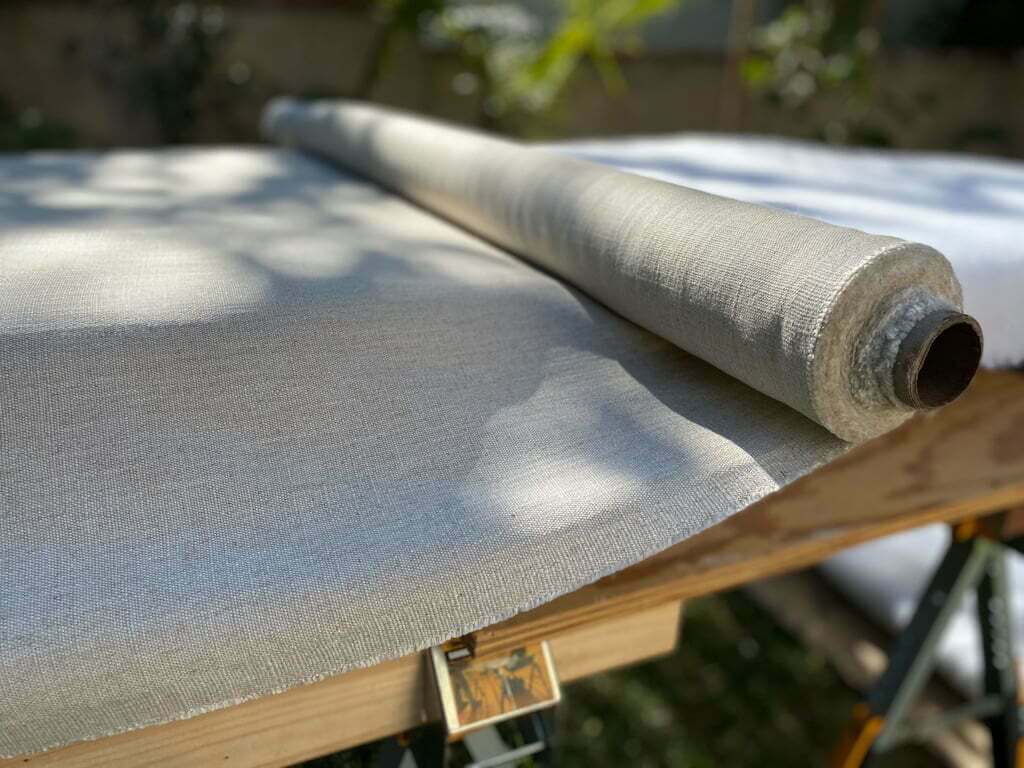
We then wrapped the headboard with the fabric, being VERY careful to look at the lines of the woven fabric to make sure they were straight and in sync with the lines of the overall headboard.
➥ TIP: Pay special attention to the fabric on the parts of your headboard that will show most!
We originally laid out a swath of fabric only to notice there were some imperfections in it that would stand out too much when centered on the headboard. So we used those pieces on another part of the upholstered bed and rolled out a fresh piece, checking carefully for any major imperfections in the fabric before cutting it for the headboard.

The last step to finalizing the headboard for our DIY platform bed was stapling it along the back to secure in place.
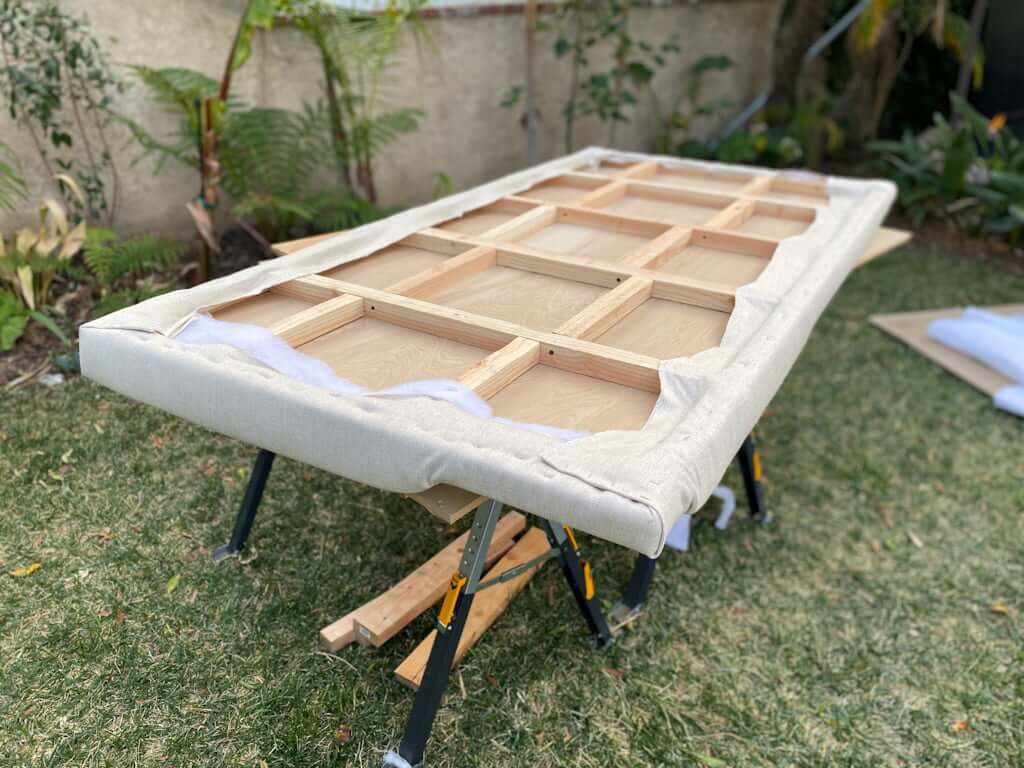
Here’s how the headboard looks without the sideboards attached. You can see the corners (mentioned above) prepped for the sideboards to attach to. (None of that will show once the final bed is put together.)
DIY UPHOLSTERED PLATFORM BED:
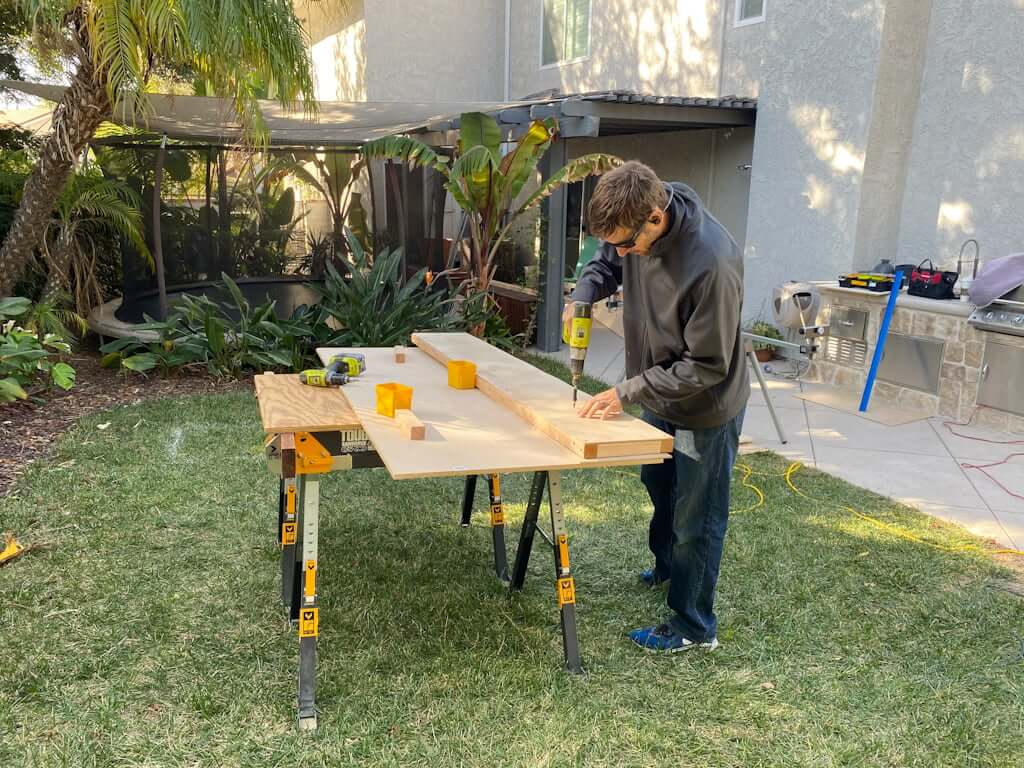
Step #5: Wrapping the sideboards & footboard.
We used pine boards measuring 11.5″ x 3/4″ to make our sideboards. A 2″x4″ stud is screwed into the pine board as a support for the cross beams for the mattress.

board | batting | corner brace
To that we can assemble the bed once we’ve wrapped it in fabric, we used two 2″ corner brackets on the end of each sideboard. They’re screwed on the support beam and top portion of the sideboards on each end.

board | batting | corner brace
Just like we did with the headboard, we then wrapped the sideboards and footboard with batting all around, securing with staples.

board | batting | corner brace
We then wrapped the sideboards and footboard for our platform bed with our fabric and stapled along the back (or internal) side.

board | batting | corner brace |fabric
DIY UPHOLSTERED PLATFORM BED:
Step #6: Adding extra floor protection.
Just as extra protection, we added these nail-in felt floor protectors on the headboard and footboard bases. Even though they’re upholstered and wouldn’t damage the floors, we didn’t want our floors to damage our upholstered bed!

felt protector | fabric | similar rug | similar rug
DIY UPHOLSTERED PLATFORM BED:
Step #7: Assembling the bed.
To assemble the bed, we first placed the headboard. While Jess held the sideboards in place, Matt drilled and screwed the sideboards to the headboard (using those 2″ corner brackets shown earlier on the end of each sideboard).
We then placed the footboard and did the same, attaching each sideboard to the inside of the footboard.
We then placed the support studs evenly on the interior of the frame to support the mattress.
DIY UPHOLSTERED PLATFORM BED:
Final Cost Breakdown
Studs (15 @ $3.98 ea) = $59.70
Pine boards (2 @ $21.75 ea) = $43.50
Corner braces (4 @ $3.86 ea) = $15.44
1/8″ plywood piece = $7.74
Screws = $4.00
Fabric (7 yards @ $37/yd) = $259
Batting = free (leftovers)
Foam = free (leftovers)
Total = $389.38
Our biggest ticket item was clearly the fabric, but we knew it was one we loved since we used it on our custom living room couch last year. And, since we had the batting and foam for free, that helped defray the costs!
You could easily do it for even less if you wanted to. Two ideas:
- Joann’s has some good upholstery fabrics and when there’s a good coupon, you can really score on the price!
- Another idea is to go to a home discount store (such as HomeGoods or Ross) that sells drapes and curtains. If you find some panels made of a fabric you like and with enough yardage for your project, the price per yard can work out to be quite low!
Next, to see our completed bed, click here! Or, you can see what our master sitting area is looking like!
Our master bedroom: The complete list of layout, decor, and design ideas!
We also have DIY plans for building drawer dividers!
View all our house projects HERE!
View all our plans & guides HERE!
*This post contains affiliate links, which are no extra cost to you but help us keep this site alive!


Hi,
What a beautiful job. Thanks for sharing the details. Can you tell me what the resulting height is of the bed both with and without a mattress. I know it depends on the height of the sleeper but it would be a helpful place to start to know what the heights are that I see in your photos.
Thanks!
Hi Paola! Thank you; it really did turn out beautifully!
We actually sold this bed when we moved several years ago so we don’t have it anymore. (You can read “Why We’re Selling Our House After ‘Perfecting’ It Over 7 Years!” https://thebrainandthebrawn.com/why-were-selling-our-house 👈😍)
My best advice for choosing the height that works for YOU (because what exact inches worked for Matt and I doesn’t necessarily mean everyone else has to choose that height—we’re both taller than average!😆) would be to measure your current bed heights for yourself and/or whoever is using the bed and decide whether you wish it was higher/lower and by how much! 🙂
Jess