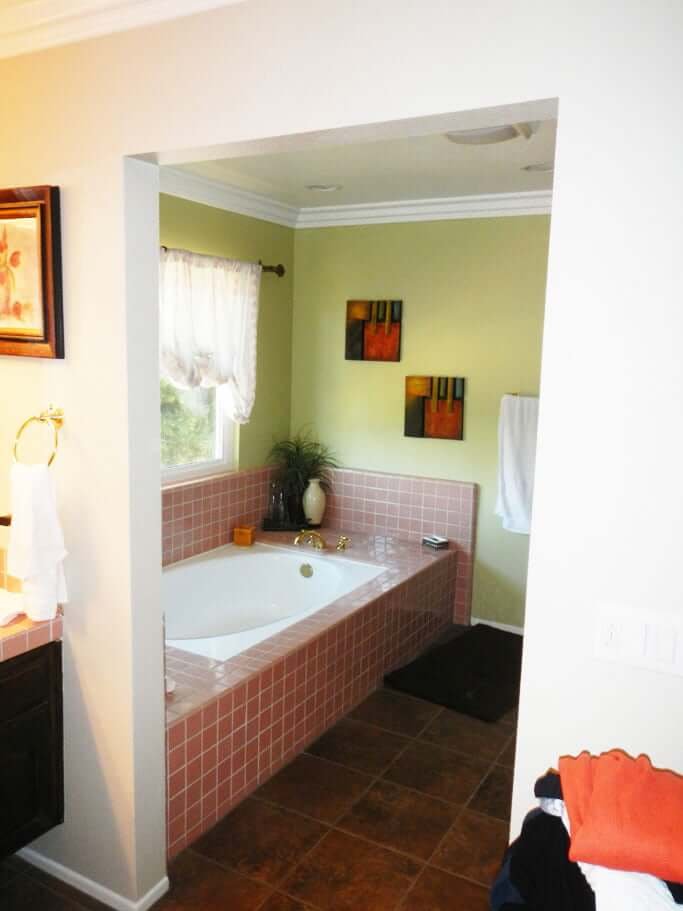
We demo’d our old master bathroom and, instead of replacing the built-in tub, decided to put in a freestanding tub.
That wasn’t an easy decision at the time, because we were torn. We’d seen some beautiful built-in tubs. Heck, even the whole original hotel-suite-inspiration for this bathroom had had a built-in tub.
However, we decided to go freestanding and here’s why:
- The floor area was a bit tight before, with the built-in tub.
- When we decided to expand and move our shower, we needed to enlarge the W.C. area just a bit.
- That would take up even more floor space, so we decided against re-tiling the old tub, opting instead to replace it with a freestanding one.
- All function aside, the designer on this project (Hello! My name is Jess) decided it would simply look good!
And I love it when it’s both functional + beautiful. Pretty much the two things we’re aiming for in every corner of our home.
THE FREESTANDING TUB ON INSTALL NIGHT:
Yep, bad nighttime overhead lighting and all, here’s a quick pic to show you what it looked like when it first arrived:
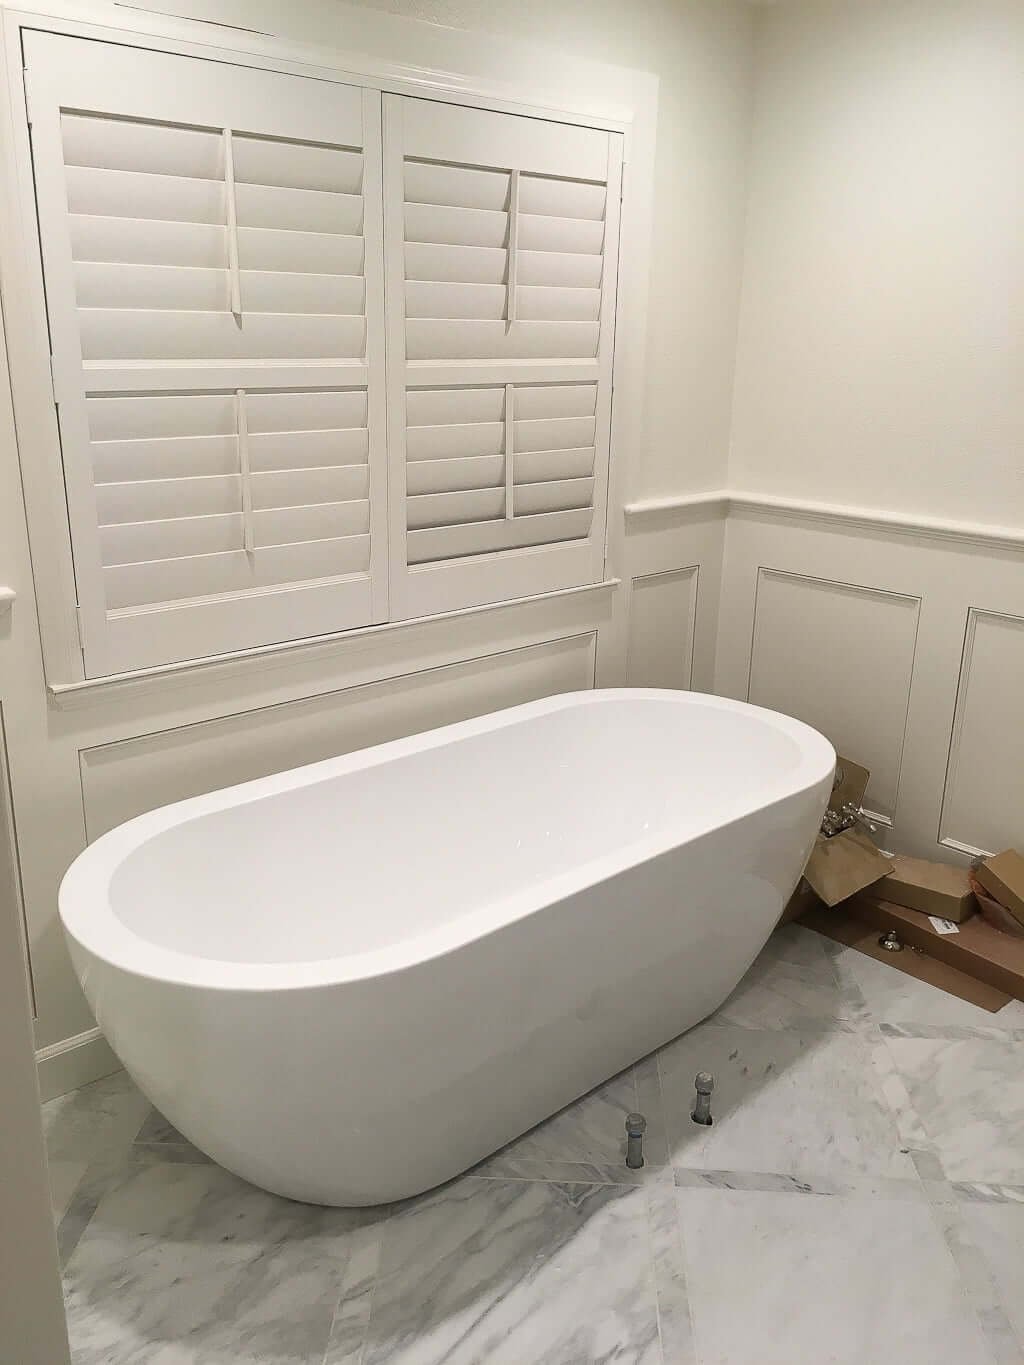
And the tub didn’t get dropped on the way in! Hurrah!
WHY WE CHOSE THIS FREESTANDING TUB:
I chose the particular tub we did for two reasons:
- It was extra long. (I am tall. Matt is tall. And while he may never in his life take a bath in this, I’d like him to have the option.)
- It had a thick lip around the edge. I specifically was looking for that.
Why so specific on #2? Well, one of the reasons I went back and forth so much on the built-in tub was because I like having the option to set things around the tub. (Another example of my need for things to be functional first.) Items like candles, books, and/or water. Thus, all of my searching for freestanding tubs for this master bathroom centered on size as well as having that “ledge.”
Let me tell ya, I was thrilled when I finally found the perfect one:

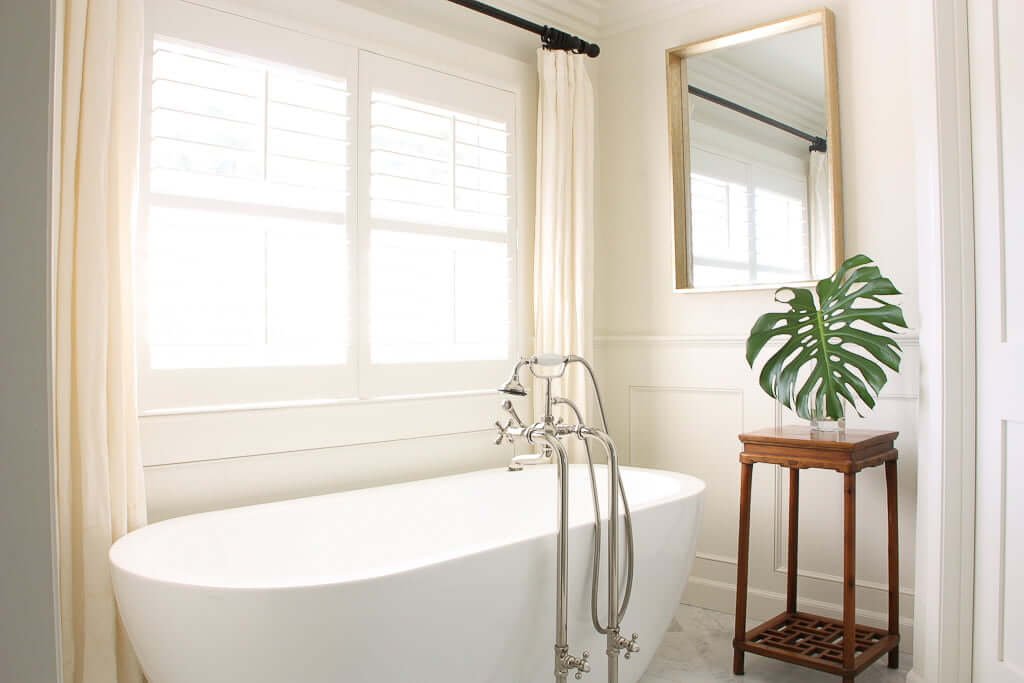
ADDING CURTAINS:
While we did have the plantation shutters already installed (both for privacy as well as energy saving), I added curtains. Bathrooms can be so starkly functional and cold-looking (thanks to things like tile and porcelain) that I wanted to soften the look.
My favorite linen-y curtains were the answer. They’re slightly cream-colored, which I think is gorgeous with all the whites and greys (which again, can be a bit cold-looking if left alone). These curtains just warm them up! Whites and creams can look so beautiful together. It’s fun to play with.
(Why did we choose to do so much white? Click here to see!)
ADDING MORE WARMTH:
I also couldn’t wait to add this antique plant stand we had.

The wood helps warm the space a bit, as well as ties into the wood of our vanity. (Spoiler alert: our vanity will be a stained wood.)

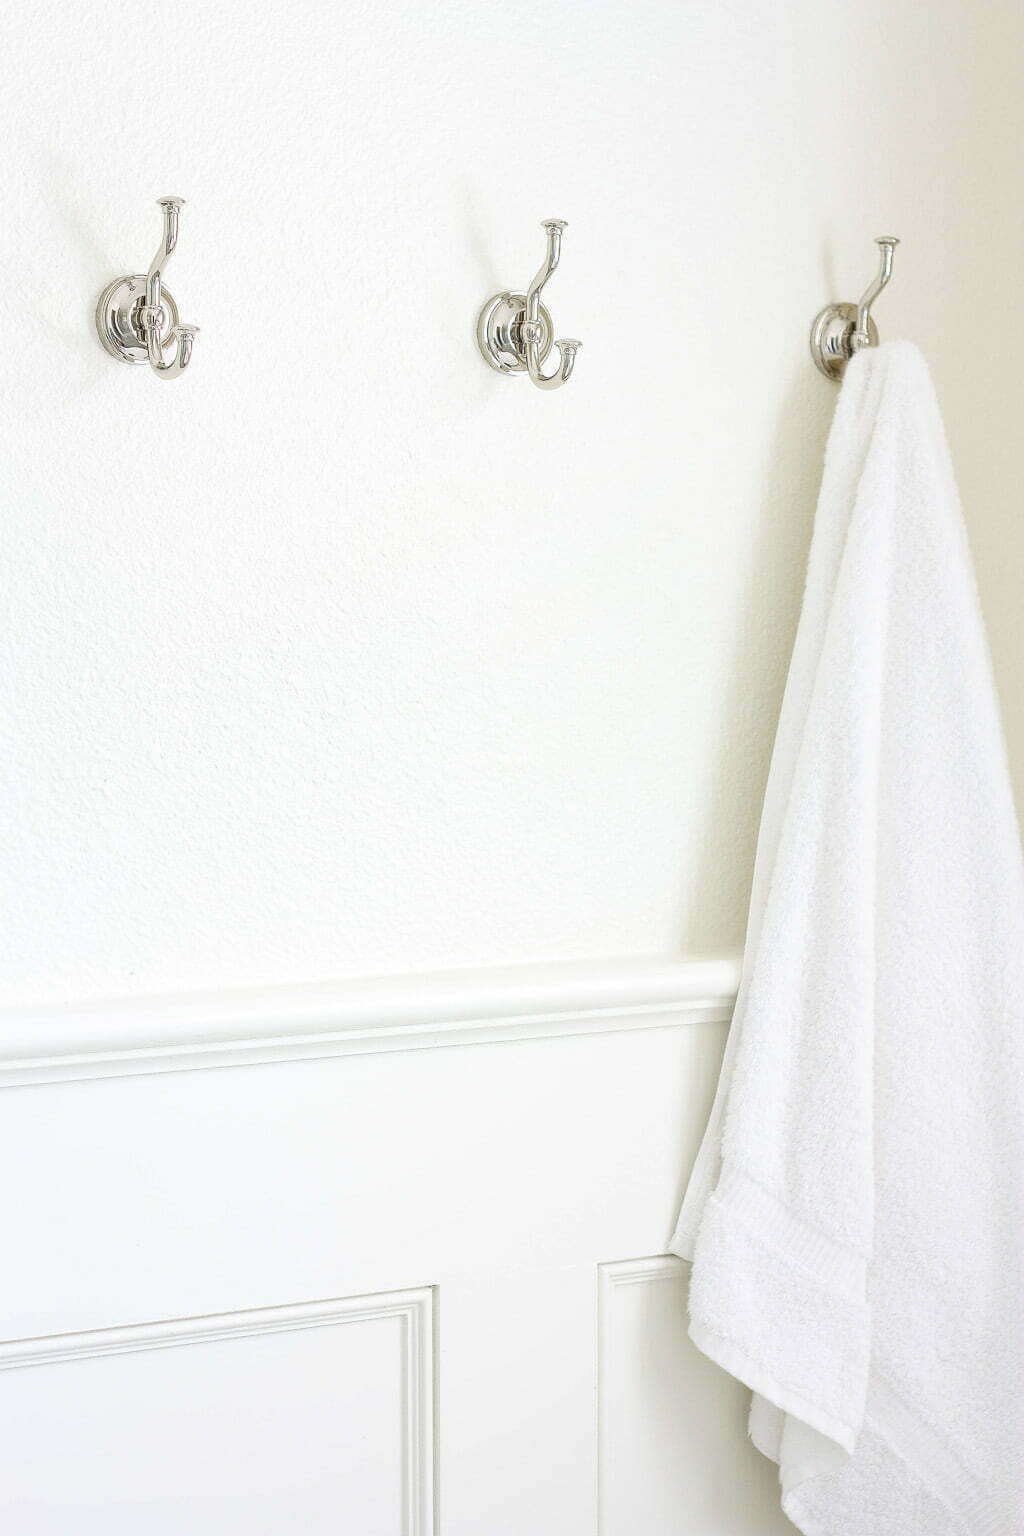
TOWEL HOOKS:
For hardware, I went with my absolute favorite finish—polished nickel. It has the almost-look of chrome, but warmer.
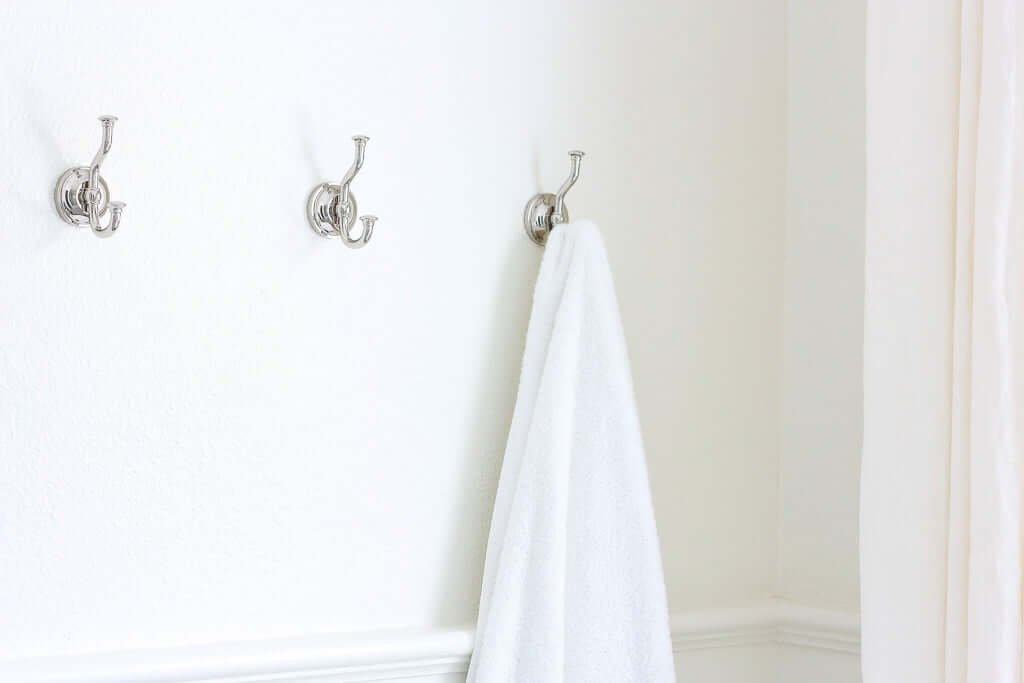
(I’m using all my self-control right now to NOT write you several paragraphs expressing my love of polished nickel. It goes that deep.)
Usually, polished nickel is more expensive than chrome. However, we had saved so much budget on our floor tile that we were able to put some of the savings towards hardware I’d look at and love every day.
And I do! I really do. (I think I express my gratitude for this bathroom at least once, if not multiple times, per day.)
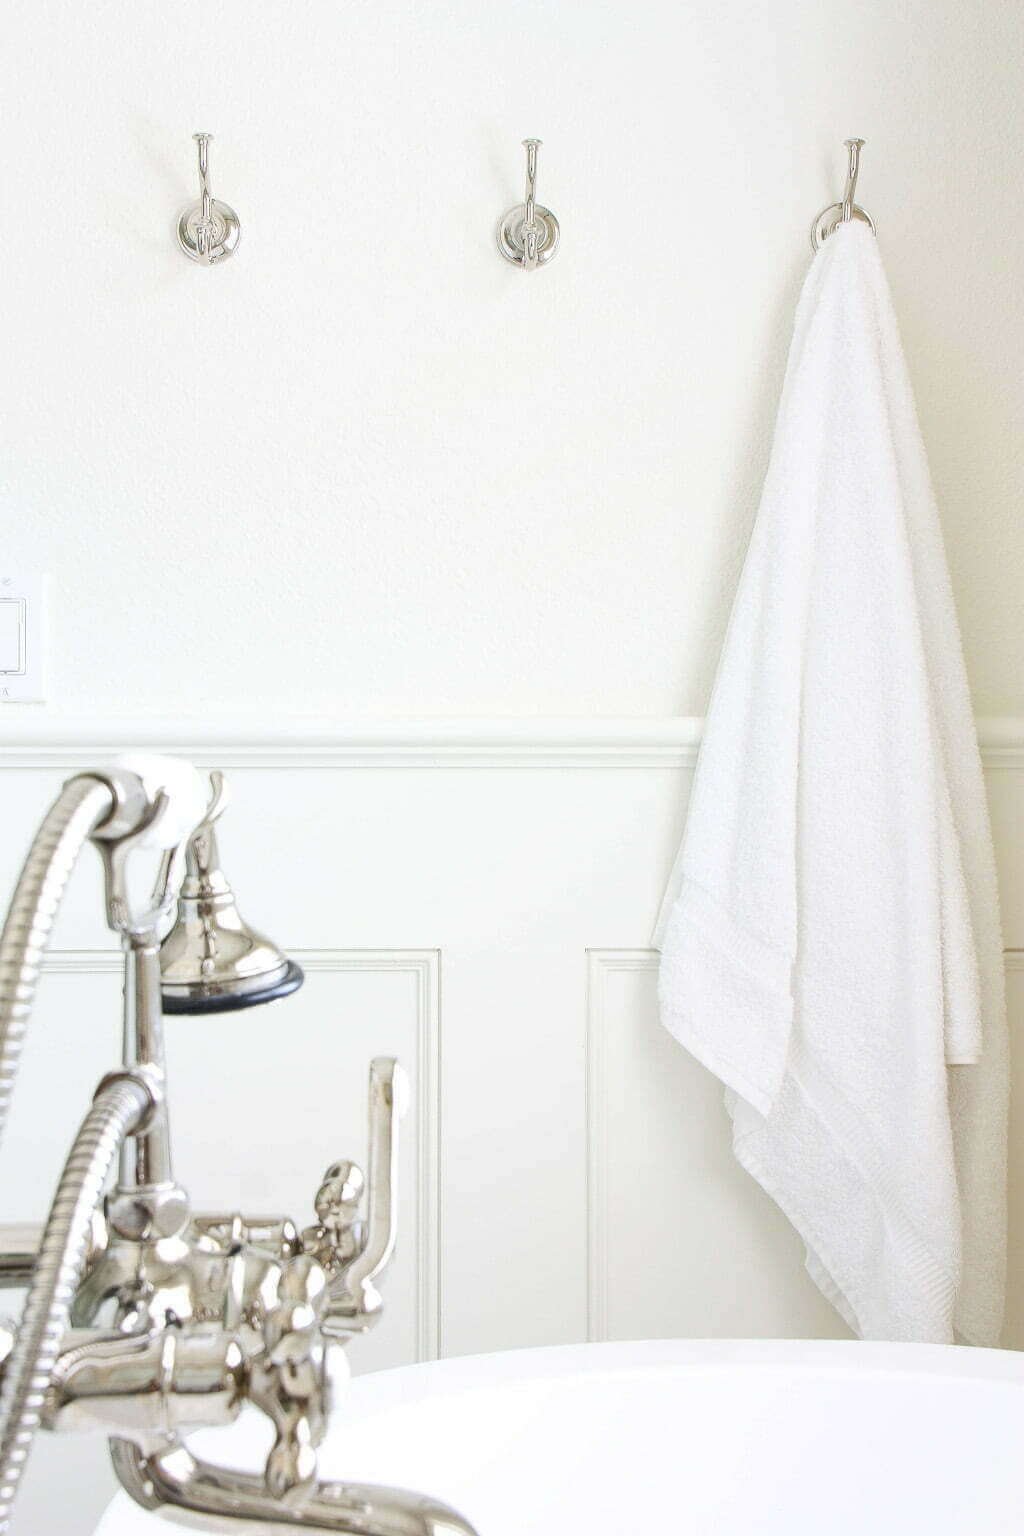
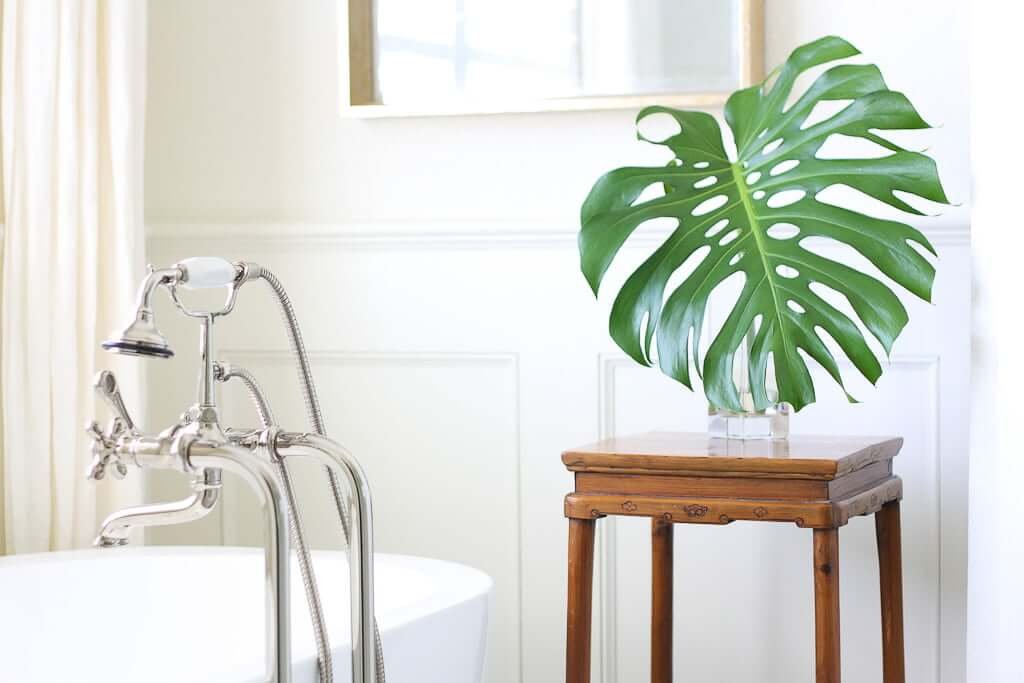
FREESTANDING TUB HARDWARE:
Now that you’ve already caught a few peeks of the tub hardware, let’s move in closer.
This photo shows the warmth of the polished nickel I was talking about. Isn’t it yummy?!

My requirements for our freestanding tub hardware were as follows:
- I wanted the shower wand attachment. (Not only useful, but it gives that beautiful, classic, old world style bathroom look.)
- I wanted cross handles.
- I wanted it to be freestanding, not wall mounted.
In all my searching for polished nickel hardware that was not crazy expensive but still looked beautiful and had all those features, I found this beauty:

PLACEMENT OF THE FREESTANDING TUB FAUCET:
We did originally think we wanted the faucet to be under the windows, but the shutters couldn’t open if we did that. (Any freestanding tub hardware we liked was too tall.)
So we decided to try the faucet on the other side, and it’s worked out really well. We’re still able to swing open our shutters (we open all the windows in our house for fresh air every day we can!)…
…and this also had the unexpected bonus of showing off the beauty of the tub hardware fully, whereas behind it tub it would’ve been half hidden.
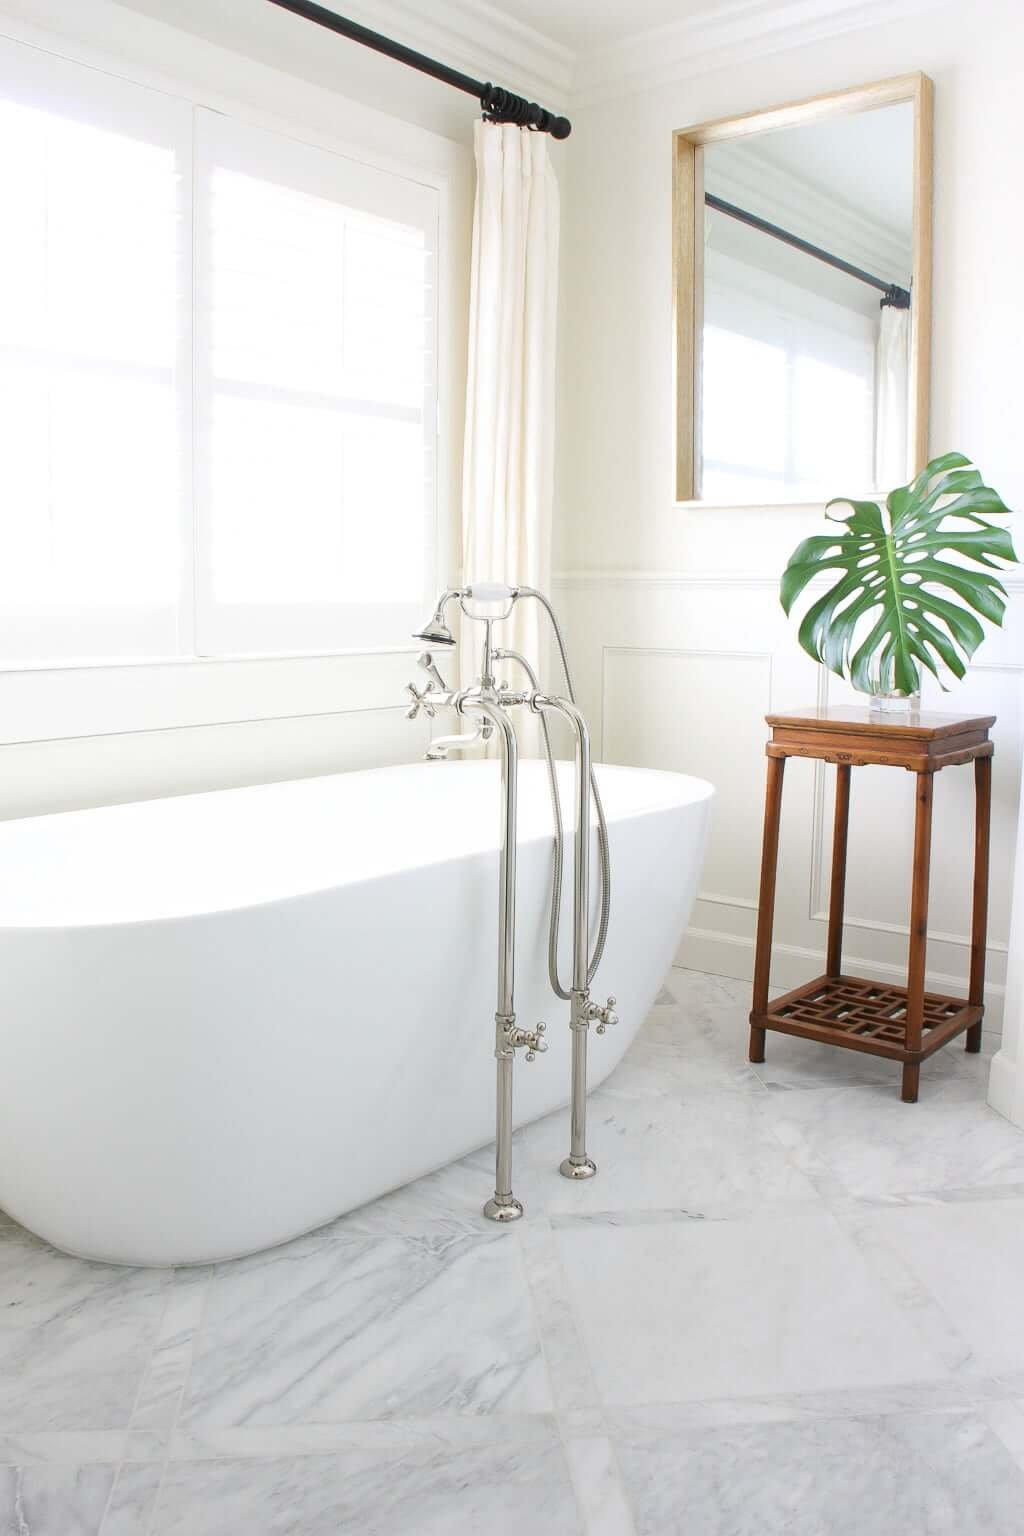
I mean, those extra set of cross handles on the lower section for the hot and cold pipes below…aren’t they just so fun? I can hardly stand how smashing they look! (Yep, I said smashing and it felt totally natural. I blame all that English literature.)
For some reason, those cross handles remind me of a 1920s bathroom. Something classic and well-made. Something that stands the test of time. Never out of style.
MASTER BATHROOM STYLE:
So, maybe I wanted a 1920s-esque bathroom with 21st century luxury and updatedness? Hmmmm…
Nah. Not sure we can label what style I was going for because—remember—this was all based on my own feeeeeeeelings and haaaaaaaazy memories of the incredible bathroom of a hotel suite we were upgraded to at one point in our honeymoon. (A bathroom I took a photo of but lost somehow in all our various interstate and international moves.)
I had no real set “style” in my mind. I was designing with my gut. And even though I can’t define the style of this bathroom design here for you, I can genuinely admit that
I like it even better than my “dream” one!
Which is fantastic news because, honestly, it can be daunting to design a room inspired by a much bigger/professionally done one. (Especially with less budget than they used.) Can you pull it off? Will it turn out looking alright? Or will it make no sense and all look mish-mashed?
We like our new master bath and think everything in the space makes sense and is cohesive. Not a day has gone by that Matt or I don’t make a comment about how grateful we are for it and how nice it is to use!
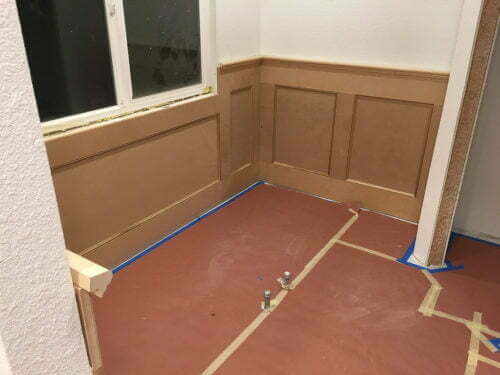
WAINSCOTING AROUND THE FREESTANDING TUB AREA:
We covered the details about our wainscoting style and installation in our wainscoting post.
I’ll simply bring closure by saying we’re pleased with how it turned out, and we’re thankful we thought of adding it to this space.
Can’t imagine how our master bathroom would look without the wainscoting, honestly!
ABOVE OUR FREESTANDING TUB:
To chandelier or not to chandelier?
So yo. Here’s where we stand:
we have no light above the tub right now.
And we are totally cool with that.
But I did have Matt make sure there was a place to put a future hanging light above the tub. (It’s covered with a ceiling plate right now so not noticeable.)
I looked high and low for a lighting piece I’d like in here. You may remember (if you’ve seen the before & afters of our first house), that it’s near impossible for me to find lighting that I approve of. (One day I’ll start my own lighting design business for people like me. Because it’s a definite pain point!)
Do I have ideas? Yes. Am I convinced I even need a light hanging down here? No.
In fact, I’ve loved the simplicity of the space without a hanging light. And in true minimalist fashion, why add something I don’t need? But I’m glad I had Matt run electrical there just in case I change my mind or come up with a brilliant option in future.
Because there are plenty of jokes about a woman changing her mind. So I say why fight it? Keep your options open! Yeah, who’s laughing now?!
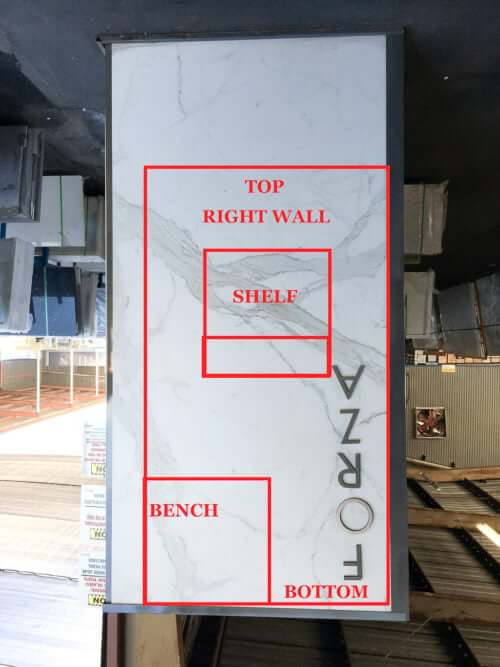
THE TILE:
I’ll briefly draw your attention to our finished floor tile. If you’ve read our post about how we created this pattern ourselves (with minimal cost!), you’re already familiar with it, like an old friend.
tub | faucet | hooks | towel | tile
Doesn’t your old friend look snazzy? A balance of subtle and unique—yet not so “unique” that it’s screaming for attention.
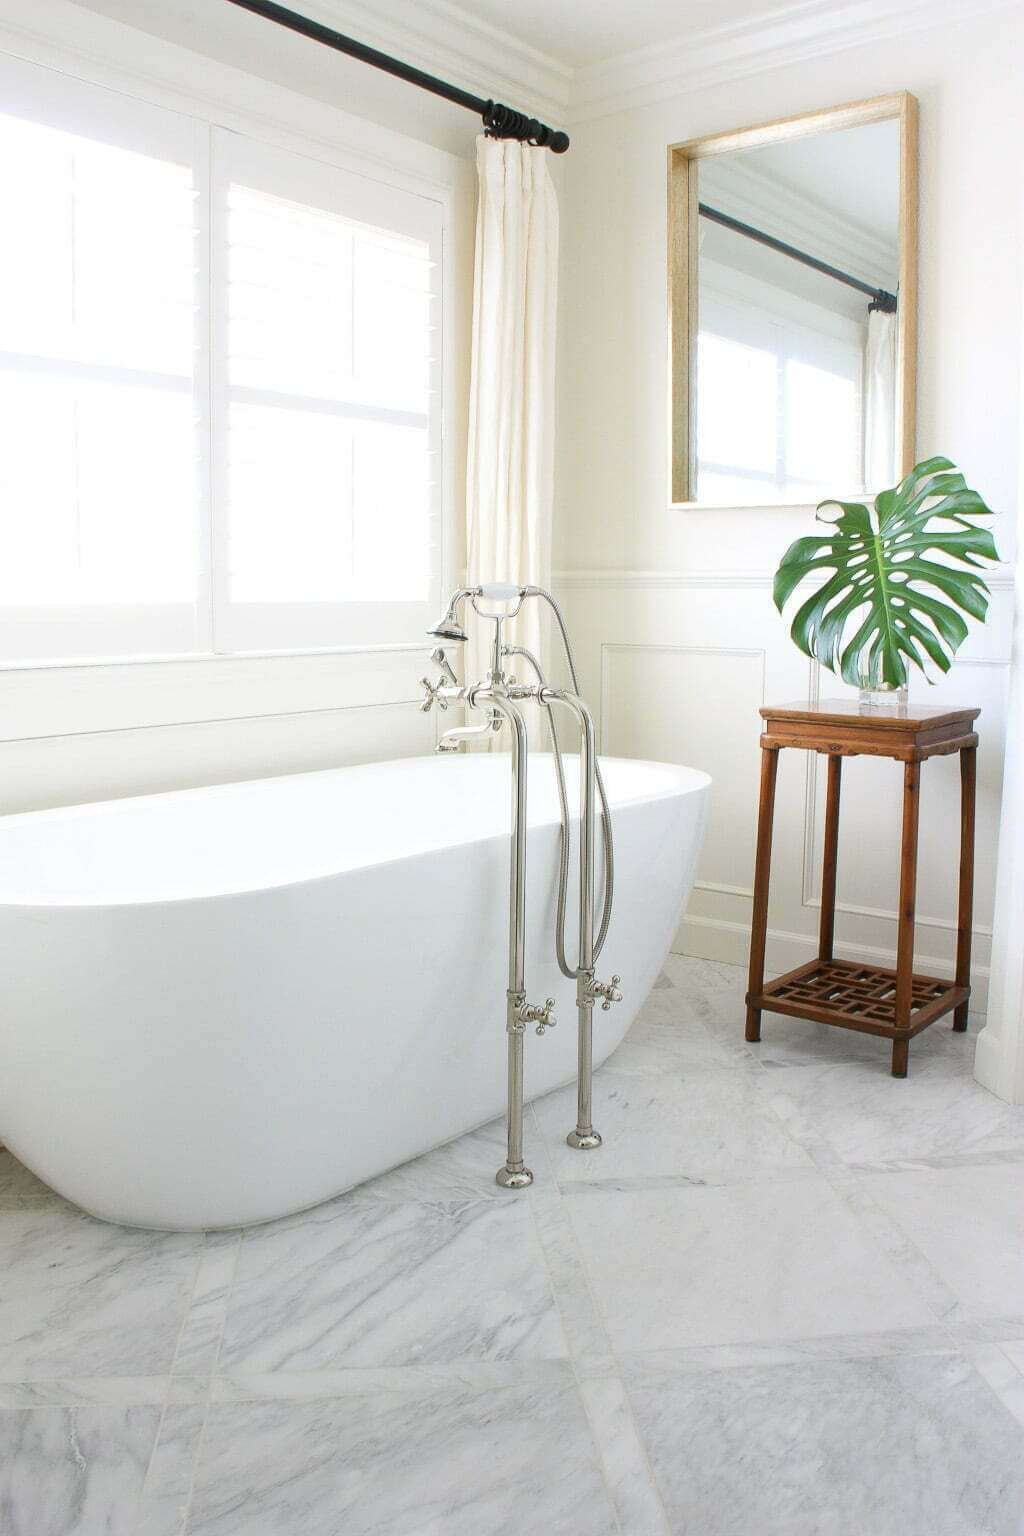
IN DIFFERENT LIGHT:
You can see how the light changes in this bathroom. We get morning sun (through our favorite huge backyard trees), then it’s on the other side of the house in the afternoon.
tub | faucet | hooks | towel | tile
So you get a glimpse of how the light can look at different times of day. It’s beautiful.
Last thing I’ll say about the tub: it’s an acrylic freestanding tub, so I was concerned it would be cheapy feeling and bug me, but nay. It feels fine. It’s lovely and functional and fits the space perfectly. Would I like a gorgeous old stone tub in this same size and shape? Sure. But I’d also like a private jet. (And if I bought a stone tub, it would also deplete my saving progress towards that jet. You see the logic.)
BEFORE:
AFTER:

*This post contains affiliate links, which are no extra cost to you but help us keep this site alive!
Next, see what we’re doing for our shower here!
Or click below to see
- Reimagining our bathroom floor plan.
- How we got our high-end bathroom floor tile design for (almost) free.
- Cozying up our bathroom walls with wainscoting.
- What we used for our non-slip shower floor tile!
- How we designed our own vanity.
You can view our Complete Bathroom Remodel list. Or, see every single one of our house renovation projects HERE!
PS: To get our help directly with what’s on your wishlist, whether it’s remodeling a bathroom or changing things up aesthetically you need what’s on THIS PAGE!


Hi, So thrilled to find your site tonight as ready to do a bathroom remodel. I have a question about your bathtub. One of the reviews, #13, said the finish “pitted.” Have you had any problems? Another mentioned installation was hard if floor not perfectly level.
Also, were you able to find a polished nickel drain cover?
Hi Chris!
We had zero problems with the tub over the years—always looked like new, honestly. (And we used it! Even the kids when they were little!)
Installation was simple and straightforward with no issues at all.
I’ll have to look back and see about the drain cover as I don’t recall off the top of my head. My first instinct is to say we did a chrome one… Clearly whatever we did didn’t set off a Jess alarm and I never thought about it again.🤣
Happy home improving! 🙂
Jess & Matt
This is exactly what I want in our future master bathroom! Love the wainscoting and floor tile design… but I’m curious how you manage to clean behind the tub (floor and wall)? Is that an issue with your design?
Hi Karen! It actually doesn’t get dirty very often but when I do clean, I have a thin mop or just one good old-fashioned hand swipe back there works in about 3 seconds per side! 🙂
Jess
Love this and how you utilized the space. Do you have the full dimensions of the remodeled bathroom layout anywhere?
Your super! I’m so happy I found you!
Aw, thank you!😄 Glad you found us too!
– Jess & Matt
Hello! How tall are you and your hubby? My hubby is 6’7” and we need a tub that will fit him (but we don’t have a whole lot of space! Did you get the 71” tub? Could your hubby fit in smaller?
Hi Jen! I believe we linked to all our bathroom products with link on our Shop page here!
I chose a big one so Matt could use it but honestly, he’s not into baths so never used it! 🙂 I, on the other hand, loooooooooooved it! 🙂
Jess