The (very inexpensive!) indoor and outdoor patio DIY seating projects we came up with in our last flat in New Zealand.
You’d think because I’m go-go-go most of the time, I wouldn’t get many chances to sit down. Thus, I’m not sure why I love creating cozy seating so much.
Maybe it’s because once I finally DO sit down, I want it to be AWESOME. I want my body to sigh with sweet ecstasy over the fantasticness of where I’m sitting and what I’m sitting on.
And when I have a friend over for coffee, or we have friends over in general, those are the times when I especially love to STOP doing and just BE with the people. I stop being go-go-go and just ENJOY the spaces we’ve created for the time we all have together when we’re not working and doing. Everyone just hanging out and being uber-comfortable and talking and connecting.
When we moved into our third flat in NZ, we had two things we had not had (both at the same time) in our first flat and especially not our second flat:
- An indoor dining area.
- A large outdoor patio area.
Finally, in our third place, we had BOTH.
The games could now begin! Jess was unleashed to figure out how to create all the DIY seating we wanted both indoors and out—for as few dollars as possible.
DIY SEATING PROJECT #1:
The Indoor Dining Area
Tip: When you’re buying used furnishings, they’re usually a LOT less expensive if they’re not part of a set.
People don’t usually want a random chair, or a random table. So they’re harder to sell and the price goes down, right?
My budget did not allow me to buy an entire dining table set that would seat 4-8 people. So I tried to piece one together and still not hate how it looked. (The latter is the biggest challenge. I can be a choosy lady.)
Of course, I turned to TradeMe (the best online place at the time in NZ for buying and selling used items), which had become my best home decor friend:
Step 1: I found an inexpensive used table. It was a dark wood style and in good condition. Check.
Step 2: Someone was selling two faux leather dining chairs for an unusually low price. Sold to me. They were acceptable to look at and I figured these could be my two chairs at each end of the table.
Step 3: Here’s where I hit a snag. If you’ve read about our amazing kitchen island in this same flat, you’ve seen photos of the space we were working with. It was narrow and tight.
Problem: This dining area was right by the door to the garage, as well as the main walkway between the bedrooms and lounge, with the kitchen island coming up behind it. There was no way we could fit chairs on BOTH sides of the long sides of the table.
Solution by Jess: benches we could slide under the table and just pull out when needed.
Problem again: No one selling or giving away benches that will fit our table’s length and under-height.
Solution by Jess again: appeal to my custom-furniture-making husband and request the perfect benches MADE FOR NOTHING. Yes? You can build these magical two benches for free, right? With none of your power tools, right?
Well, he finally bought some power tools for this one, as you can see. At this point we realized we’d be in New Zealand for awhile, or possibly Matt realized that being married to me REQUIRES THAT YOU OWN POWER TOOLS TO MAKE YOUR LIFE EASIER.
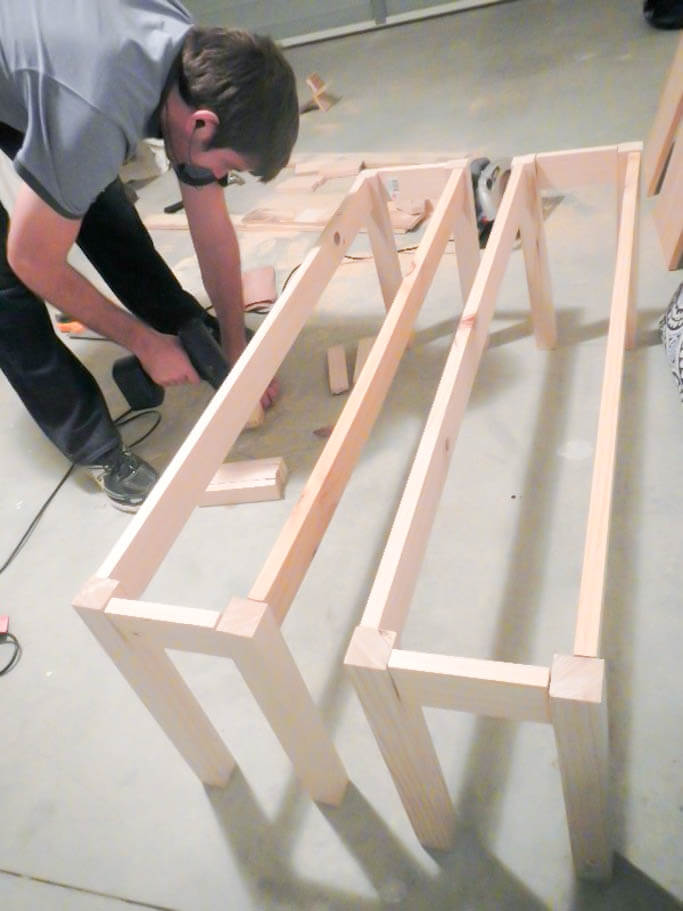
It’s a good thing his dream job is building furniture. I give him so many opportunities. Really, I do it out of love. Anyone can see that.
And when he makes things that turn out so pretty, who can blame me?
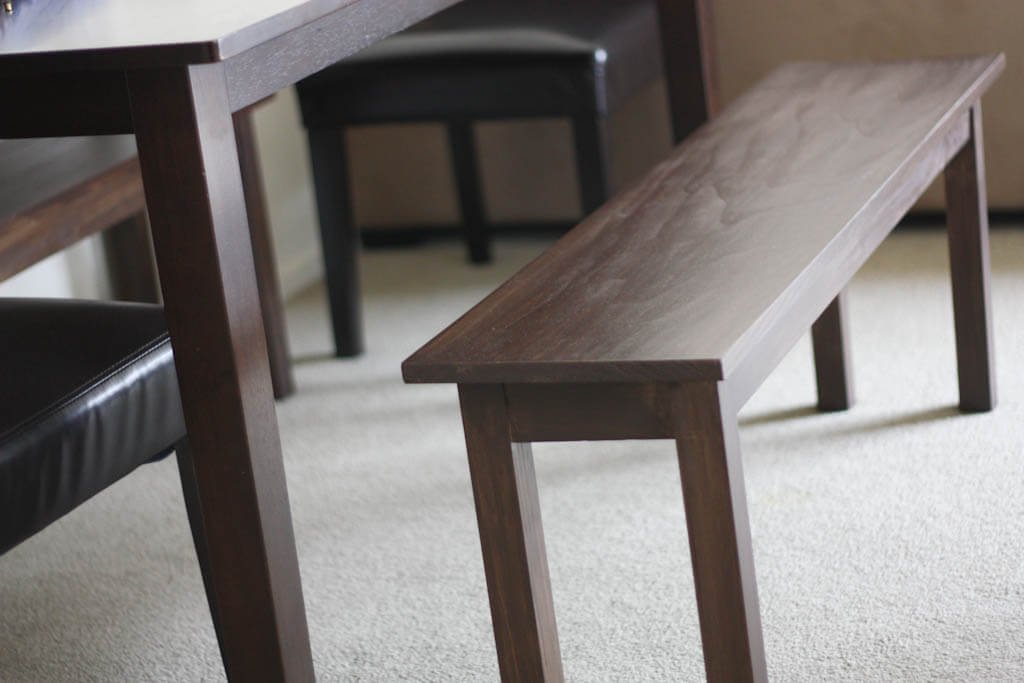
See how well they’ll just tuck right in below the table? They’re perfect!
I know what you’re wondering, and the answer is no. We did NOT use pallet wood for these benches, so they were not free. The table itself was so sleek and smooth that we wanted the benches to match.
Here’s a less-beautiful photo but it shows you how everything came together in the end, as well as showing how we could scoot the table away from the wall to create more seating. (Then scoot it back when we’re not using it so we can walk past in that walkway to the left.)

Ten points to you for spotting the second photobomb by our garbage can. (His first was here.) That guy…just loooooves to be the center of attention…
DIY SEATING PROJECT #2:
OUTDOOR CHAIRS
We wanted to enjoy our large patio in this flat (well, it SEEMED large after having nothing before), and so we needed somewhere to sit.
You know, somewhere comfy where you can sit outside after a long day at work, sip a cool drink, and chat with your best friend. These things require comfortable seating.
I needed two chairs. And I needed them for next to nothing.
Contestant #1:
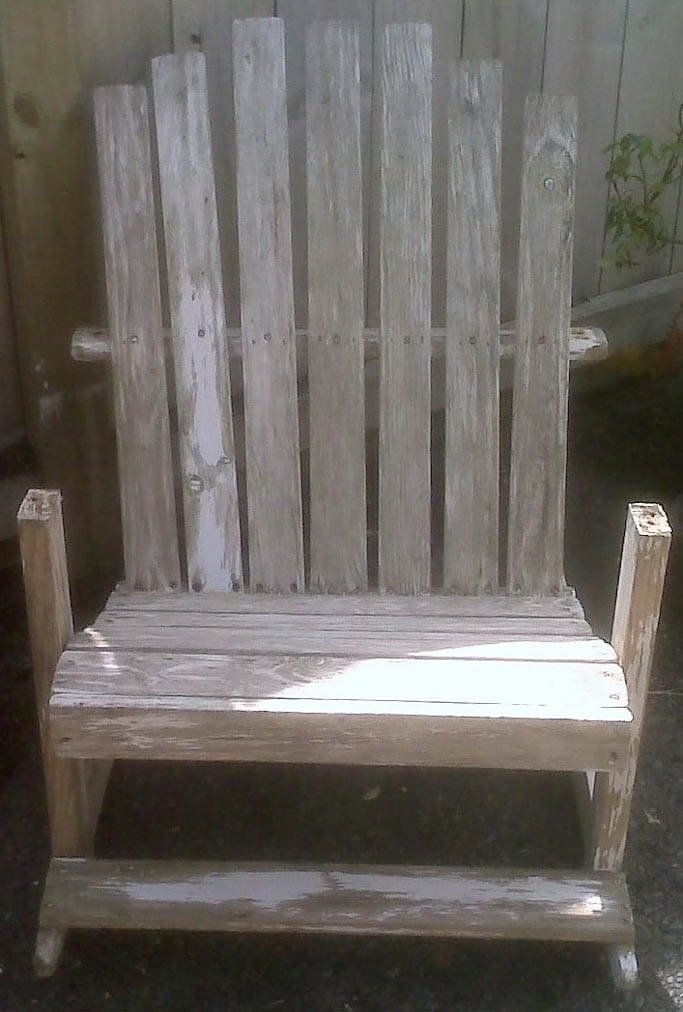
Our first contestant was an Adirondack chair with no arms. Poor thing!
Coolest thing was that she was a ROCKING Adirondack chair. (Notice how I’ve already personalized her. Yep. She is like a person and she clearly needs physical help. She has no arms, people. NO ARMS! S.O.S.!)
Contestant #2:
Our second contestant was a chair in a similar style to my favorite couch and chair set. And this guy was $5. New Zealand Dollars. (Which is about three American dollars. A three dollar chair, you guys—and it functioned!)
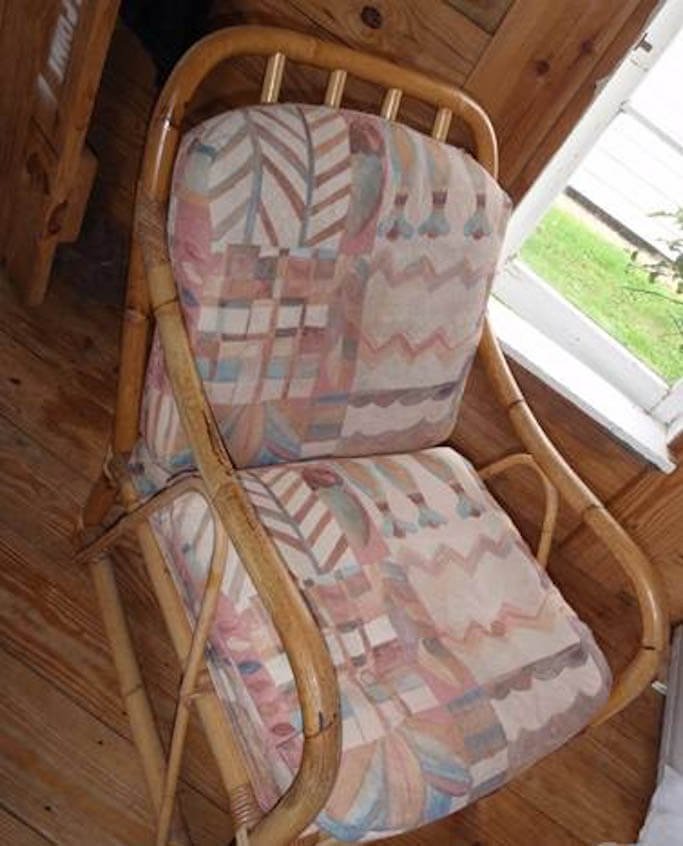
Sure, the covers smelled, but the interior cushions did not and they were in great shape.
Ready to see this happy couple together?

Here’s all we did:
- Built new arms for the Adirondack chair.
- Painted both chairs to match (instead of leaving the natural bamboo like I had on my lazy couch + chair project).
- Sewed new cushion covers for the bamboo chair.
Don’t they look happy together? So much happier than they were before. I feel like we did some good chair matchmaking here.
And, as they say in New Zealand, we did it “cheap as chips.”
DIY SEATING PROJECT #3:
OUTDOOR PATIO TABLE
Like Project #1, I knew we didn’t have the budget to buy an entire outdoor dining table with chairs. We wanted to have seating for at least 4-6 people, but preferably 8.
That’s a tall order when your budget is loooooooooow.
SOLUTION: Find a broken table base.
A woman was selling her table base that had had a glass top on it. The glass had broken, and so she was selling just the metal base.
You know what we envisioned on top when we saw that empty base? You’re right. Free pallet wood. (You’re getting so good at this!)
STEP 1:
Locate cheap and/or free table option. Check.
STEP 2:
Locate chairs. We found someone selling a set of four wood chairs I really liked. They were weathered but we figured we could stain them. We could then build two dining benches (with free pallet wood this time! they’re outside, why use nicer stuff?) and stain those to match as well.
STEP 3:
Locate an umbrella + base. Bonus points for it being my favorite color. (Green! The color of plants!)
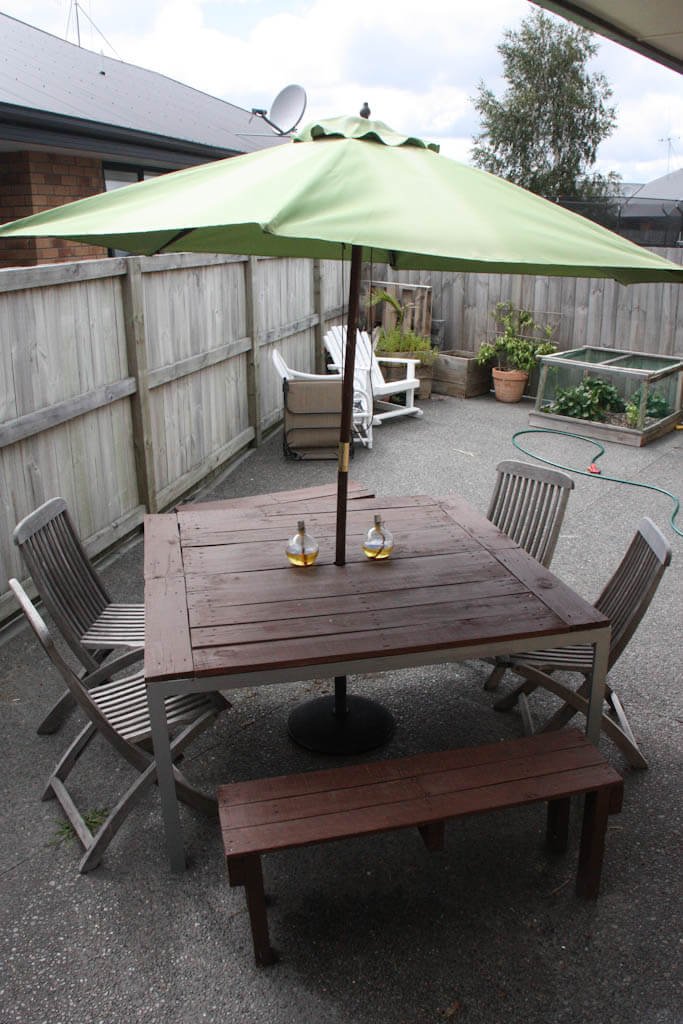
We stained the pallet wood on top of the table the same color as the benches. We never actually got around to staining the chairs to match, for
- There’s a lot of detail in there with all those vertical wood pieces, so it would take a lot of time and we were too busy with travel and other life stuff to get to it before
- we had the incredibly, incredibly bittersweet decision to make (for a myriad of reasons…a myriad!) of leaving our beloved New Zealand and a chance to move to another beloved place: California!
PS: You can catch up on our other DIY projects from New Zealand right here, including a kitchen island cart, pallet furniture, and the time Jess recovered an entire couch and chair set she found for $13—in one day.