If you remember from back when we lived in our first house (circa 2006-2011!), my dream allllllll the way back then was to have a no grass front yard.
Matt wasn’t on board, so we compromised back then and did some “low” grass landscaping in our front yard.
Now, after living in California for awhile and seeing the water bill in a state that does NOT get as much free rainfall as Oregon did, Matt has come around.
SUCCESS FOR JESS! Our no grass front yard was finally within reach! (Almost a decade later, but who’s counting? 🙂 )
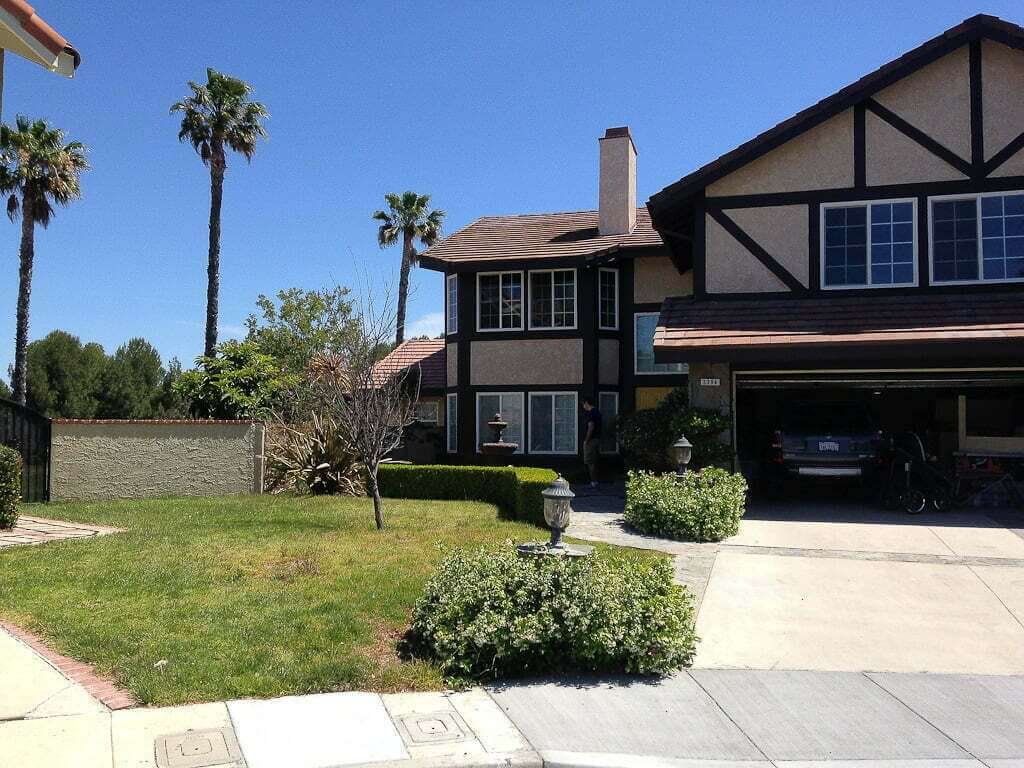
You may have noticed from that photo that I’ve already been at work here in front. The front entry walkway isn’t as overgrown as you saw on the outdoor (before) tour.
Yes, Jess has been there with the clippers. I’ve cut back or removed many of the overgrown plants. I think I did that on Day 1 of owning this house. Couldn’t live with it like that.
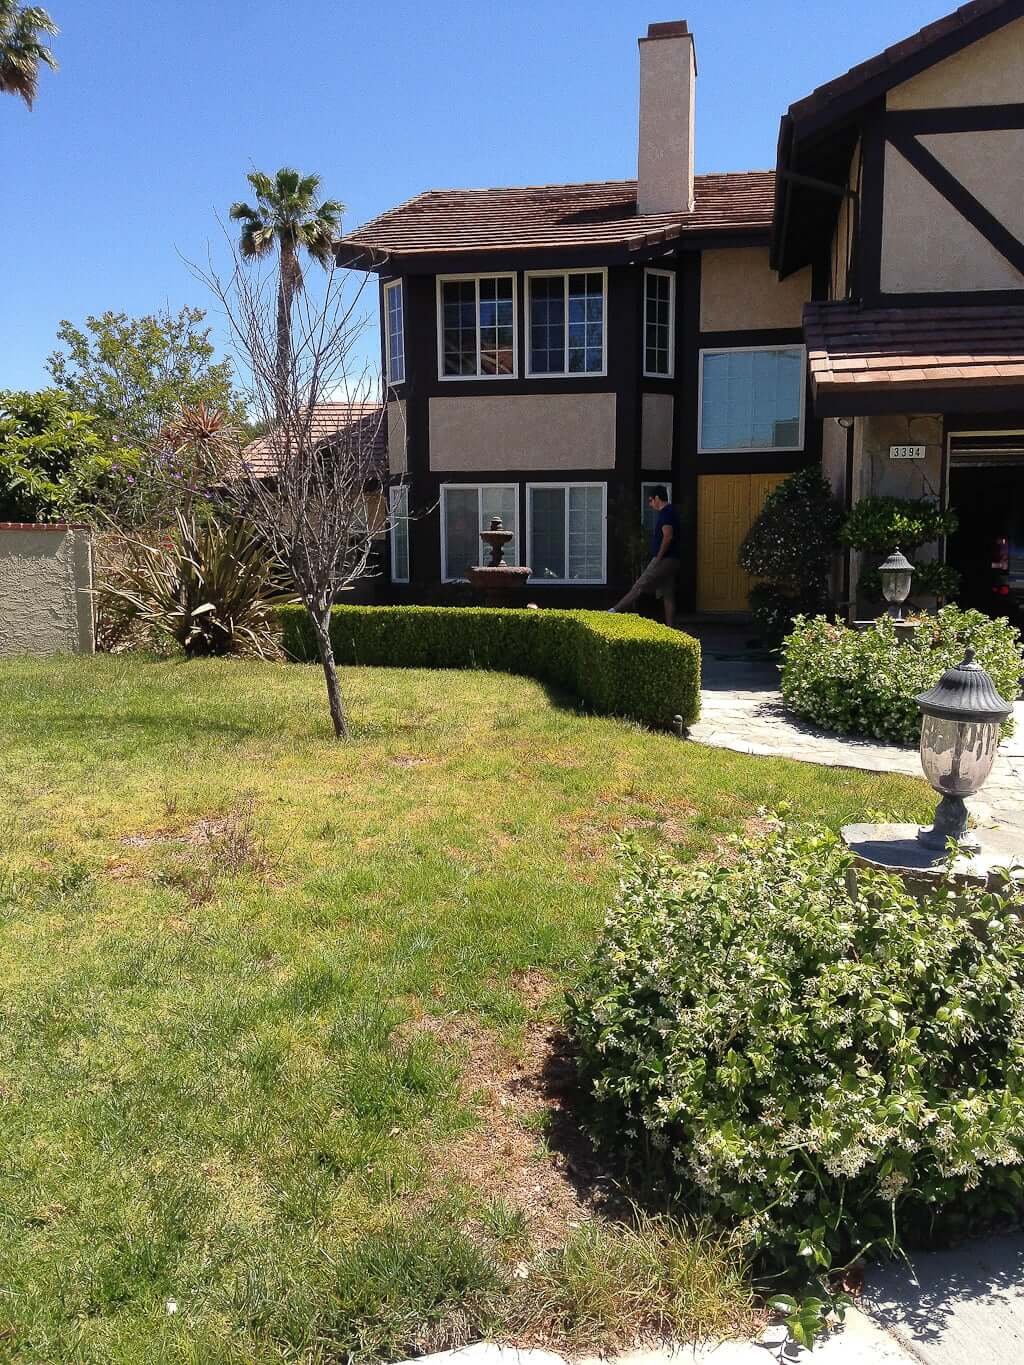
Now that I’ve achieved success and gotten Matt over to my way of thinking about getting rid of this lawn…
…I suddenly realize I need to actually come up with a plan for this bad boy. (The front yard. Not Matt.)
LANDSCAPING OUR NO GRASS FRONT YARD:
Step #1. We consider our house’s facade.
Honestly, I was a little stubborn here at first. I did NOT want to have to take our house’s front style in consideration, but I knew I must.
Usually, I gravitate towards tropical landscaping. I want to feel like I’m on a lush island.
However, the front of this house does NOT look like it belongs on a lush island.
Matt helped me understand that we do not have an extra $xxxxx to redo the entire facade of our house. (We have plans for painting it and replacing the garage door, but that’s it. I cannot make it into a one-story island-style home or a jungly treehouse.)
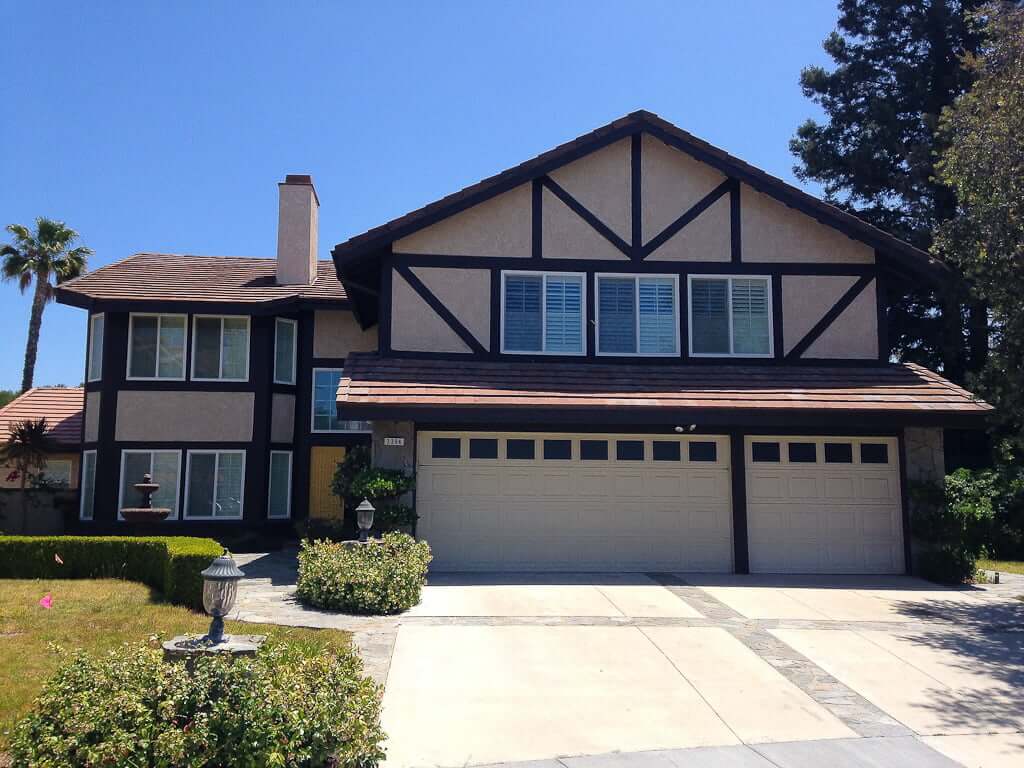
So, while disappointed I can’t make my front yard look like I’m on the set of Swiss Family Robinson, I persevere.
Someone mentions that our house style looks “French Provincial” with the half-timbering. While I’m not sure I want to go with French-style landscaping, it gets me thinking about a Mediterranean design for our front yard.
We’re in a Mediterranean climate here, so I consult my trusty Western Garden book for ideas. (You MUST get this if you don’t already have it! It’s like a Survival Guide for anyone with plants.)
LANDSCAPING OUR NO GRASS FRONT YARD:
Step #2. We consider our climate.
In addition to perusing our Western Garden book for ideas for our correct zone, Matt and I keep our eyes peeled as we’re out and about. We’re looking for what plants grow well in our area in general.
➥LANDSCAPE DESIGN TIP:
Look at the yards of houses that don’t keep up their front yard. Even if it looks bad, pay attention: What plants are surviving there regardless of care? There’s Clue #1 as to what will grow well, especially if you want a low-maintenance yard.
At one of our favorite local Mediterranean-style cafes, I take this pic as inspiration because I like something about what’s happening here but I don’t know why.
(They also have stonework on the column in the background, similar to the stonework around our garage.)

➥LANDSCAPING DESIGN TIP:
Do take pics of what you like, even if you don’t know what kind of plants are there or why you like the look. You may not necessarily like one of the plants by itself, but working together with others it may be looking even better.
I recognized rosemary in the background, but I didn’t know what plant was spreading out in front of the flowers, or what else was with it. But I liked the combo.
We then showed this picture to our local nursery and asked them. (It was germander.)
Once we knew the names of the plants we’d seen out and about, we could consult our Western Garden book, learn about them, see if they’d work well in the space and fit with the other plants we had in mind.
LANDSCAPING OUR NO GRASS FRONT YARD:
Step #3. We consider the sun.
We realized quickly that our front yard got FULL afternoon sun.
And I don’t just mean the kind of “full sun” we’d get in New Zealand or the Northwest.
I mean a mysterious full afternoon sun phenomenon that—for this particular spot in California—means it will burn anything in your front yard TO A CRISP if it’s not careful.
Drought-tolerant plant options were also appealing to us, given our location.
So, thus far, our checklist for acceptable plants were that they
- Must survive in low water, high heat, intense sun conditions.
- Must be Mediterranean-ish style so the house doesn’t look out of place (or vice versa).
LANDSCAPING OUR NO GRASS FRONT YARD:
Step #4. We consider height & shape.
On our journey to a no grass front yard, we didn’t want to put minimal low drought-tolerant plants into the space and cover the rest with gravel. We’d seen that done in some front yards…
…but we wanted to find a way to make ours still look more on the “lush” side.
Plus, with that intense afternoon sun, wouldn’t it be nice if we could create some shade somehow?
➥LANDSCAPING DESIGN TIP:
You want variety both in plant sizes as well as shapes to make a landscape design work well. Trees are a nice way to get height into your design and give it some variation so that everything isn’t at the same level or the same shape.
Enter my olive tree idea.
I’ll pause while you recognize the sheer brilliance of this with me. (Because I assume you and I are on the same page, my friend!)
Olive trees = magic.
I was SO excited at the thought that we could grow olive trees at our house. Especially after traveling and living in Israel for a short time, I had a particular fondness for olive trees that is otherwise unexplainable.
Those trees are just plain pretty!
Olive trees would give us
- Height
- Focal point(s)
- Mediterranean look
- Pretty olive branches to clip and put in vases inside the house. (A minor detail, but I think it’s worth mentioning as it brings me such real olive branch joy inside!)
LANDSCAPING OUR NO GRASS FRONT YARD:
Step #5: Picking up my plant children.
A trip to the local nursery (where they knew my name by now) to pick up our four new olive trees was better than a trip to Disneyland for me.
You’re now saying to me, “Um, your front yard isn’t that big. How are you going to fit four—FOUR!—olive trees in there, Jess?”
And I’m answering you, “Oh friend, welcome to my world! A world in which I get so excited about plants that I want to adopt them all! Who can leave them there at the nursery orphanage? We’ll fit ’em in somehow!”
(Remember, you’re talking to the same person who located her favorite nursery in New Zealand before she located her favorite grocery store.)
Isn’t she pretty? I LOVE her!
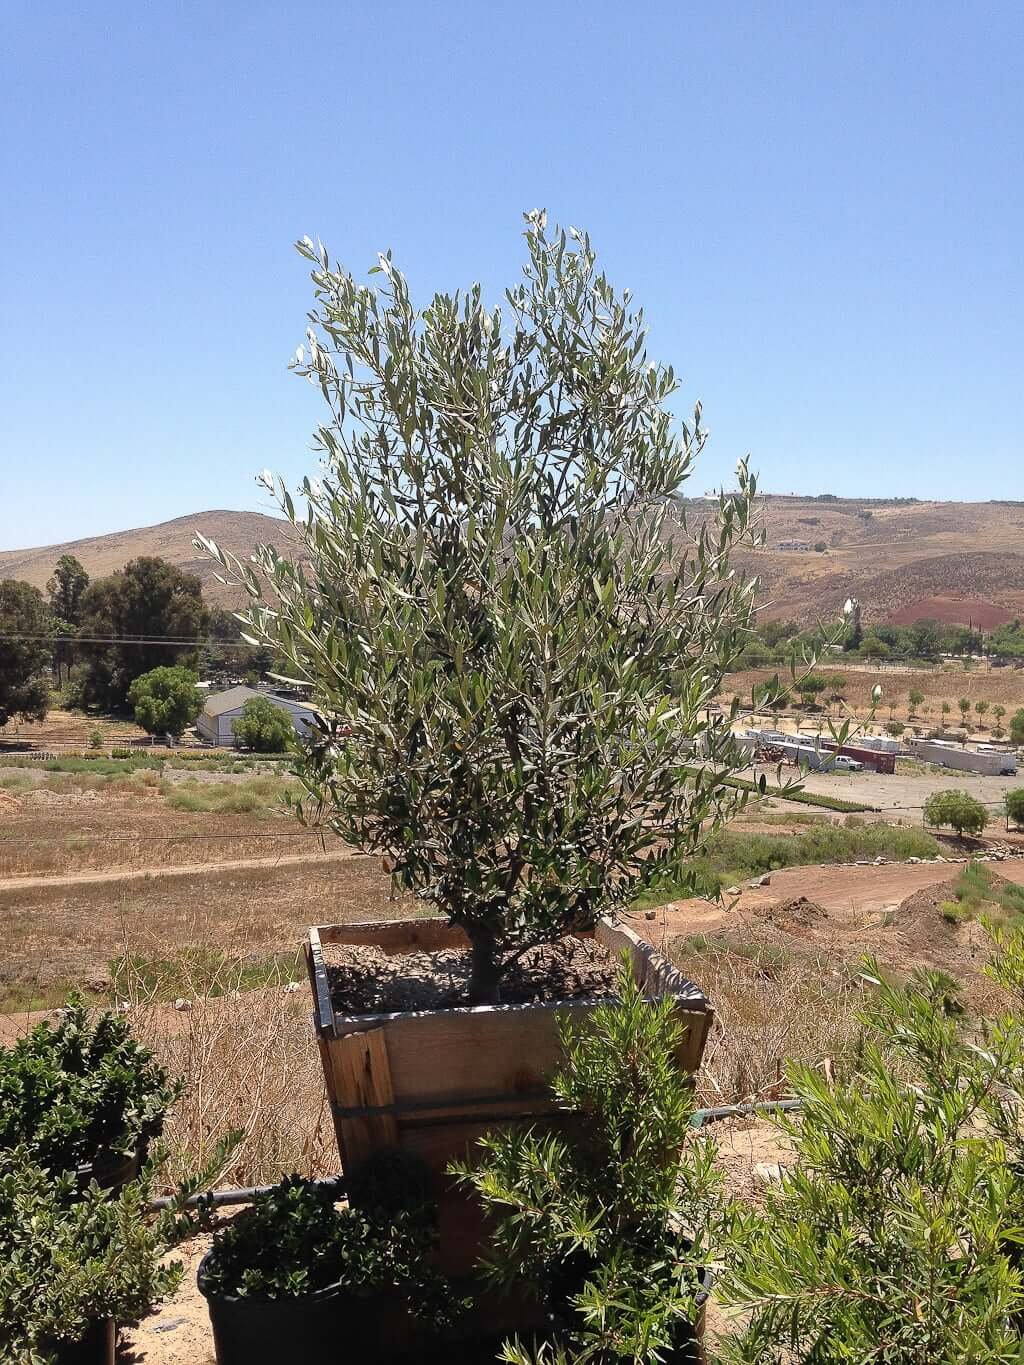
That’s the biggest olive tree we bought. Because of cost, we decided to buy one large one, then three smaller ones.
The biggest one, I figured, could be our first main focal point because it would be growing bigger than the others first.
“Sometimes plants grow faster than money.”
Anonymous
FRONT YARD GRASS REMOVAL TIME:
Step #6: Removal of old front yard lawn.
First, we had to get rid of that grass. We hired a neighbor’s gardener to spray it for us, which had to be done before taking it out.
Here we are, on our way to a no grass front yard! Hallelujah!
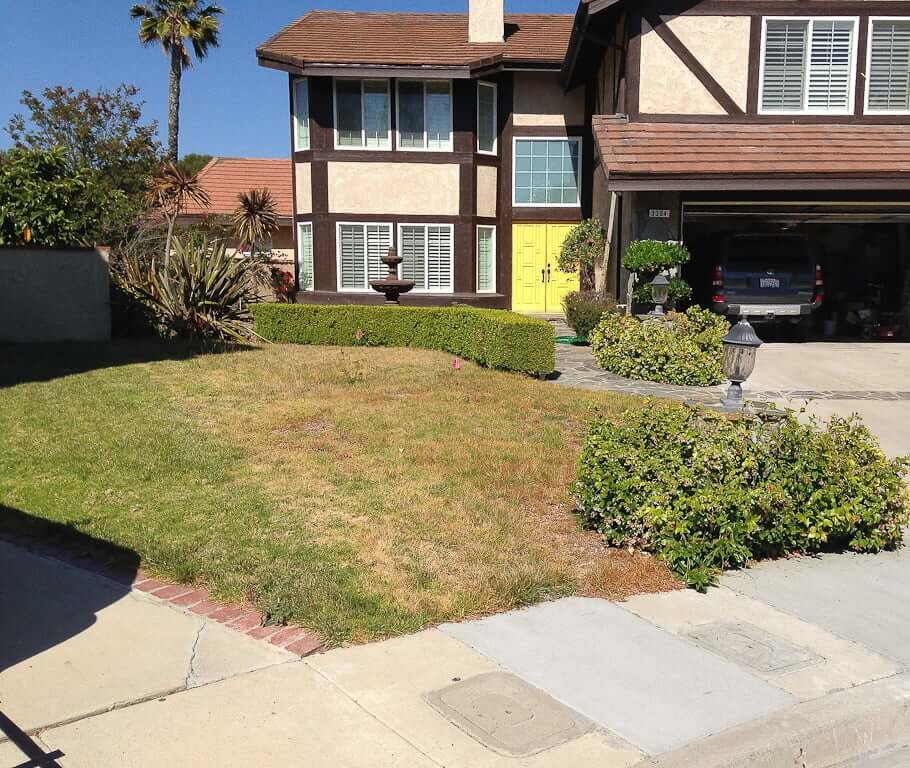
Then he and his team dug it up one morning. (He said the roots of that grass went down six inches, so if you didn’t want it to grow back you’d better dig all of them out. And he was right.)
Matt and I are all about DIYing whatever we can, but having our hands full with all the other interior house projects (plus the backyard!), we were more than happy to pay him and his team to dig up all that grass and its 6-inch roots for us.
NO GRASS LANDSCAPING FRONT YARD
Step #7: Double check your landscape design!
While we’re waiting for the grass to die, why don’t you and I peruse this little drawing I made showing my new front yard design ideas?
I clearly didn’t use a ruler. It’s on the back of something else.
Yep, just like the professionals use.
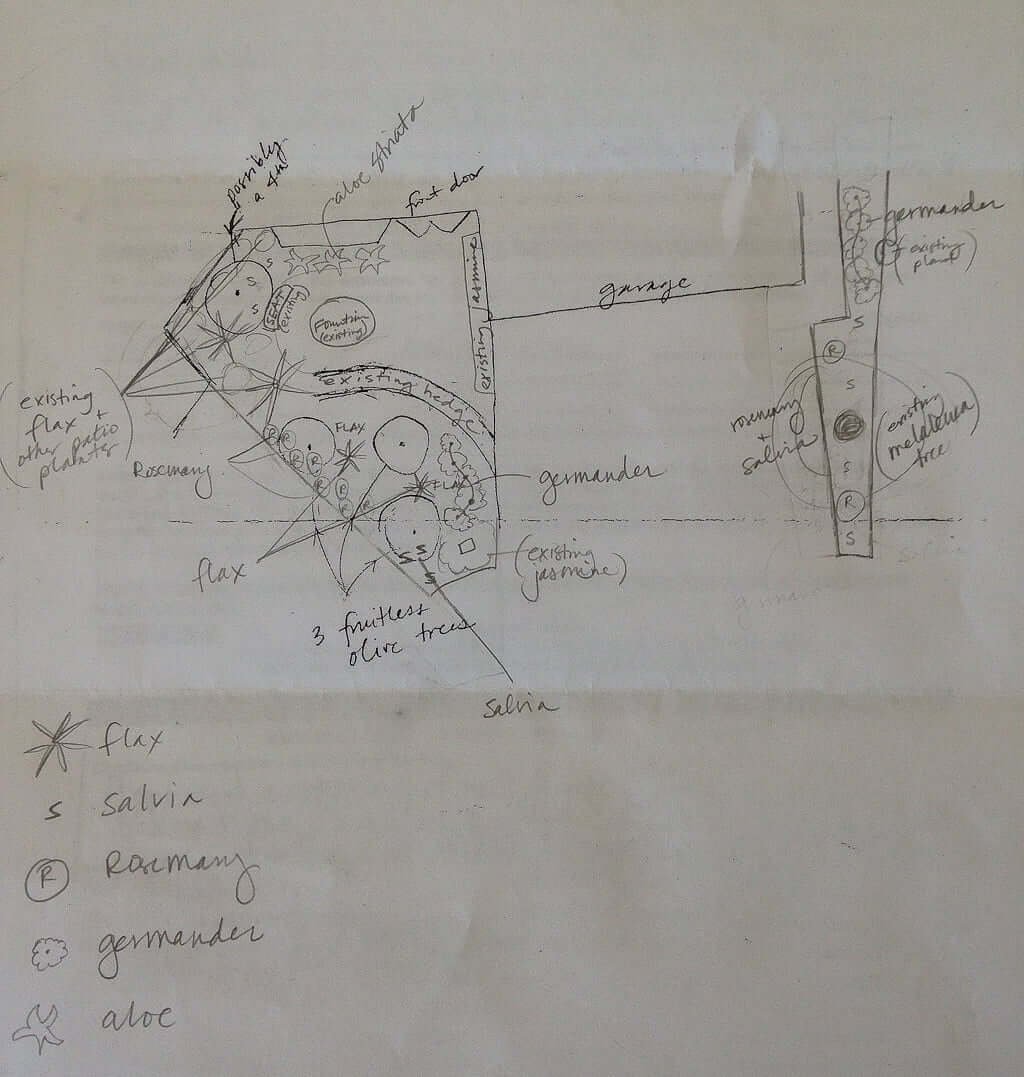
But—FUN ALERT!—I made myself a little “key” in the bottom left corner. Does it help you envision it a little bit more, even though my drawing was so quickly done?
Yes, it does? Great! I always knew you were on my team!
➥LANDSCAPING DESIGN TIP:
I’d recommend doing a drawing of your bigger landscape plans if you’re DIYing it. I used to think I could just wing it and use my eagle eye to envision the landscape properly—but no. There is something to be said for planning it just a step further. Take even just 10 minutes and do a little sketch. It really helps!
And yes, you can see below that The Plant Lady was taking pictures of the other plants we bought…more adopted plant children for our no grass front yard…

Maybe I just love to nurture living things. Maybe that’s the explanation! I haven’t analyzed it too much. I’ve just embraced it.
NO GRASS LANDSCAPING FRONT YARD:
Step #8: Plant!
This is where we’re turning the sketch into reality! Once the grass was gone, it was super easy!
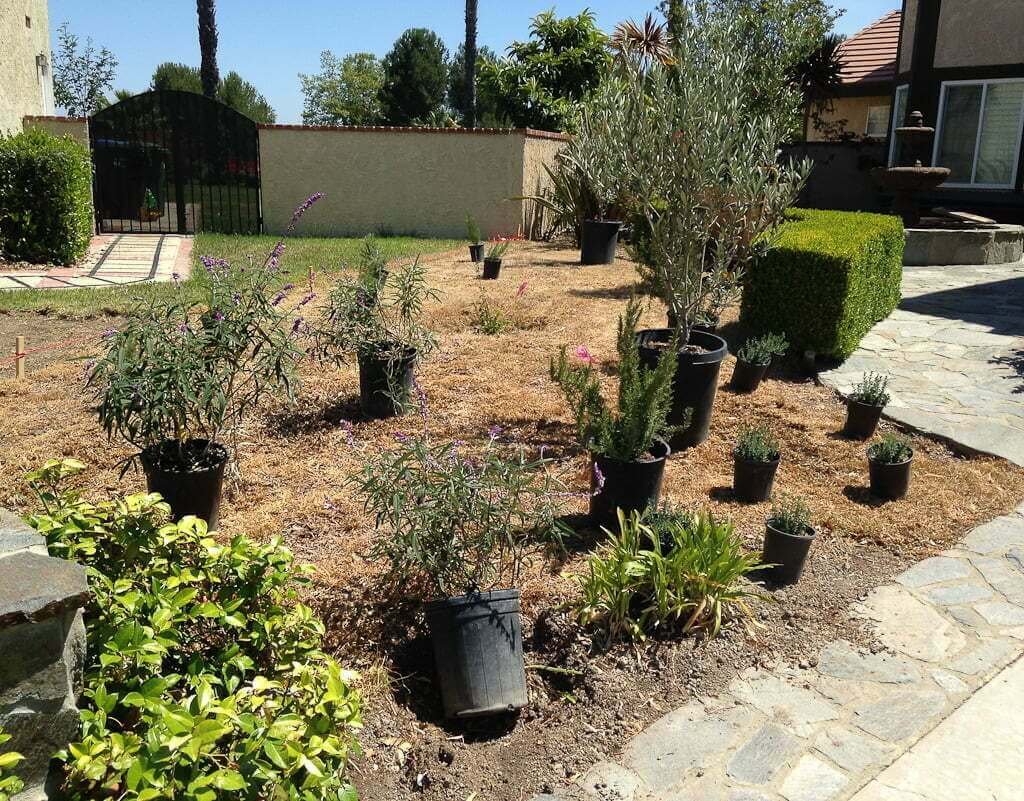
(You can see that even our neighbor got inspired by us to go to a no grass front yard too!)
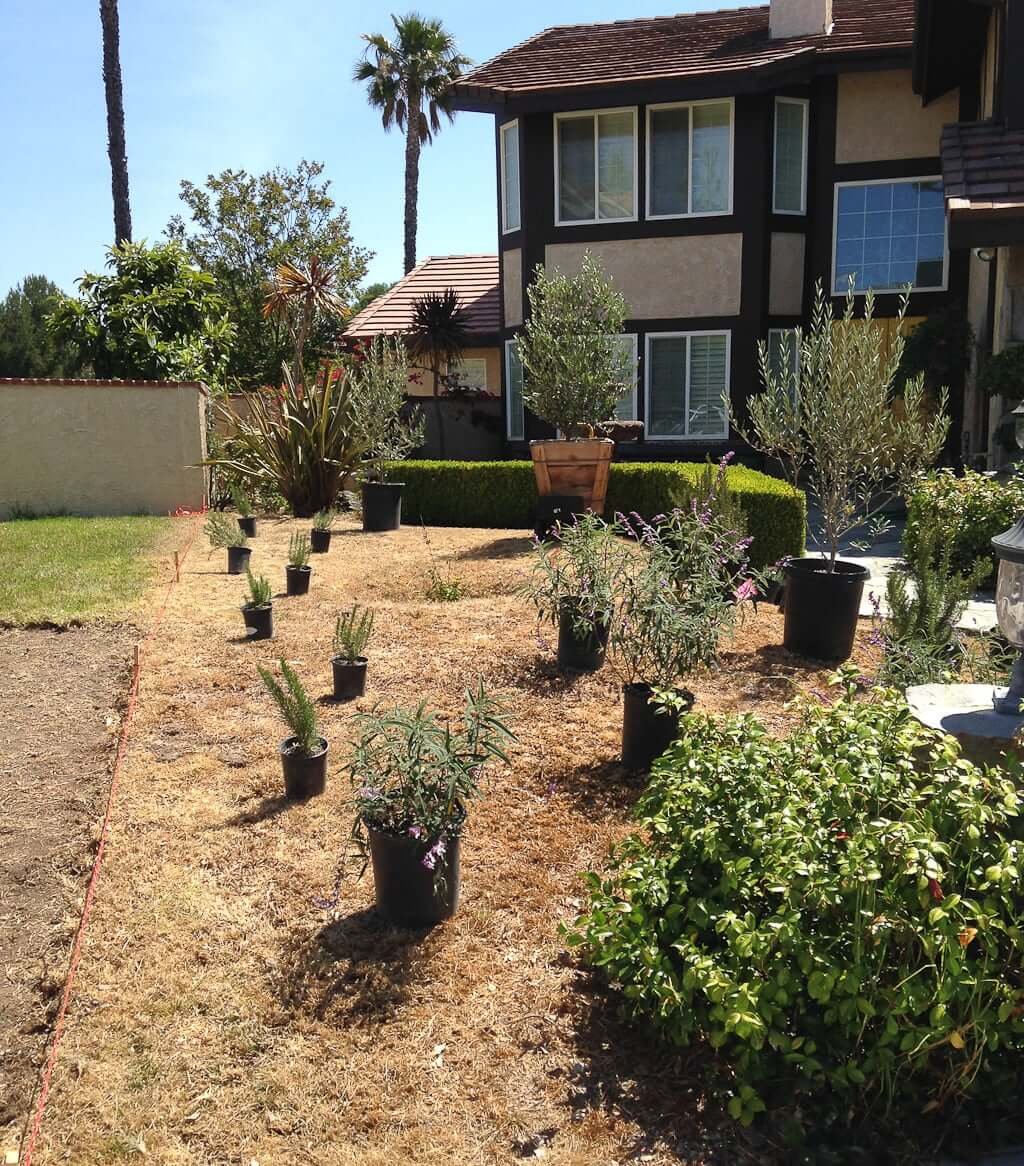
We just
- Set the plants in their spots on top of the dirt to see how they fit in real-time.
- Adjusted based on that. (We did make changes to my sketch once we got into the arranging real-time.)
- Dug all the holes for the plants.
- Planted.
- Spread mulch.
Done! No mas grass!
Step #9: Enjoy!
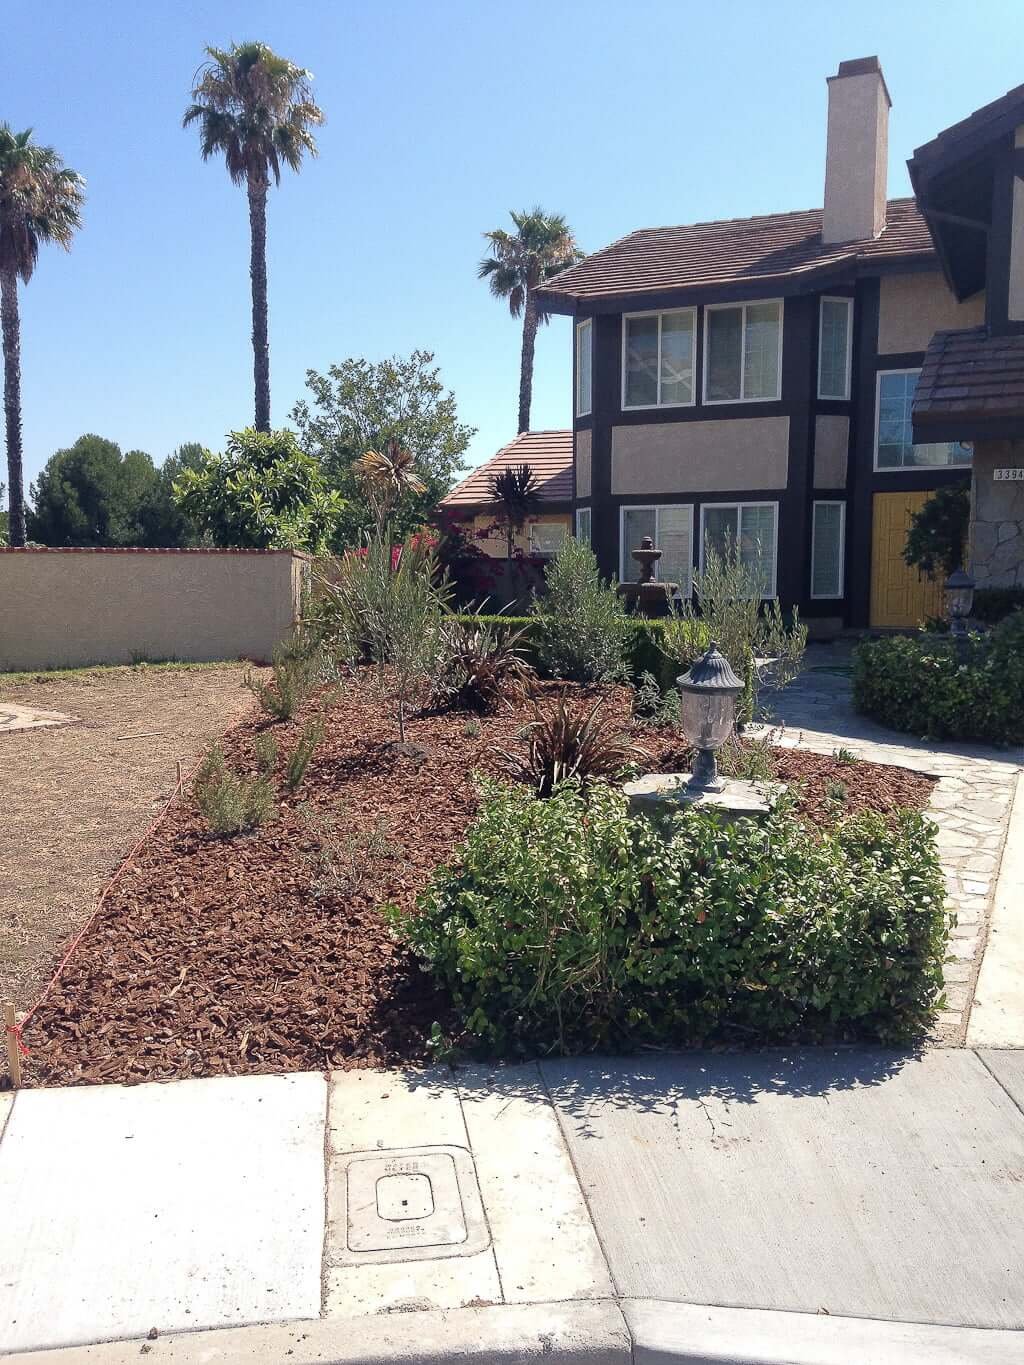
Now, lest you think we stopped there, let me put your mind at ease.
I did NOT stop there.
(But this was just Phase 1. Phase 2 of our no grass front yard will come soon. I can’t wait to show you all my plant babies and how they’ve already grown into teenagers!)
Next, we zeroed in on painting our house (the stucco of which apparently hasn’t been painted in almost 30 years) and choosing house paint colors…
Next…
See how this same space looks 7 years after growing in HERE! 🙂
- If you missed it, check out the tour of our backyard! And keep watching, because it’s going to be a huge transformation.
- Update: see the completed backyard remodel!





You write that you hired the gardener to dig the grass out to six inches deep, but the pictures you posted appear to show that none of the grass has been removed before plating, just killed. Was the grass actually dug out to six inches deep before you planted?
Yes, the grass was killed first and then dug out.😄
At first, I wasn’t so sure about the idea of a “no-grass” landscape as something to use for my yard. However, seeing your example of one and reading about how low-maintenance it can be was extremely helpful, as it could easily be something that can assist us with keeping things easy around here. I’ll go and look for a crushed rock provider in the area so they can help us with what we need.
Thank you and best of luck on your project, Afton!
Pingback: The List Of 7 Front Yard Ideas Without Grass