Today we’re sharing how we installed our kids backyard zipline, as well our choice for the best backyard zipline! (from both adult experience and hordes—yes, hordes!—of kids using it!😄)
Have you ever ziplined? What if I told you that having your own backyard zipline (even without trees!) was possible?
Several months ago, my youngest daughter was about to turn four, and I was brainstorming birthday gifts. She didn’t ask for anything, and I already knew she certainly didn’t need more toys, dolls, or other “stuff” (see this post).
And with California still mostly shut down at the time, getting her an experience-style gift to something like a kids museum was out of the question.
Enter Mama’s Zipline Idea!
PS: See our expert tips on 15 ways to save money in your backyard!
BACKYARD ZIPLINE IDEAS:
Step #1: Convincing the Spouse.
“HOW FUN would it be to have a zipline in our backyard?” I asked Matt.
This was supposed to be a rhetorical question, but I believe a quiet grunt accompanied by a suspicious look out of the corner of his eyes was the response I received.
Clearly this was an indication that the man wanted to hear more! And so I continued.
“I’m sending you a link—tell me if this will work.”
“Where will we put it?” I eventually heard him say. “We don’t have two trees to string it up between.” (He said it less as a question than a statement—as if it was clear no zipline could fit into our backyard and this was another harebrained wife’s idea that would never happen.)
Oh ho ho, how soon my track record of afore-thought preposterous ideas can soon disappear in the memory of my beloved Brawn!😂 Not to fear, Matt. Even when installing a backyard zipline without trees, I’ve thought through everything!
BEST BACKYARD ZIPLINE:
Step #2: Order the best backyard zipline!
I’ll spare you the back-and-forth of the ensuing weeks but—needless to say—Jess held onto this idea like a bulldog. Held onto it even more so than her other ideas. (Many of which you, Sweet World, will never know about because Matt put the kabosh on them, and she gave in. I know…tragedy.)
But this time, Bulldog Mama was allowed to order her zipline (um, I mean…not hers…I mean, the kids’), even though the #1 person whose help I would need installing it was still not 100% convinced it was something we were going to keep.
THIS is the zipline we got! Not only was it made of good quality materials so we can trust it will hold up, but it was one of the least expensive prices for a zipline we found! Note: you’ll also want to grab this brake spring like we did (the brake spring is what helps your zipline stop before you crash into your pole or tree!😂) which is a minimal cost and still makes your end total less expensive than the others!
Bonus: This zipline holds up to 330 lbs so even if you want to get really crazy and zipline with more than one adult or you just want it to carry more weight, we’d highly recommend it.
UPDATE: If you want to buy a zipline that has the brake spring included, this zipline is about the same cost yet it was out of stock when we purchased ours, but it’s back up again and for $10 off! You can see and buy it here!
backyard zipline IDEAS:
Step #3: Wait in eager anticipation!
Yes, as hinted above, mamas and other adults can enjoy this too! I’ll admit it freely:
Mama also wanted the zipline!
(Probably due to childhood trauma that requires I zip upside-down through the air more often in my 40s to heal. Should I have entitled this post “Zipline Therapy”? Very possibly!)
BEST backyard zipline:
Step #4: Install the zipline (even without trees!).
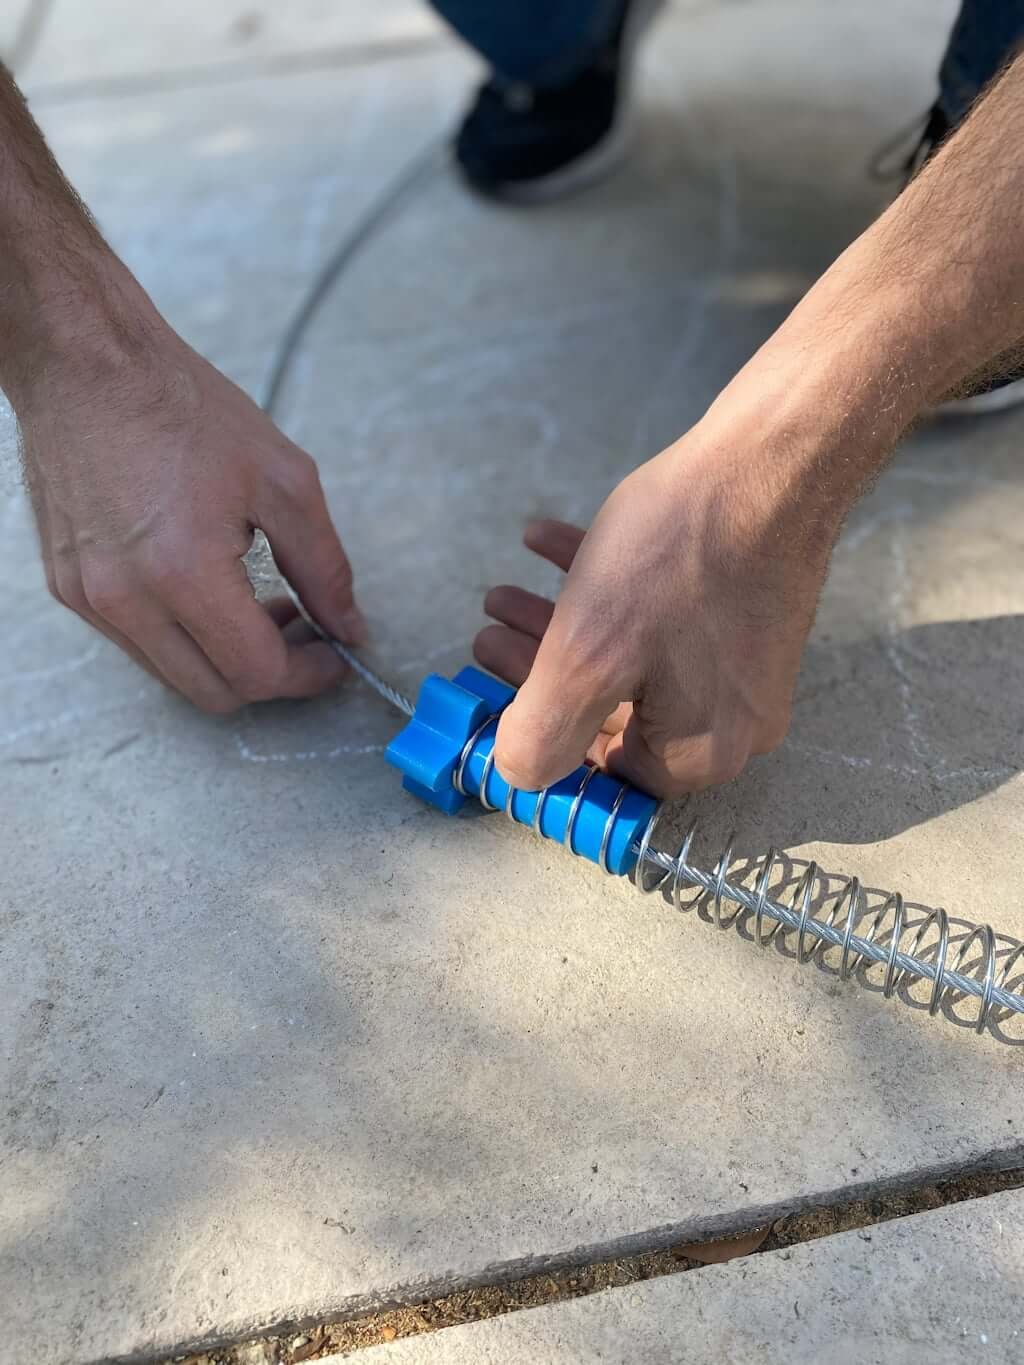
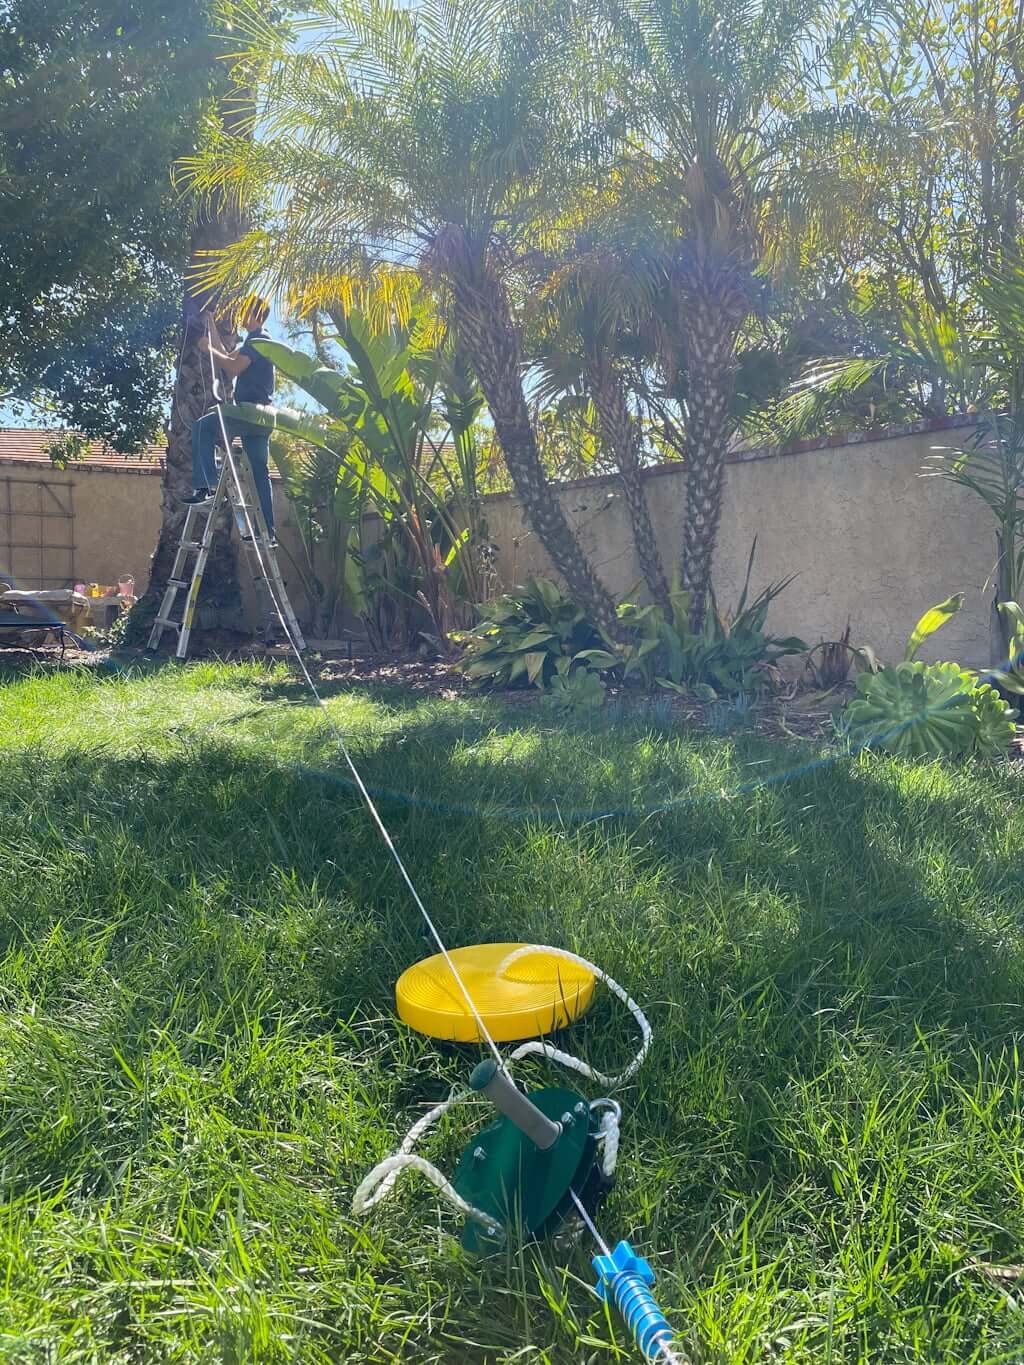
#1) Feed the zipline through the trolley (that’s the green zipline handle you can hold onto) and then through the spring brake.
Buy the exact same zipline we did HERE!
#2) If you’re attaching one or both ends to a tree, wrap the wire around the tree and use the provided bolts to secure it together.
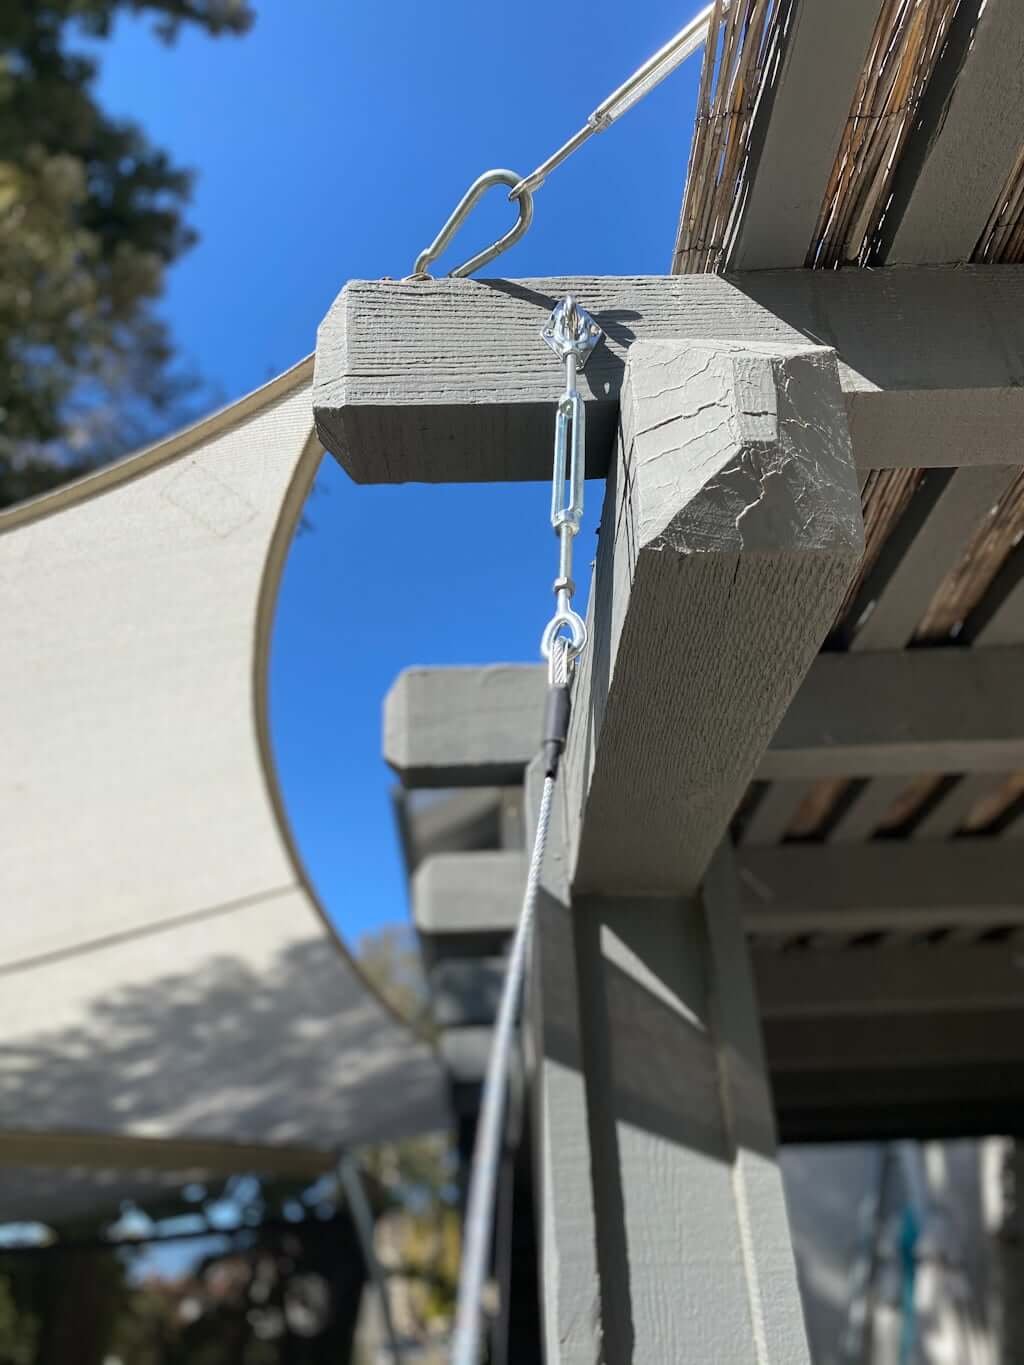
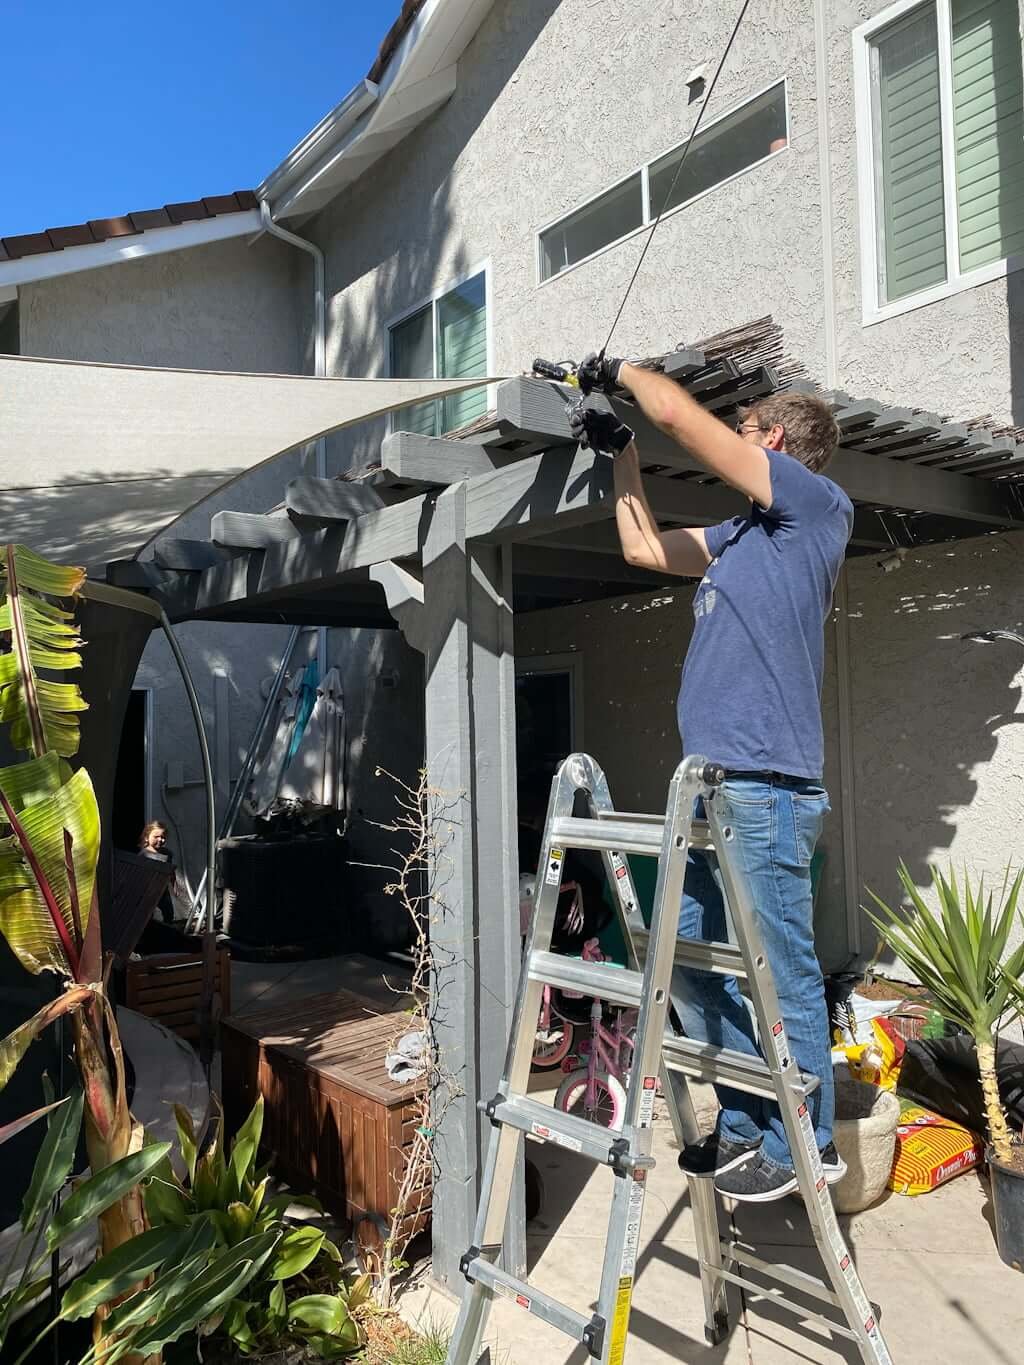
If you’re attaching one or both of the ends to a post (instead of a tree), screw in the metal plate (called a “pad eye plate”)…
…then hook the zipline into the other end.
#3) Tighten the tension rod to remove any additional slack in the zipline, and you’re done!
This zipline is in stock HERE.
KIDS backyard zipline:
Step #5: Let the fun begin (for both kids & adults)!
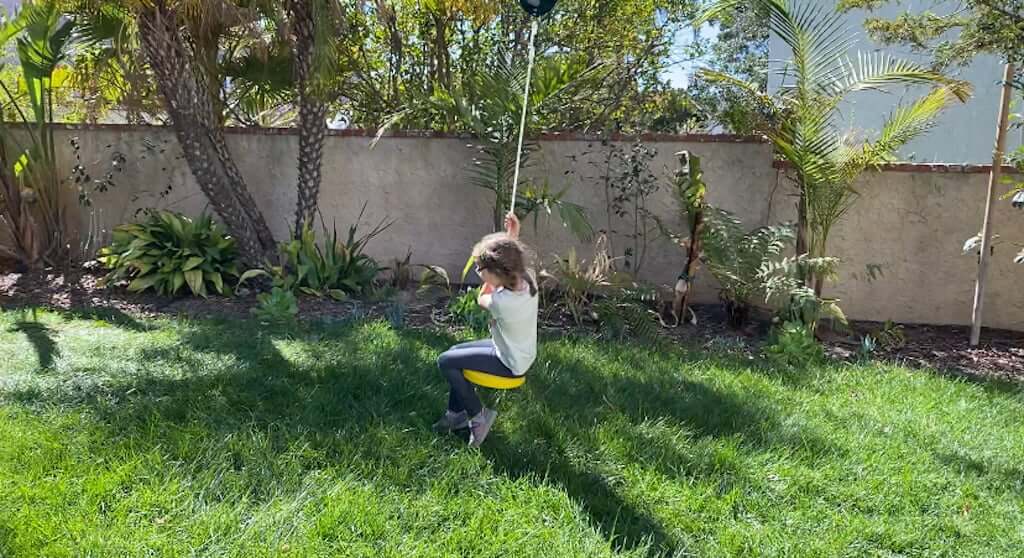
Can we blame the fact that we haven’t mowed our lawn for weeks on all the Zippy Zipperson fun?😆
The best-priced zipline we found with everything included is available here!
If you’re serious about saving money while improving your outdoor spaces, you need THIS!
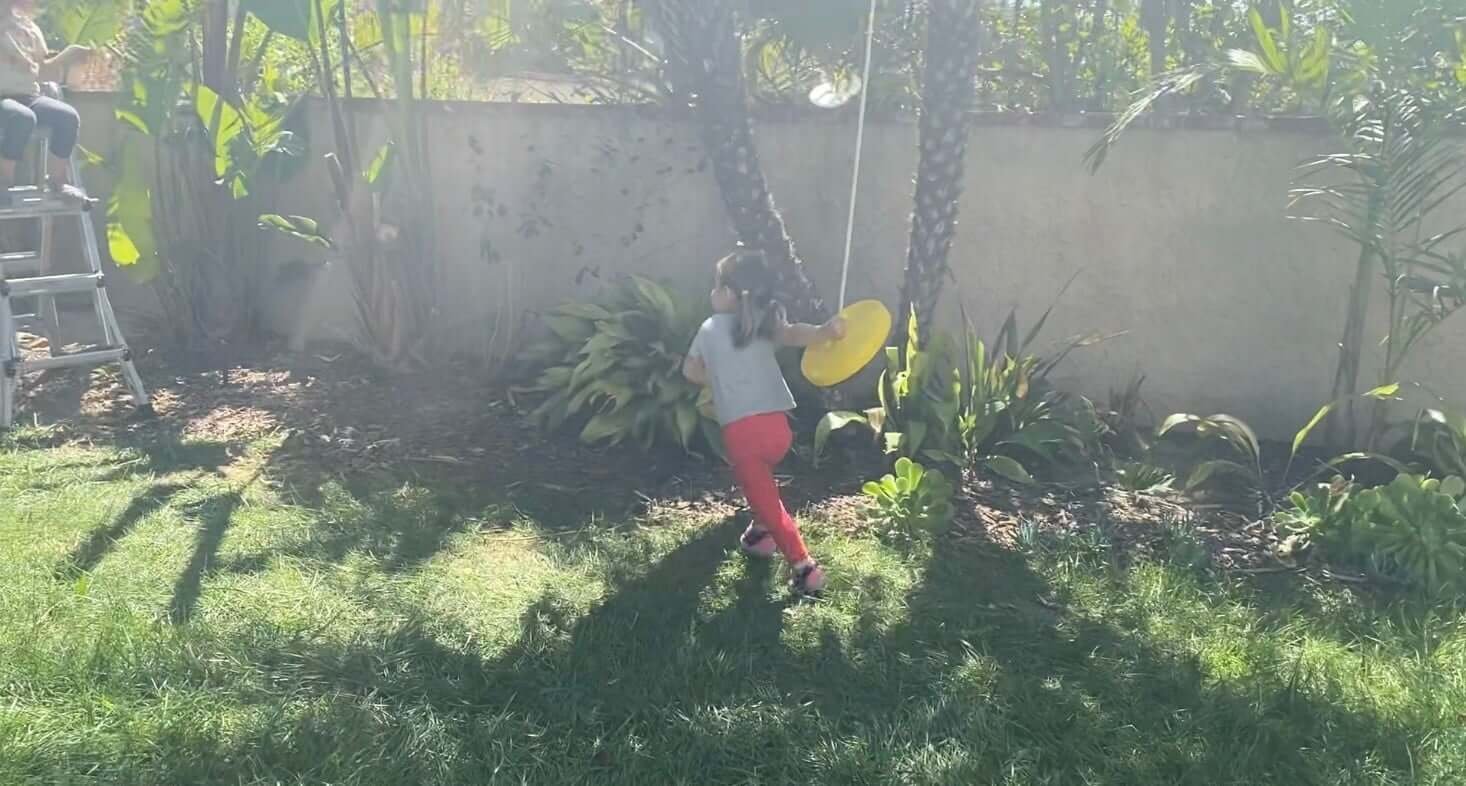
Next, we needed to create a zipline platform for all these crazy kids to use (a ladder only cuts it for so long, as you can imagine)!
BACKYARD ZIPLINE SAFETY:
“Any zipline safety concerns I should know about?”
Honestly, very few! Especially when you’re installing a DIY zipline for kids, it doesn’t need to be raised a dangerously high level above the ground, since kids are typically not anywhere near as heavy as adults.
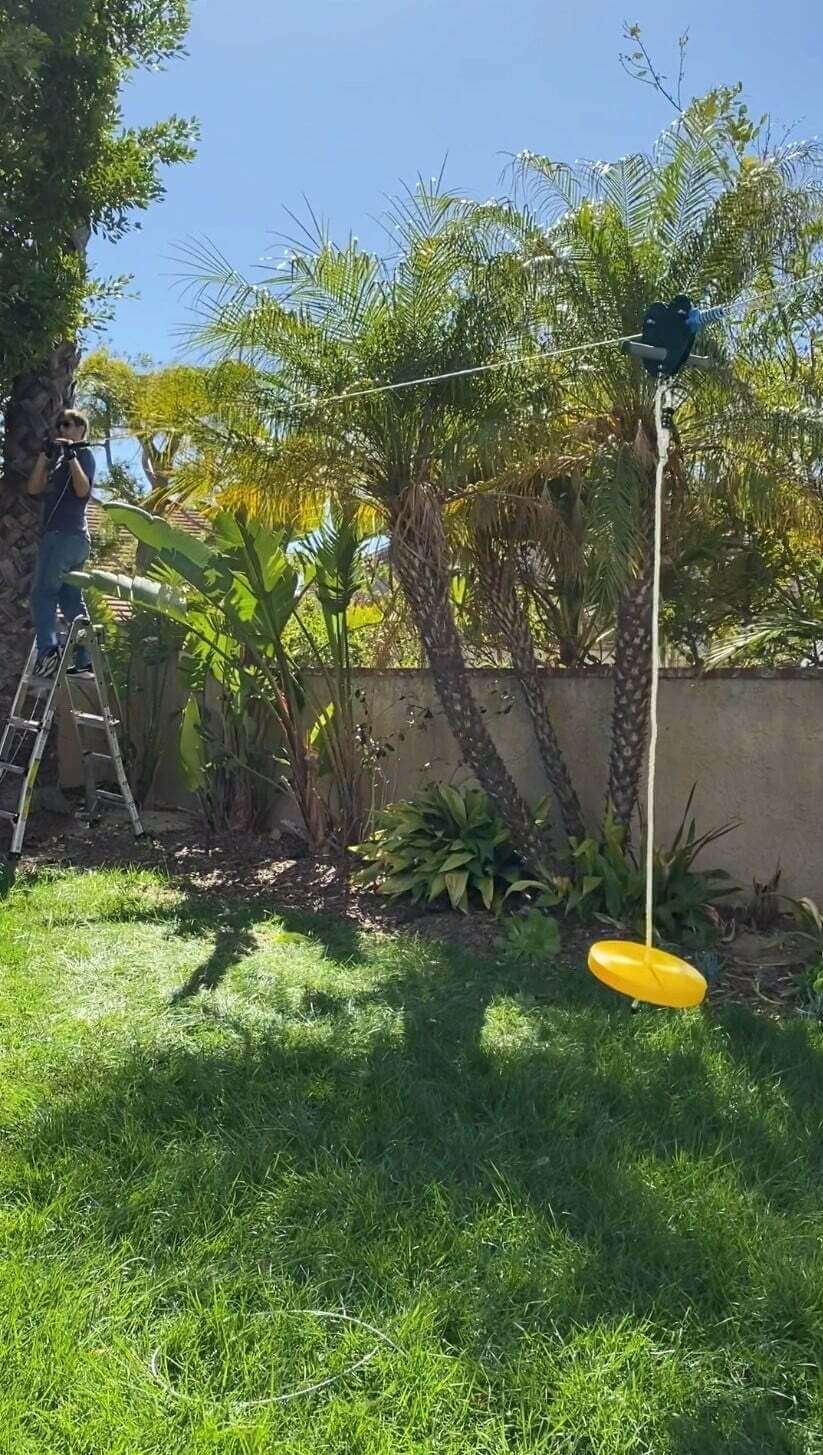
Coming up on six months at the time of writing this, thousands of uses by a variety of children (both in size as well as age and capabilities), we’ve never had any zipline safety issues!
How high is our kids backyard zipline? We installed it about 10′ above the ground at its highest point (8′ at its lowest).
KIDS BACKYARD ZIPLINE:
Backyard Zipline Without Trees: Can It Be Done?
If we had to start from scratch (and had no arbor or palm tree to attach our kids backyard zipline to), we would have done what we did in our first house with our outdoor hammock (which was also done without trees).
We dug holes and sunk 6×6″ wood posts into them, pouring concrete around them in the holes to harden.
That was it!
The list of non-tree zipline attachment ideas we’ve had so far are
- Attaching to a wood arbor (like we did).
- Attaching to a wood post sunk into the ground (as mentioned above).
- Connecting your zipline to a pergola.
- Attaching one end to a wood deck (as long as it’s at a point high enough for riders!).
- You could even attach one of your points to your house, such as on the eaves of a one-story home, as long as you have a solid anchoring point with enough room around it to provide clearance for the rider to swing (if that’s your end point for the zipline).
For installing a backyard zipline, you’d just want to take into account the slope of your backyard between the two points you’re using and adjust your post height based on that (making sure where you want to take off from is slightly higher than where you want your zipline ride to end up).
Next…
See how we made an easy zipline platform! We’re also sharing this list of our favorite outdoor play swings for kids! (“13+ Tree Swings For Kids Under $100!”).
Or you might enjoy:
- The Complete List of our backyard remodel with tips & tricks learned!
- Take a tour of our backyard as well as tour the inside of our house!
- Our 15 Secrets To Save (MAJOR) Money On Your Outdoor Space!
➜ Our complete list of every single home project is viewable HERE.
*This post contains affiliate links, which are no extra cost to you but help us keep this site alive!

