I’ve never seen anyone do my DIY glass dry erase board frame hack anywhere before (although maybe they’ll start now that I’ve been posting it on social media and here on our blog?).
This is one of my favorite easy home hacks of all time!
If you’re in need of an attractive write-and-erase surface somewhere—meaning you want to be able to write messages or information and be able to erase and reuse it—you do NOT have to get a messy chalkboard or one of those metal-edged dry erase boards.
Great news! Breathe easy!
DIY GLASS DRY ERASE BOARD FRAMES:
How easy are THESE?!
The backstory: Years ago, I wanted a place to write reminders to myself—but I didn’t want one of the standard reminder boards, dry erase calendars, or white boards that are sold out there (not even the “cute” ones). I couldn’t find anything I really loved the look of.
It dawned on me that dry erase markers will wipe off glass just as easily. I had four old poster frames out in my “To Donate” area of the garage…I rescued them and brought them back inside (while whispering to them, “You’re back in!”).
These are so easy because you don’t have to “make” anything!
I’ll share the “3 Easy Steps” to how exactly I created mine further below, but first I’ll give you a lil’ peek at how I use them!
CLEAR DRY ERASE BOARD FRAMES:
Ideas for Messaging!
One of my four I put downstairs in our main living area, where I first started out writing reminders to myself each day or week. (You know, words like “Calm” or “Peace” as I had a newborn and toddler around me every day!?)
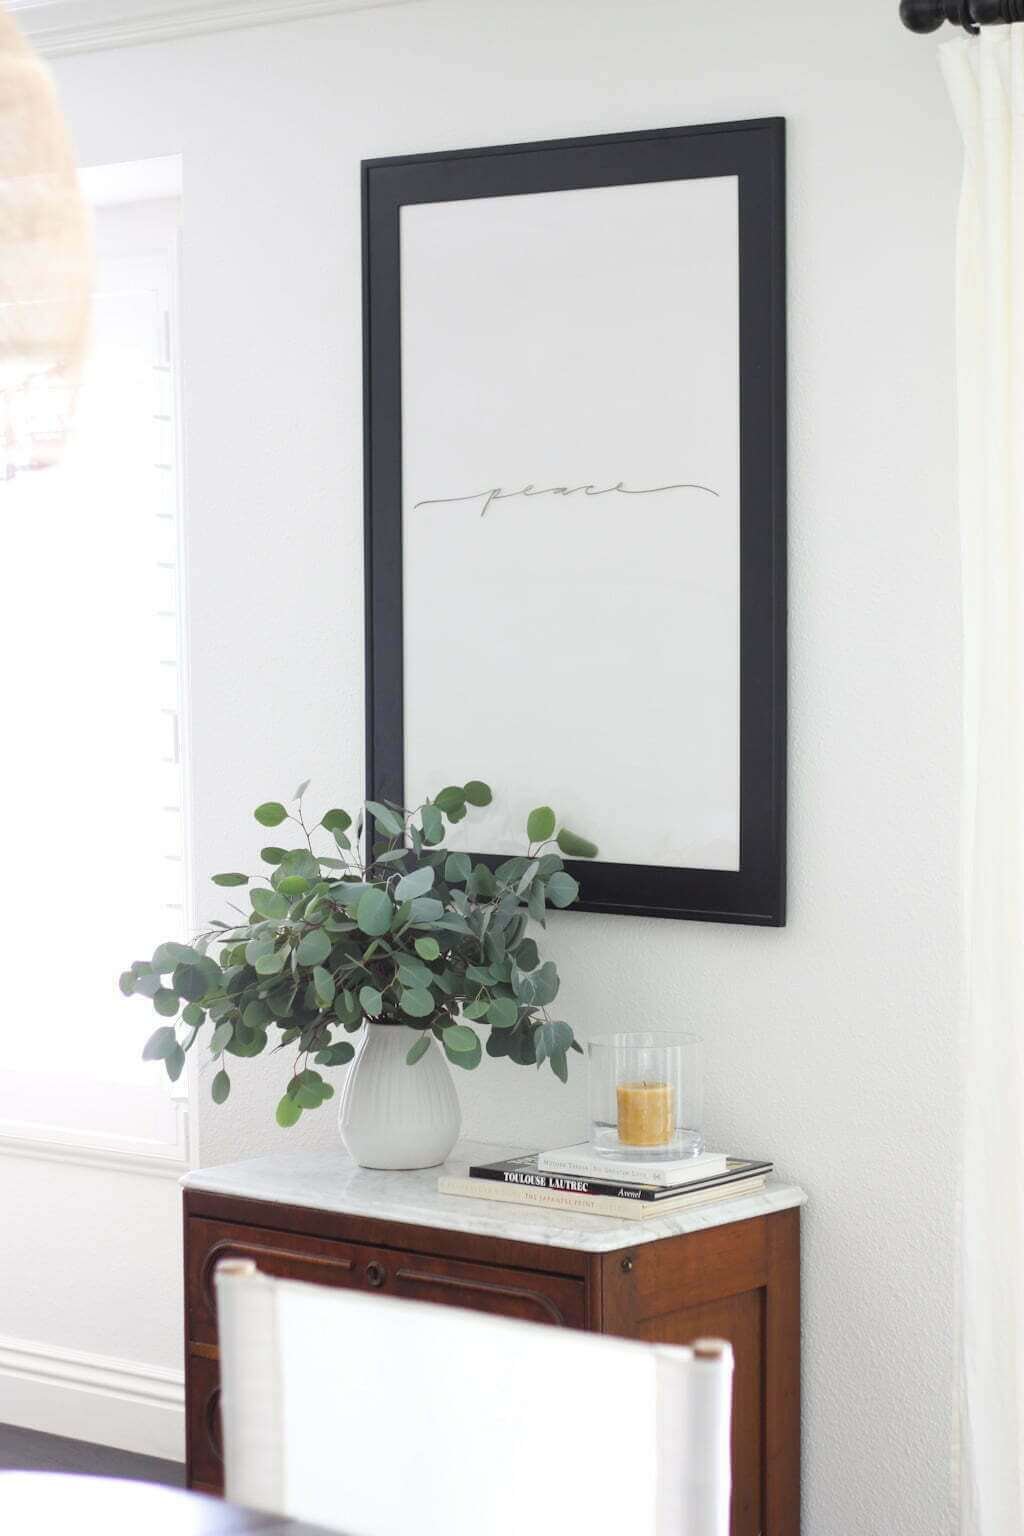
More messaging ideas we’ve used in our DIY glass white board frames (this one’s in our main living and dining space):
1. Reminders for the day or week
Whatever it is you want to remind yourself of, this is a great way to make sure you (and the rest of your household) will see it!
2. Motivational quotes
Sometimes the perfect quote is all you need to stay pumped up for whatever you’re facing that day.
3. Verses
Nothing beats the power of a good verse that really spoke to you during your morning time and is one you want to remember throughout the day. (I so easily forget these with all the distractions of the day!)
This was actually the #1 reason I was looking to figure out a more elegant-looking message board for myself in the first place (and in a spot I would definitely see several times a day!)
4. Inspirational words
Such as my “Peace” and “Calm” words mentioned earlier. Sometimes you just gotta keep it simple!
5. Birthday messages
It’s so much fun (both for adults and kids alike) to decorate these DIY glass whiteboards! We got these colorful markers and can write fun birthday messages and draw photos for the birthday boy or girl!
6. Welcome messages
We love writing personalized messages to guests who are staying with us or even just a family coming to eat a meal with us (the glass white board is facing our dining room).
7. Seasonal messages
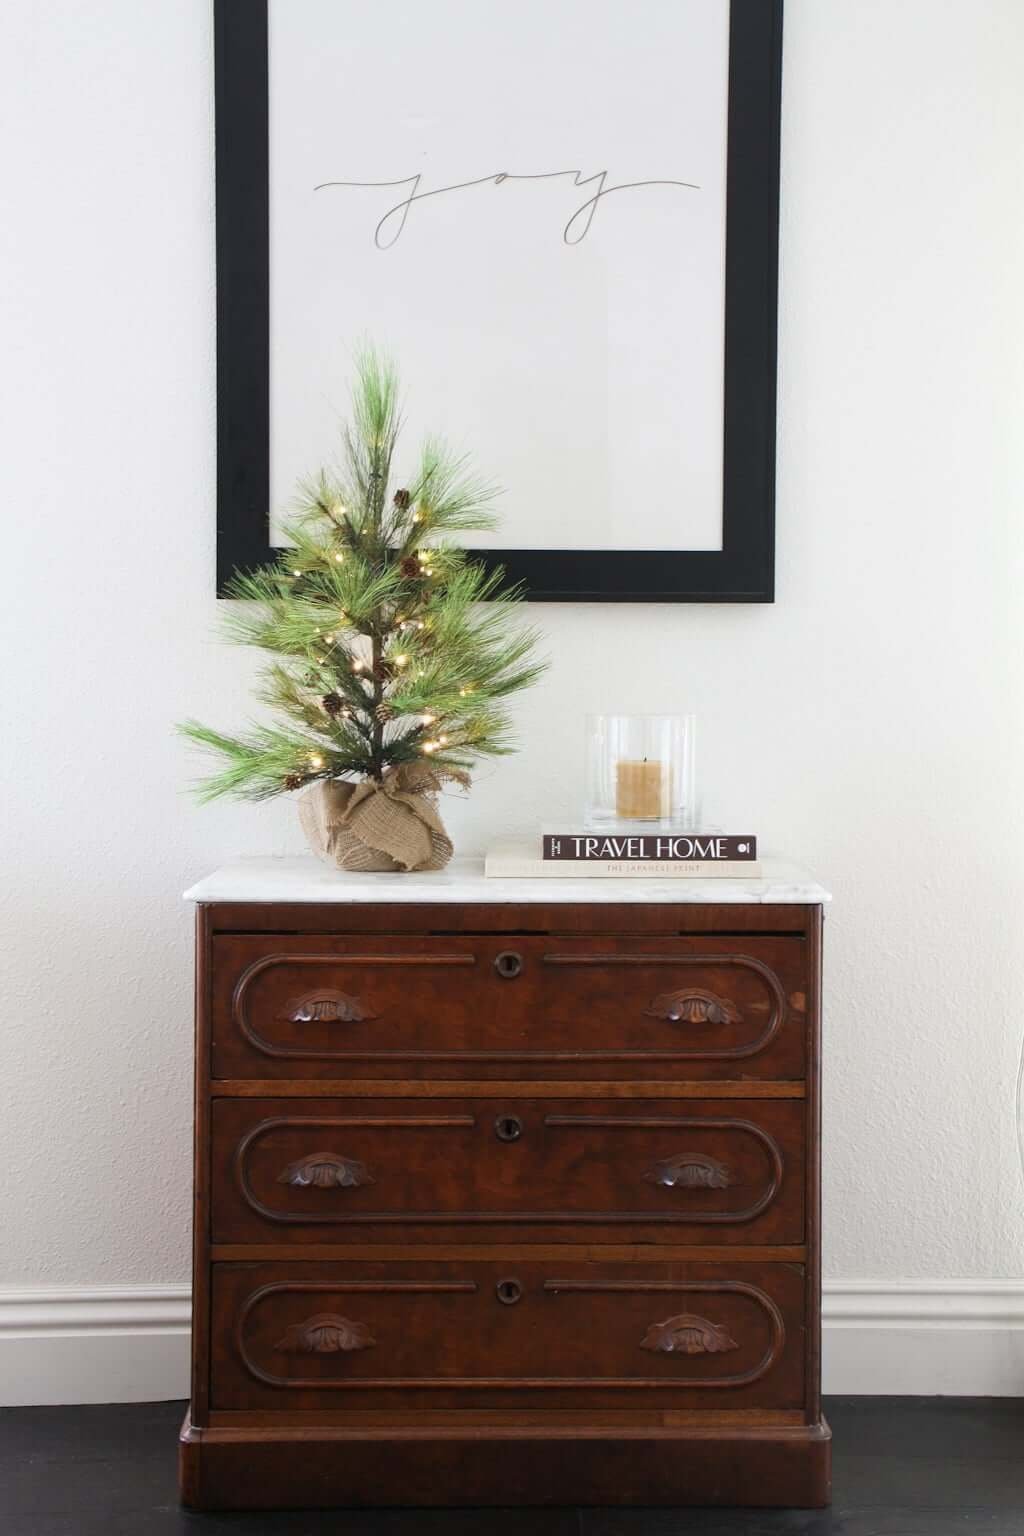
On holidays or during certain seasons, the sky’s the limit as to what you can write! “Happy New Year!”, “Joy”, and “Happy Easter!” are just three of the seasonal messages we’ve written on our glass white board.
Below is an example of the same DIY dry erase board shown above (located near our dining room) during one of the weeks before Christmas!
8. Schedule of events
Whether you’re entertaining visitors or just have a certain plan for your family’s day, having a daily schedule up where everyone can see it can help ensure all are on the same page and no one is surprised about what’s coming!
9. Teaching moments
I’ve even used it for teaching moments with my young children, who stare at me—fascinated—every time I approach it to write or draw something we’re talking about while we eat. (They sit there mesmerized in their chairs! It’s awesome!)
10. Just for fun!
You could write fun little messages to your spouse, children, or roommates here. Doesn’t have to be a special occasion to say a cute hello or leave an “I love you!” message to those who are close to you!
DRY ERASE BOARD FOR KIDS:
Where else do I use these?
I used one of my clear dry erase board frames in our main living area, and the other three I moved up into our Homeschool-slash-Art Room! (See all the details about that room here!)
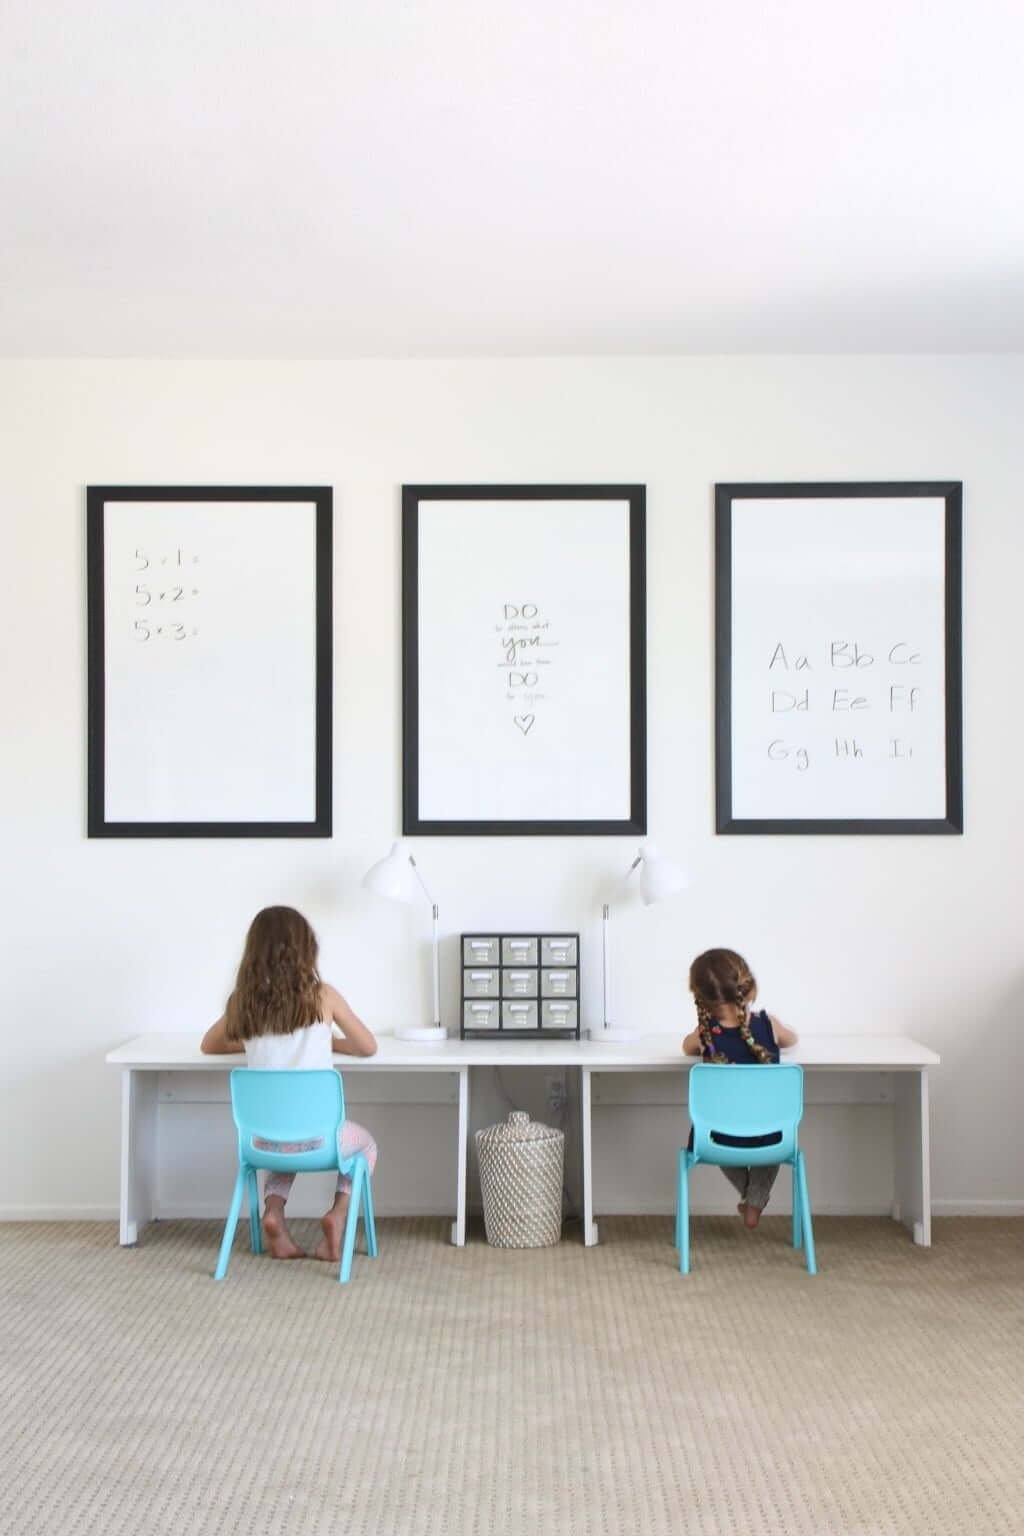
Here, our DIY glass dry erase board frames have been living their best life above our girls’ desk area!
These have been an awesome dry erase board for kids!
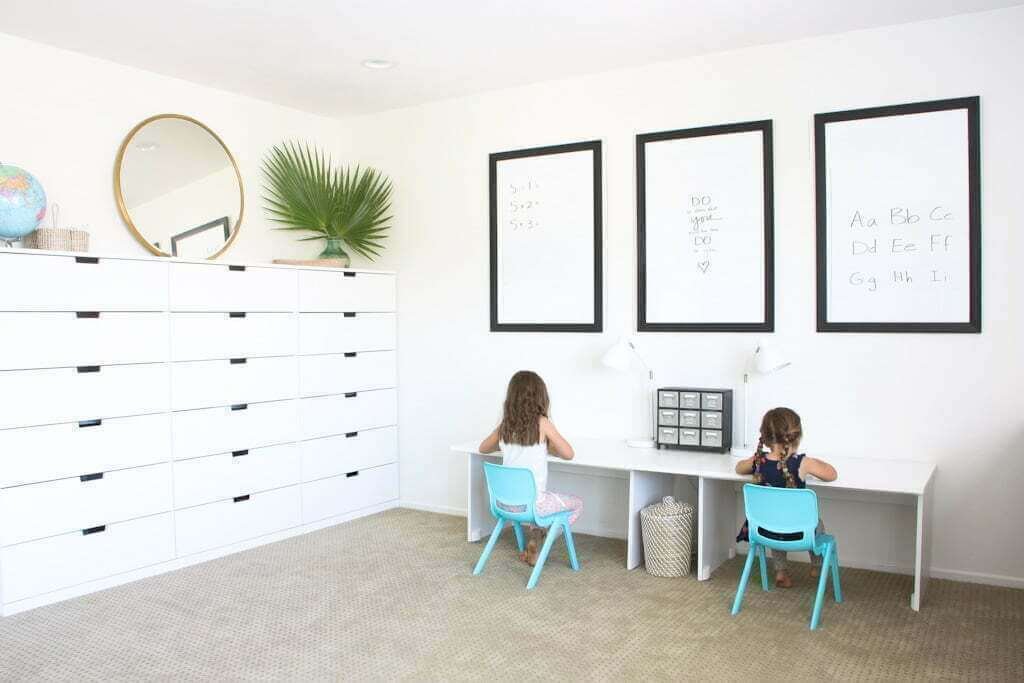
I tend to use the one above each child’s side of the desk for her specifically, then I’ll put a message or memory verse in the middle for both of them.
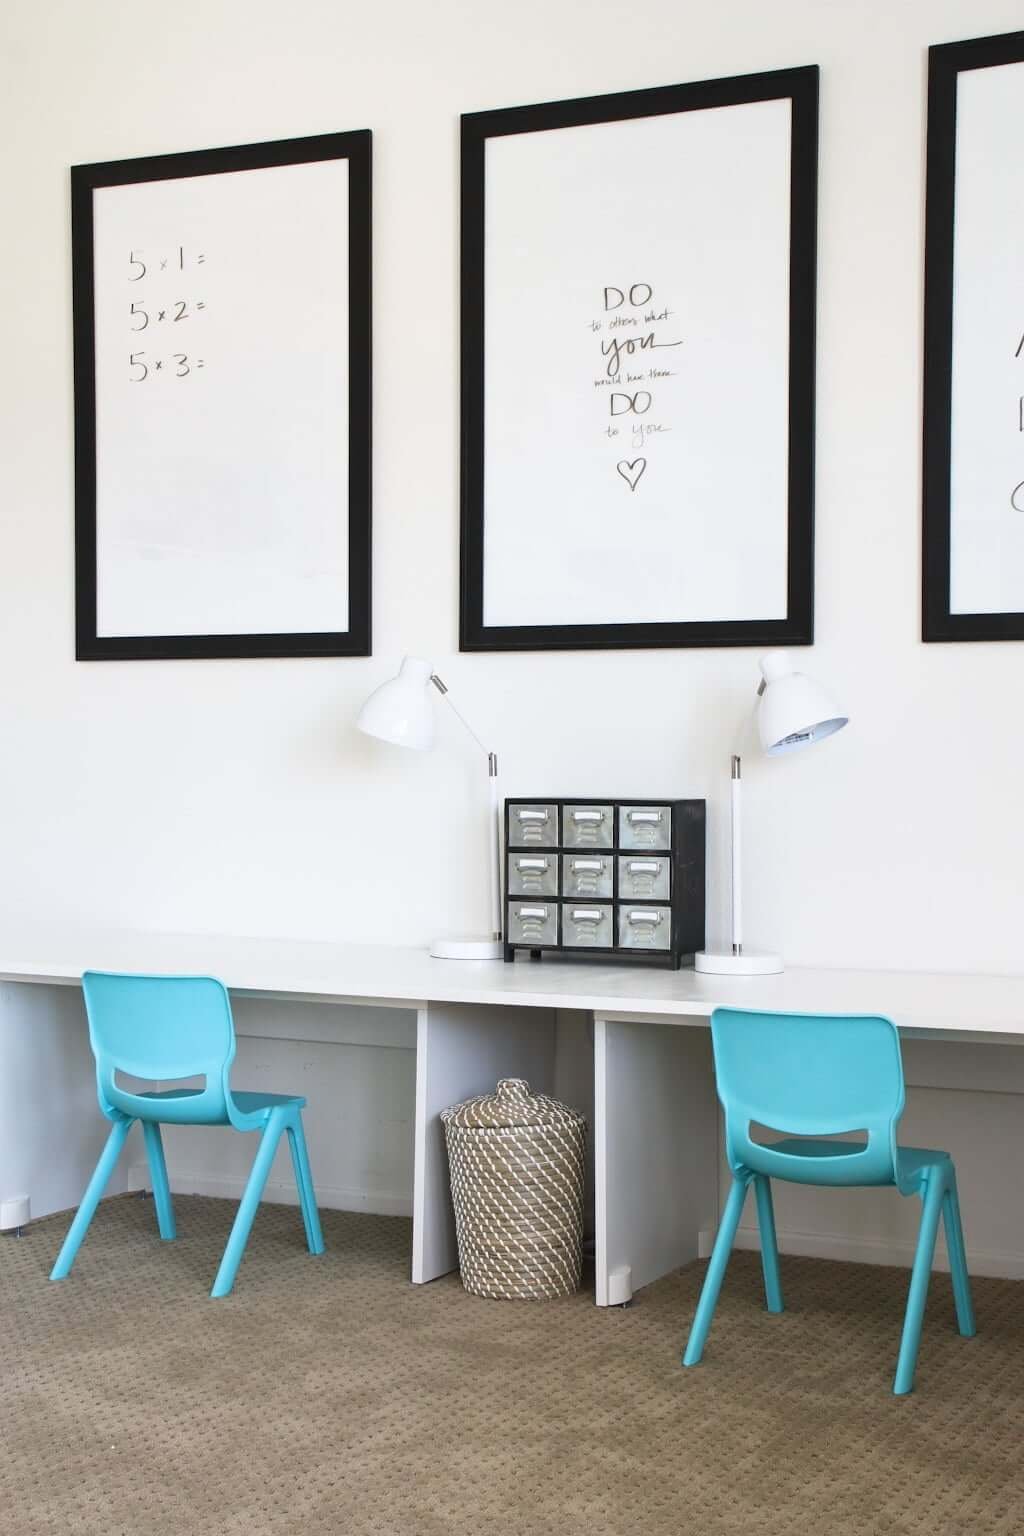
DIY GLASS DRY ERASE BOARD FRAMES:
10 brilliant areas to use these in!
Where else could you use these easy DIY glass whiteboards?
1. In an office space.
2. As an entryway welcome sign.
3. Near the phone for messages.
4. “Daily Menu” board in your kitchen.
5. In a school or homework area for kids.
6. As a dry erase calendar in your “command center” area.
7. In your guest bedroom as a welcome sign, special notes, wi-fi details, or all of the above!
8. Outside the door of a teenager’s bedroom for messages, or a university student can take with them for their own space (we had message boards on our dorm room door in college and they were well-used!).
9. Anywhere you want to write a reminder to others or yourself, a quote, a verse, or a sweet note!
10. When it’s not being used as a school whiteboard, we use them as a “frame” for each child’s work! (Whether schoolwork or artwork, doesn’t matter—kids just love to see their work up on display—and we do too! This way it can be any size or configuration and we’re not dealing with removing the glass every time we want to “frame” their work.)
CLEAR GLASS DRY ERASE BOARD:
How I first “made” and used mine!
Once I rescued my four DIY glass dry erase board frames from the garage, it was pretty simple!
All I did was put a blank white background into my poster frame, and voila!
These poster frames can be much less expensive than the usual white boards—and with much more potential to fit into your home décor!
Step #1:
Buy your poster frame. (I got mine here.)
So many styles and sizes to choose from, so I’ll just focus on ones like mine below:
- If I were to buy new, I love this gold, minimal frame or this minimal black one!
- A distressed wood frame.
- A lighter, brighter wood like this.
- A medium-stained wood frame like this one.
- This grey wood style is beautiful.
- If you’re wanting several and need to be more budget conscious, you could go with an option like this set!
Step #2:
Insert a white blank poster paper or other large-format white paper so you have a clear background to use.
I had first tried just switching the paper that came in the poster frames backwards, but with the ones I had, the design showed through. Thankfully I had some extra paper at the perfect size that I could put into these to use.
Step #3:
Practice your calligraphy or hand-printing skills, grab a high-quality dry erase marker, and go to town!
DIY GLASS DRY ERASE BOARD FRAMES:
Both functional & beautiful.
Before I did this, I didn’t know if it would look cheap not having “actual” artwork on display in our frames, but I had reeeeeeeeeeally wanted somewhere I could write reminders to myself. To be honest, I can’t imagine hanging anything else in this spot now.
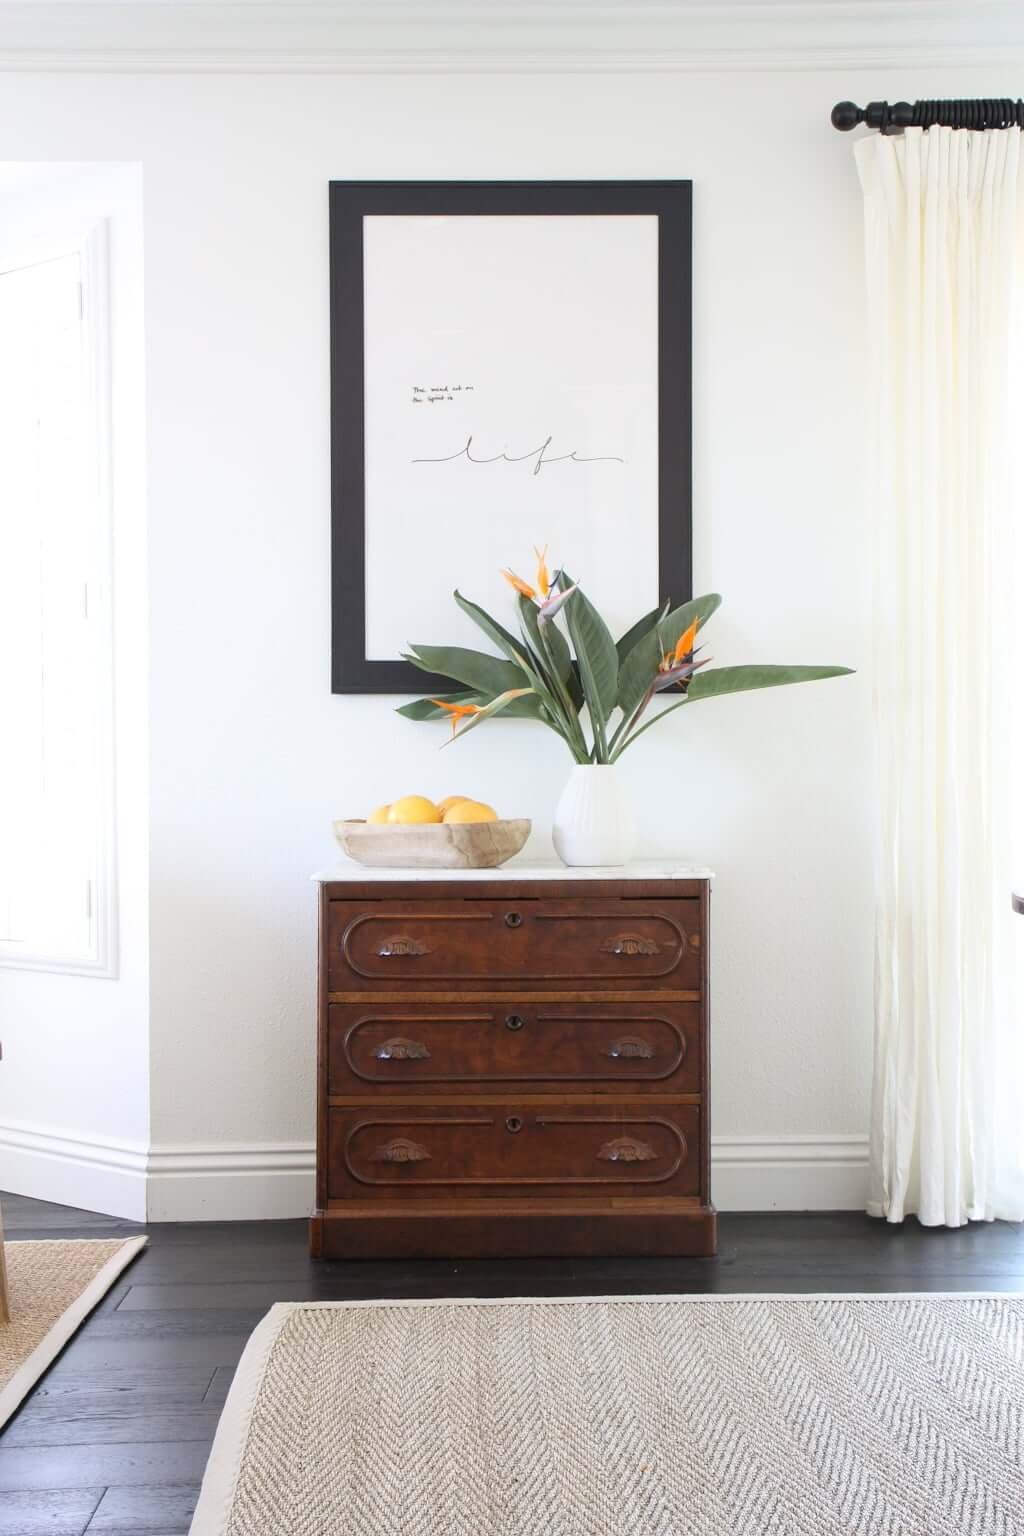
Lately, I find that I’m writing mostly simple reminders to myself because I’m the one who sits facing this at every meal.
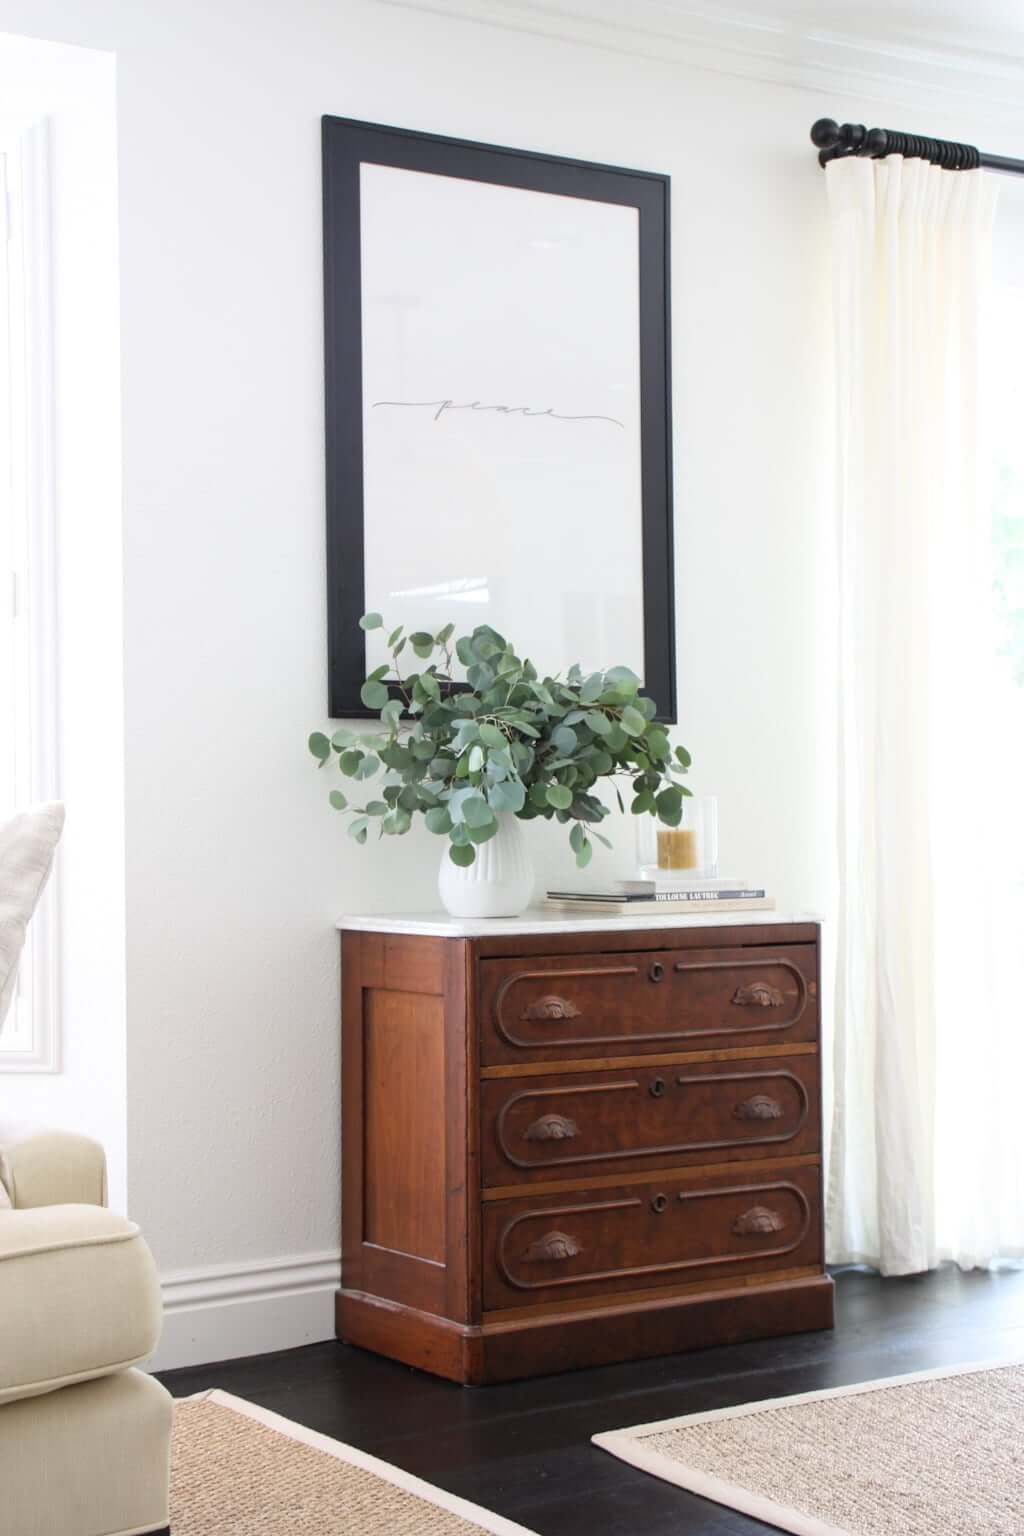
With two small children, reminding myself of things like “Peace” actually is very calming. I like simple. I like one-word reminders. This one reminds me to pay attention to that inner stillness I have inside me (but often gets drowned out by all the noisier stuff) and reminds me that everything will be okay, no matter what’s happening up in here. (Anyone else got that song stuck in their head now? “Y’all gonna make me lose my cool…up in here…up in here…”?)
Could you use one of these DIY glass dry erase boards in your living space? Where would you put yours?
Next, click to see more easy DIY hacks or see our full school room (with tons of storage).
- LIVING ROOM: Our DIY ottoman is made out of a what?!
- KITCHEN: Why we ripped out our new kitchen.
- DESIGN TIPS: 5 Smart Strategies for Using Older Furniture in Your Space.
- ENTRYWAY: Drop Zone Tips: What’s Your Home Entry & Exit Strategy?
- BATHROOM: Grout-free At Last: Fashioning Our Solid Surface Shower!
Or see the full list of all our house projects HERE!
*This post contains affiliate links, which are no extra cost to you but help us keep this site alive!

